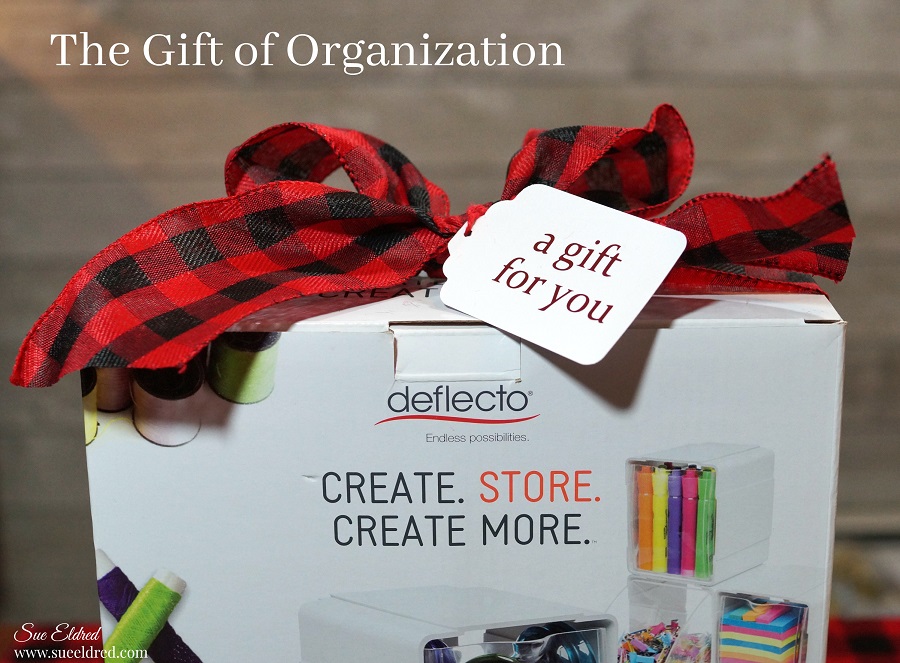
The Gift of Organization
I’m a little bit of an Organization nut.
I like things to be neat and tidy. (I’m sure I’m not the only one.)
With the holidays around the corner, for that hard to buy person,
why not give the gift of organization.
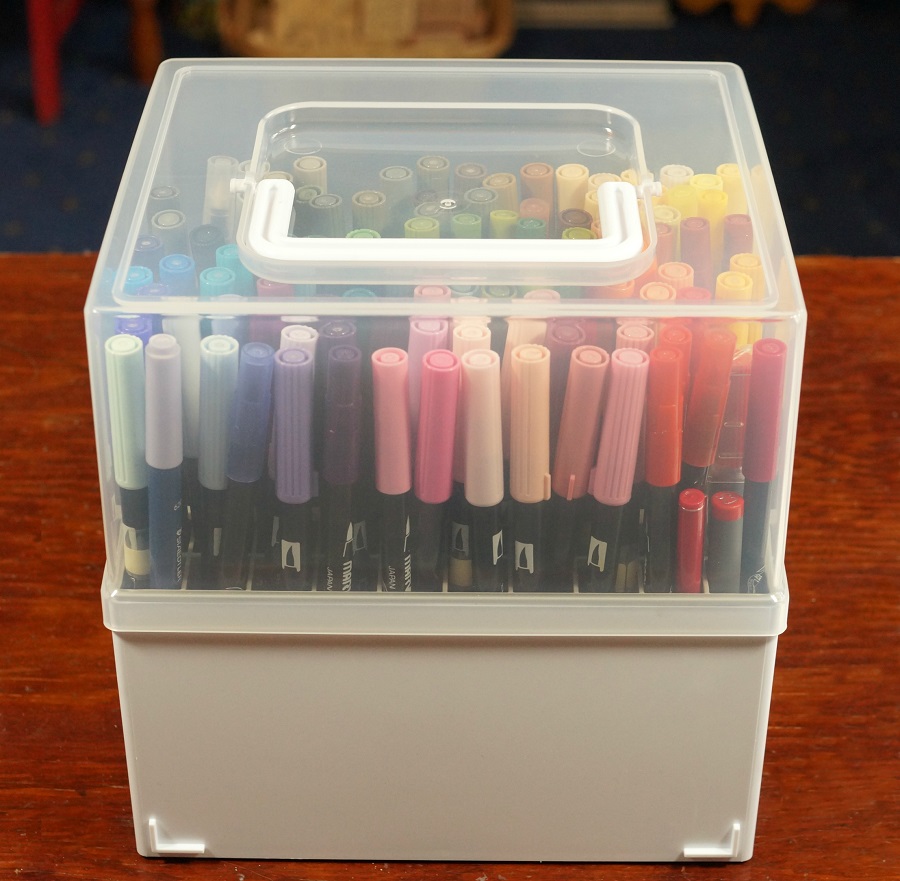
I like to use the Deflecto Interlocking Single Tilt Bins* all around the house.
I figured everyone else might like them too.
You could give the bins as is or fill them up for the ultimate gift.
Add a bow and your set to go.
Here are a few ideas to get you started.

For the Kids
Craft supplies, playdoh, Legos, the list could go on and on.
Disclosure: This blog uses affiliate links. If you choose to make a purchase using one of the links, I receive a small commission (at no additional cost to you) that helps offset the costs of maintaining this blog. Thanks for your support!

In the Bathroom
Hair ties, make up…Clear up the clutter on the bathroom counter.

In the Garage (or Mancave)
for the golfer in my life.
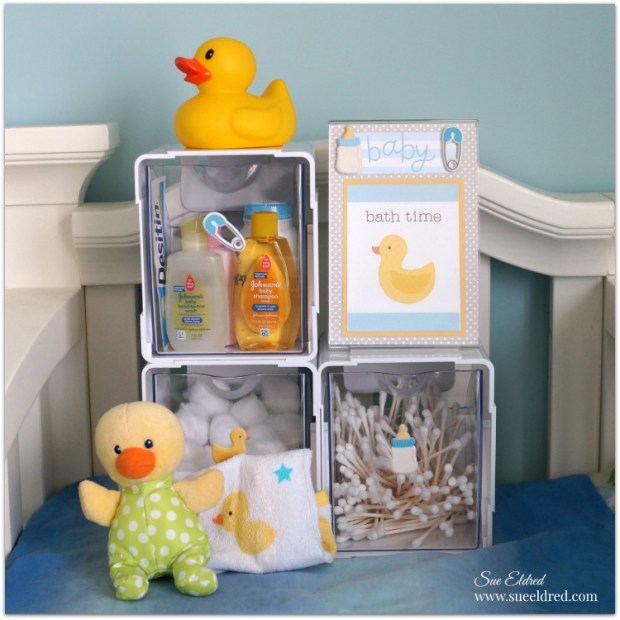
In the Baby’s Room
A great gift for the new mother.

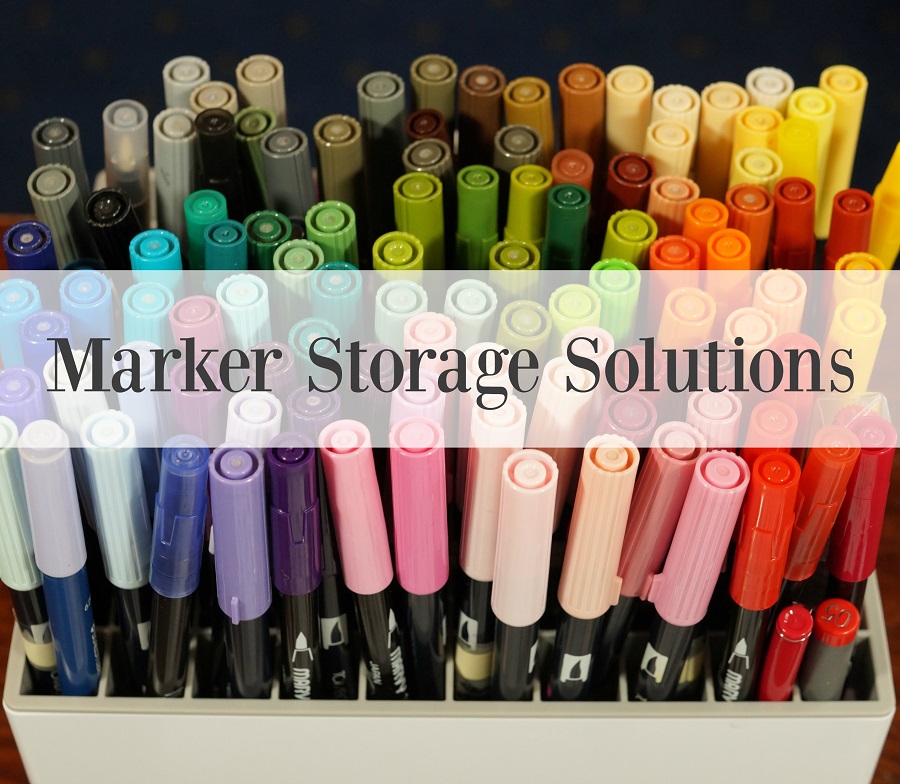
In the Craft Room
The bins are interlocking and stackable.
Great for little storage needs in the garage, craft room, nursery, kitchen, and even the kid’s room.
Wherever you need a little extra storage.
The nice thing about the interlocking single tilt bins* is that you can use just one or use
several. You can also hang them on the wall or use them with a mounting bar*.
![]()
Disclosure…“This is a sponsored post. As a member of the Deflecto Design Team I have been provided compensation and product in exchange for my creative ideas. The views and opinions are my own.