The challenge, this week, for the Paper House Production Design Team
was to create something using their 3D stickers. They have so many beautiful dimensional stickers
it was hard to choose.

The inspiration for this card came from a small picture frame picked up at Michael’s one spot.
The frame spoke to my soft feminine “girly” side.
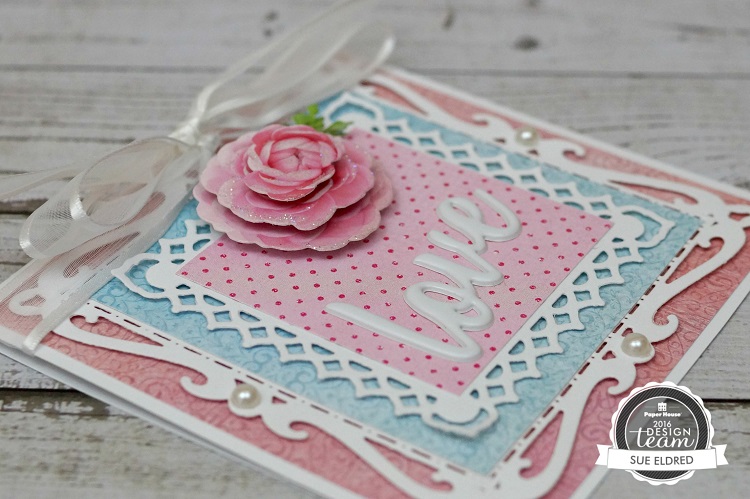
The pretty pink rose used on my card comes from the Sisters 3D sticker sheet.
Finished Card Size: 4 1/2″ x 4 1/2″
Paper House Productions Products Used on the Card:
- STDM-0256 Sister 3D stickers
- STP-0306RTE Faith Sculpted Stickers
- P-3092RTE Flamingo Mini Trim Cards 12″ Colorways Scrapbook Paper
- STP-0306RTE Faith Sculpted Stickers
- P-2017RTE Believe 12″ Double Sided Scrapbook Paper
Additional Product Used:
- Spellbinders S4-414 Nestabilities Captivating Squares Die Templates
- White Sheer Ribbon
- 3 Small Adhesive Pearls
- Foam Mounting Squares
“This is a sponsored post. As a member of the Paper House Productions Design Team I have been
provided product in exchange for my creative ideas, views and opinions.”