“Dyeing” for Spring

Welcome Spring with all your beautiful flowers, warmer days and everything renewed.

My Welcome Spring Banner turned into a real labor of love.

I began this project with the idea of using fun pink and purple hand cut felt flowers.

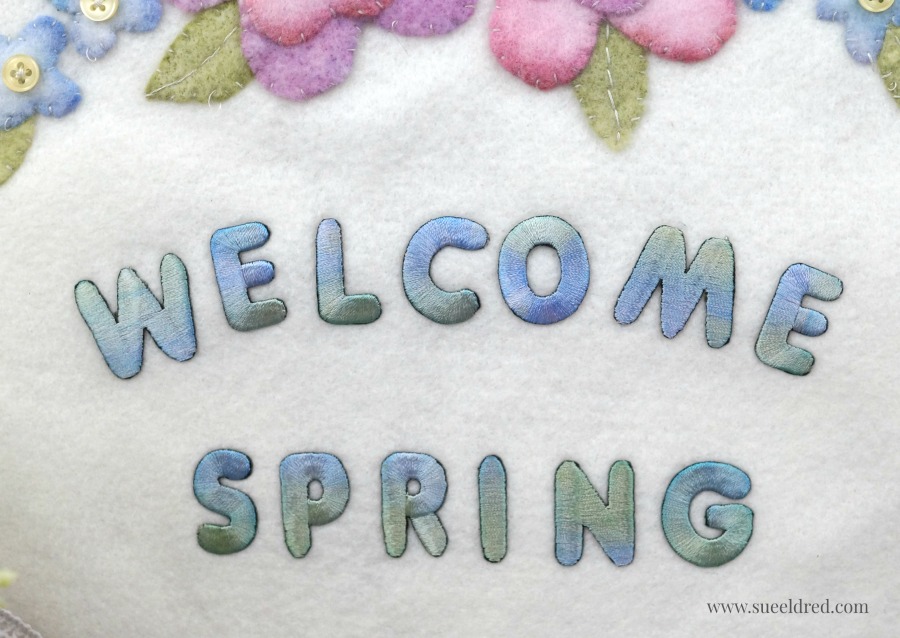
After I cut all the flowers and leaves, I decided to dye the embroidered letters.

The letters turned out so soft and delicate, I needed something softer for the flowers.

So…more flowers and more dyeing!  (make sure to read all the instructions below.)

I could of kept things simple and glued all the flowers in place, but noooo…

instead at the last minute I committed myself to stitching the entire thing.

Let me tell you…I’m not a stitcher!    (But, I am pretty satisfied by the way they turned out.)
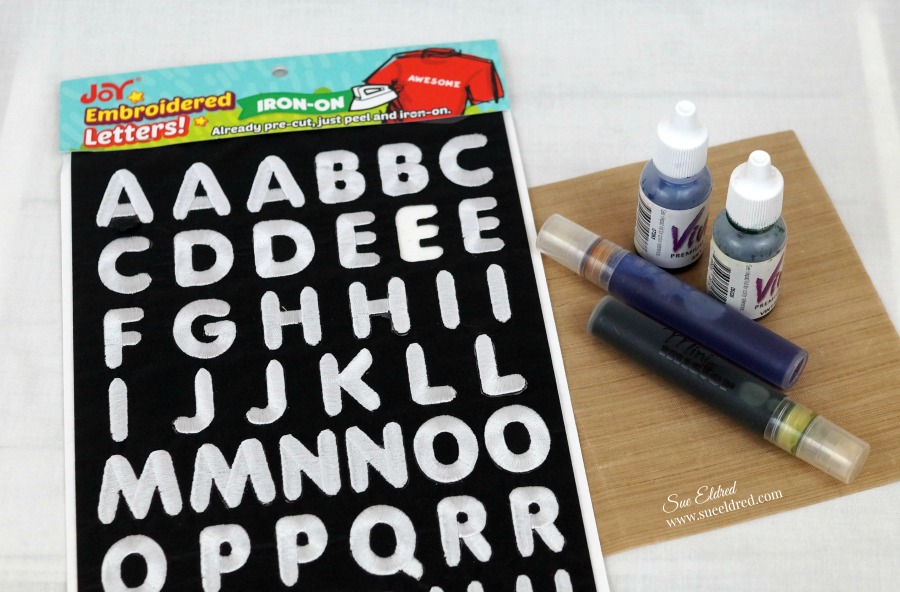
To make the Welcome Spring Banner you’ll need:

  1. Add several drops of dye ink to each misting bottle.
  2. Remove letters from backing sheet and place on a Non Stick Craft Mat* or (wax paper).
  3. Spritz the letters with both blue and green ink for a variegated look.  Allow the ink to soak into the letters then dab away excess ink and water with a paper towel.  Let dry.
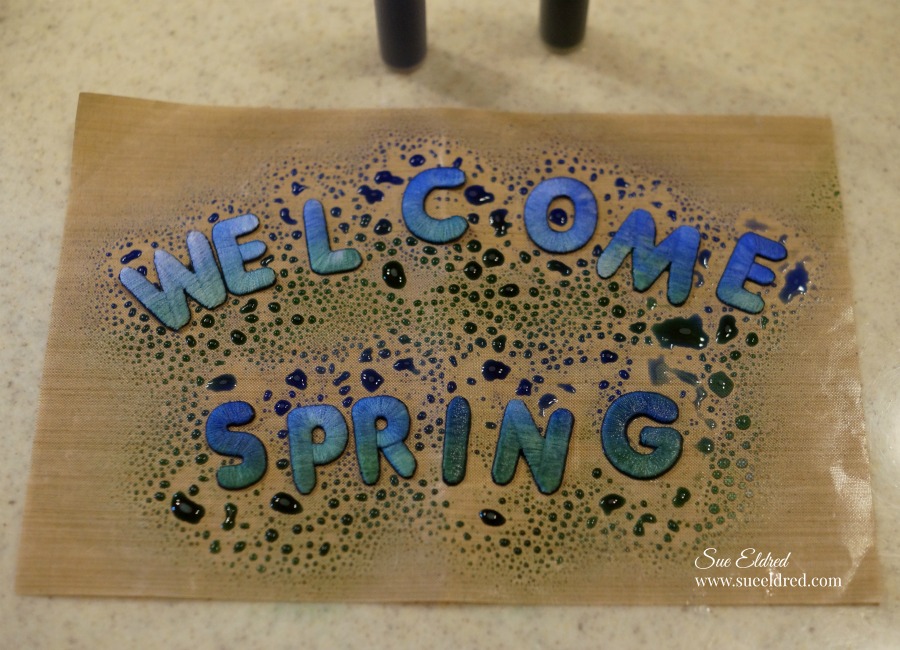
Look at how beautiful the letters dried.  ↓
4.  Create simple, hand drawn flowers (small, medium and large), circle and leaf patterns onto plain white paper.  Cut then trace around the patterns onto white felt.  Cut out.

5.  Spray the leaves green, set aside then spray the flowers and circles one color at a time.  Allow them to dry overnight.

6.  Layer the circle, small flower and large flower on top of each other then stitch in place.  Use a small amount of glue to hold the pieces in place while you stitch.

I love how the ink pooled at the edges of the pink flowers!

7.  To create the banner shape, fold a 10″ x 14″ piece of white felt in half lengthways.  Cut diagonally across the bottom from the center fold to a point about 3″ up from the bottom corner on the outer edges.  Stitch the flowers to the banner using a button at the center of each one.  Tuck leaves underneath the outer edges of the flowers then stitch in place.

8.  Set iron to cotton setting, approx. 350°, or follow garment care label.  Position letters with shiny side down on felt, then iron the letters in place as shown.  Cover letters with a fine cloth.  With firm pressure, iron cloth over the letters for 30 seconds.  Turn banner over and iron the back of the letters for 30 seconds.

9.  Use a sewing machine to stitch the banner to backing material, then stitch trim in place across the top and around the bottom edge if desired.
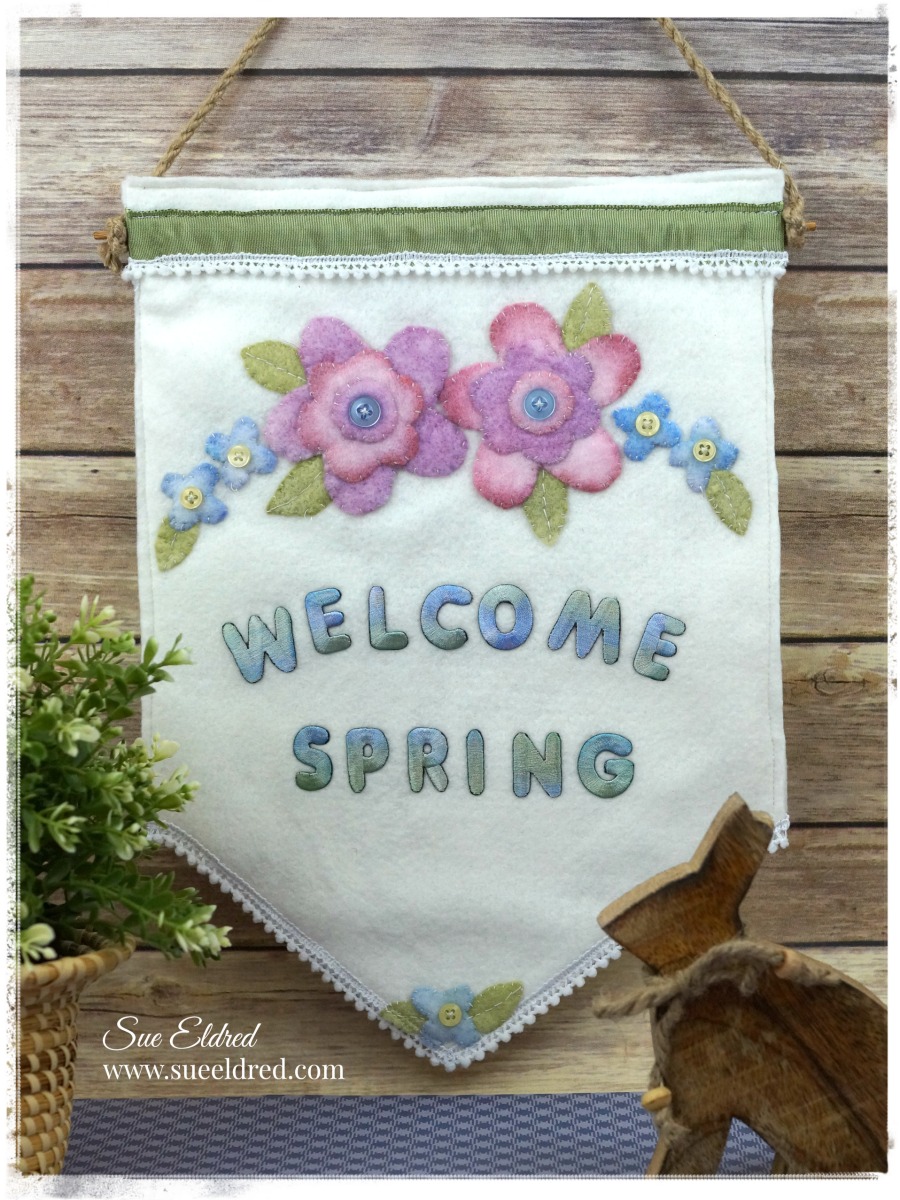
 If you need to finish your banner in less time, glue the flowers, leaves and trim in place, then use a fusible interfacing to adhere the felt banner to a backing.

Look for Joy® iron-on embroidered alphabet letter sheets at your local craft store.

My “Welcome Spring” banner was created for and sponsored by Joy SA.

Shop Your Fav Brands at Scrapbook.com

*Disclaimer:  This post uses ads and affiliate links.  If you choose to make a purchase using one of the links, I receive a small commission (at no additional cost to you) that helps offset the costs of maintaining this blog.  Thanks for your support!

Try Amazon Prime 30-Day Free Trial

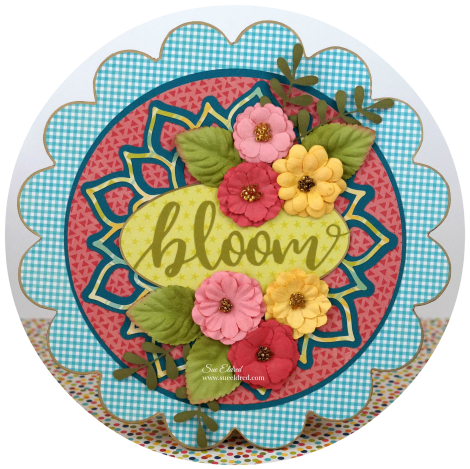
DIY Bloom Floral Plaque

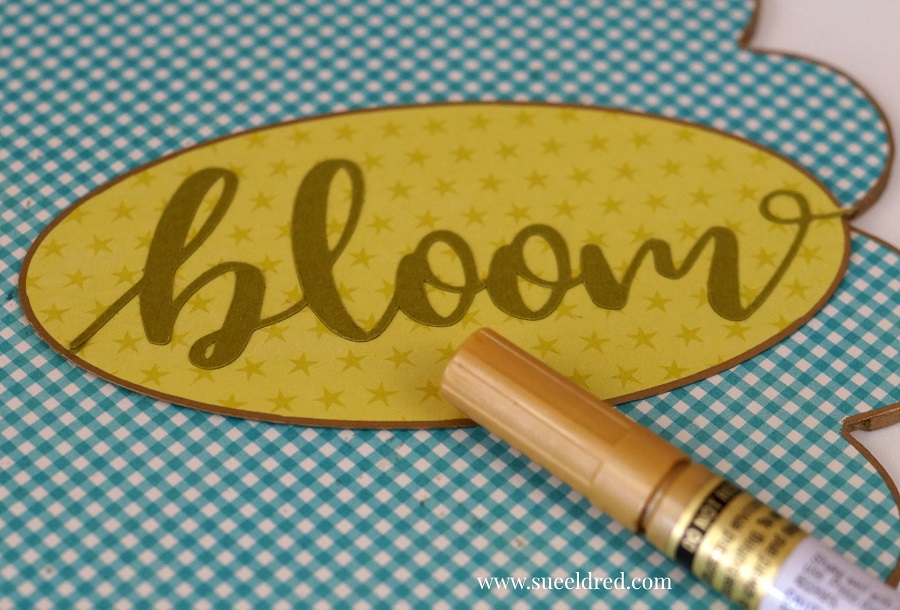
Bloom into Spring with this DIY Bloom Floral Plaque.

I admit it…I’m an adhesive snob.

There’s nothing worse than spending hours on a project and then it  comes undone

from using the wrong adhesives.

I tell people all the time “not all adhesives are created equal”.

That’s one reason why I was so excited to be on the Xyron 2018 Design Team.

Xyron has Good Adhesive!

The DIY Bloom Floral Plaque is the first of many projects to come using Xyron.

DIY Bloom Floral Plaque Products Used:    (*Affiliate Links)

*Disclosure:  This blog post uses affiliate links.  If you choose to make a purchase using one of the links, I receive a small commission (at no additional cost to you) that helps offset the costs of maintaining this blog.  Thanks for your support!

How to make a DIY Bloom Floral Plaque…

  • Lay a piece of a 8 1/2″ x 8 1/2″ piece of decorative scrapbook paper (design side up) on the Xyron Creative Station, 9″* crank the handle to run the paper through the machine.  As it moves through the Xyron Creative Station it adds adhesive to the back side of the paper.
  • Easy to use and it doesn’t need any electricity.

       You get complete coverage, no gluing, no wrinkling, no bubbles!

  • Lay Wood Flower Shaped Plaque onto the adhesive side of the paper.
  • Carefully cut around the wood shape with a craft knife and craft cutting mat.

  • Gently sand away rough-cut edges on the paper using an extra fine sanding block.

  • I used my electronic die cutting machine and cut files to create pieces for my background.  The Xyron Creative Station* is great for adding adhesive to the back of intricate pieces.

  • After the layers are adhered together, I use the XYRON Adhesive Eraser* to remove any extra adhesive from the edges of my pieces.  Remember to use a gentle touch.

The XYRON Adhesive Eraser* is one of my favorites must have tools.  I keep it on my desk at all times.

I think every paper crafter should carry one in their supply box.

  • For added detail…use a gold paint pen to edge around the outside of the Wood Flower Shaped Plaque and the decorative scrapbook paper oval.

  • My Xyron Creative Station* makes quick work of assembling all the pieces of my DIY Bloom Floral Plaque.
  • Finish embellishing the plaque with a few paper flowers glued into place with craft glue.

 “This is a sponsored post. As a member of the Xyron Design Team I have been provided product and compensation in exchange for my creative ideas.  The views and opinions are my own.”

A Creative Mess…

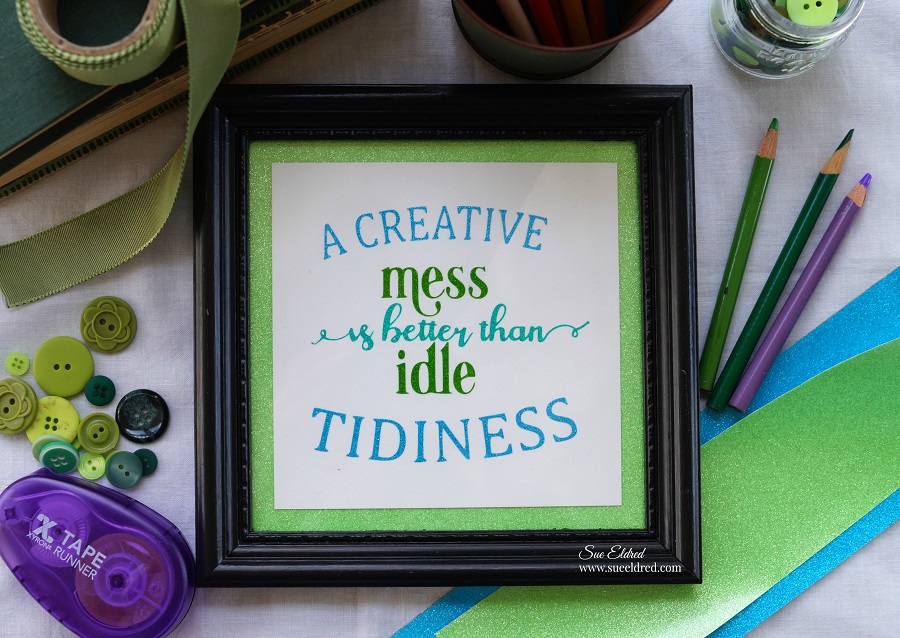
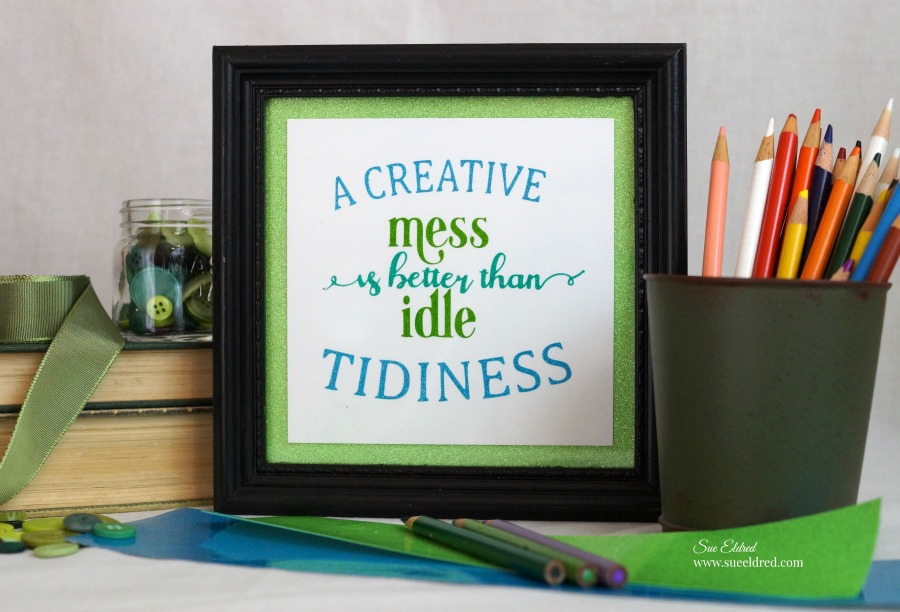
 A Creative Mess is better than idle Tidiness.

I love this saying, it fits me to a tee.

I do like a neat and tidy craft space, but when I’m working on a project, it’s a complete mess.

To create the words…

I created the saying using a design file on my Silhouette CAMEO 3 Wireless Cutting Machine*

using 12″ x 12″ Adhesive Glitter Vinyl Sheets by StyleTech*.  I laid all three of my vinyl colors

down on the cutting mat at the same time and cut my saying with one pass of my machine.

Styletech Craft products brought to you by ATSM Craft 

Disclosure:  This blog uses affiliate links.  If you choose to make a purchase using one of the links, I receive a small commission (at no additional cost to you) that helps offset the costs of maintaining this blog.  Thanks for your support!

I Love Square Frames and a Good Bargain…

I found this 90’s framed print at a garage sale for 25¢ and painted it black.  

I added my words onto a piece of white cardstock using transfer paper.   I adhered the white

cardstock onto an extra piece of glitter vinyl and inserted it into the frame.

A Quick and Easy, Thrifty Home Décor piece for my Crafty Space.

“This is a sponsored post.  As a member of the StyleTechCraft Design Team I have been provided product and compensation in exchange for my creative ideas.  The views and opinions are my own.

Making it Cozy…

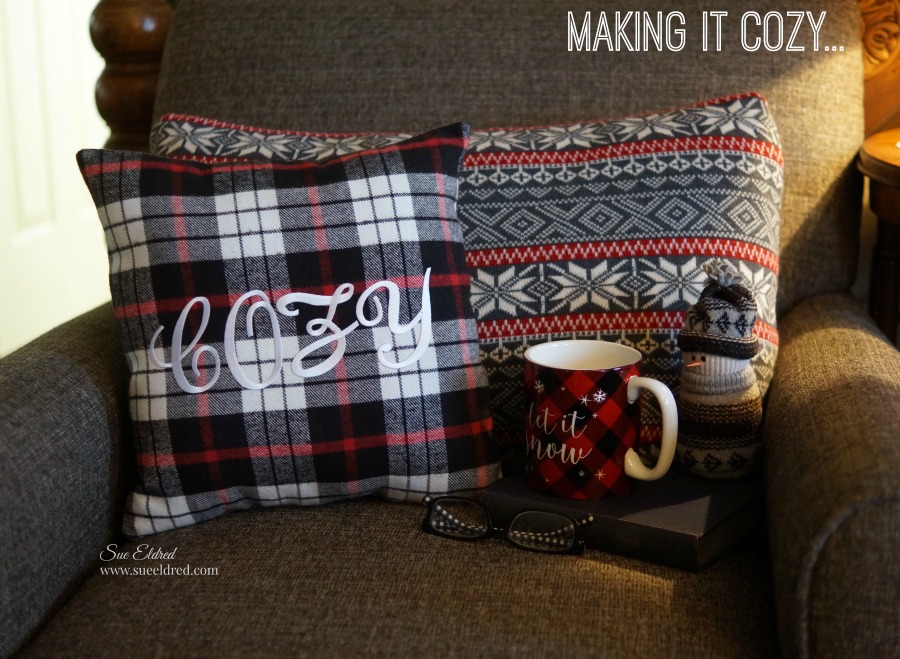
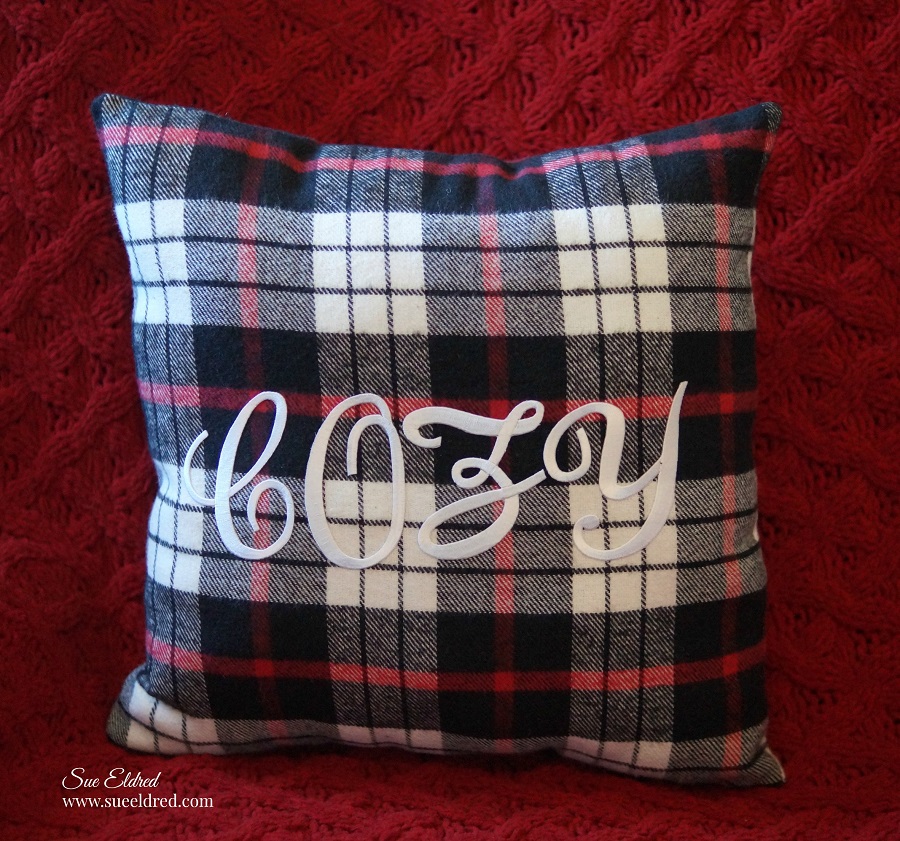
Cozy up the house this Winter with a personalized flannel pillow!

When the holidays are “really” over and everything is finally packed away…

it’s time for me to relax, cozy up with a comfy pillow, warm blanket and a good book.

I love to hibernate in the winter.  (I really don’t like the cold)   

That’s when I start layering up the house (and me) with blankets and pillows.

I like it warm and “cozy”.

To make my Cozy pillow you’ll need:

Directions:

  1. With right sides together, sew three sides of the flannel pieces together to create the pillow cover. Turn so the right side is facing out.
  2. Position the letters on the front then, following directions on the back of the package, iron in place using a pressing cloth.  Let cool then turn the pillow cover inside out and iron again from the back.  Let cool for at least one minute, then turn again with the right sides out.
  3. Insert the pillow form then stitch then the pillow cover closed.

My cozy pillow was created for and sponsored by Joy SA.

Joy® iron-on numbers and letters are available in different sizes, colors and fonts at your favorite craft stores…

Try Amazon Prime 30-Day Free Trial

*Disclaimer:  This post uses ads and affiliate links.  If you choose to make a purchase using one of the links, I receive a small commission (at no additional cost to you) that helps offset the costs of maintaining this blog.  Thanks for your support!

Top Ten Blog Posts of 2017

As 2017 winds to an end…

It’s fun to look back through the year and pick which posts were your favorite (and mine too).

As a special treat, this year, I’m joining along in with a group of 40 awesome

Creative Bloggers in a Blog Hop sharing their top 10 favorite posts.

Prepare yourself for Creative Goodness Overload.


Shop Your Fav Brands at Scrapbook.com

If you’ve come from Tifany DeGough  your next stop would be  Melissa Elsner.

As promised here is the full list of the Top Ten Blog Hop…. (enjoy!)

Shop Amazon Scrapbooking Supplies*

*Disclaimer:  This post uses ads and affiliate links.  If you choose to make a purchase using one of the links, I receive a small commission (at no additional cost to you) that helps offset the costs of maintaining this blog.  Thanks for your support!
Sprucing Up with Holiday Greens

It doesn’t have to cost a lot to spruce up your home for the Holidays.

I took advantage of the beautiful warm December Day we had yesterday to spend time outside

sprucing up the front porch with some Holiday greenery.

This year…October and November was an extremely busy and stressful time for me.

And, even though I winterized and cleaned up most of the flowers in the flower beds.

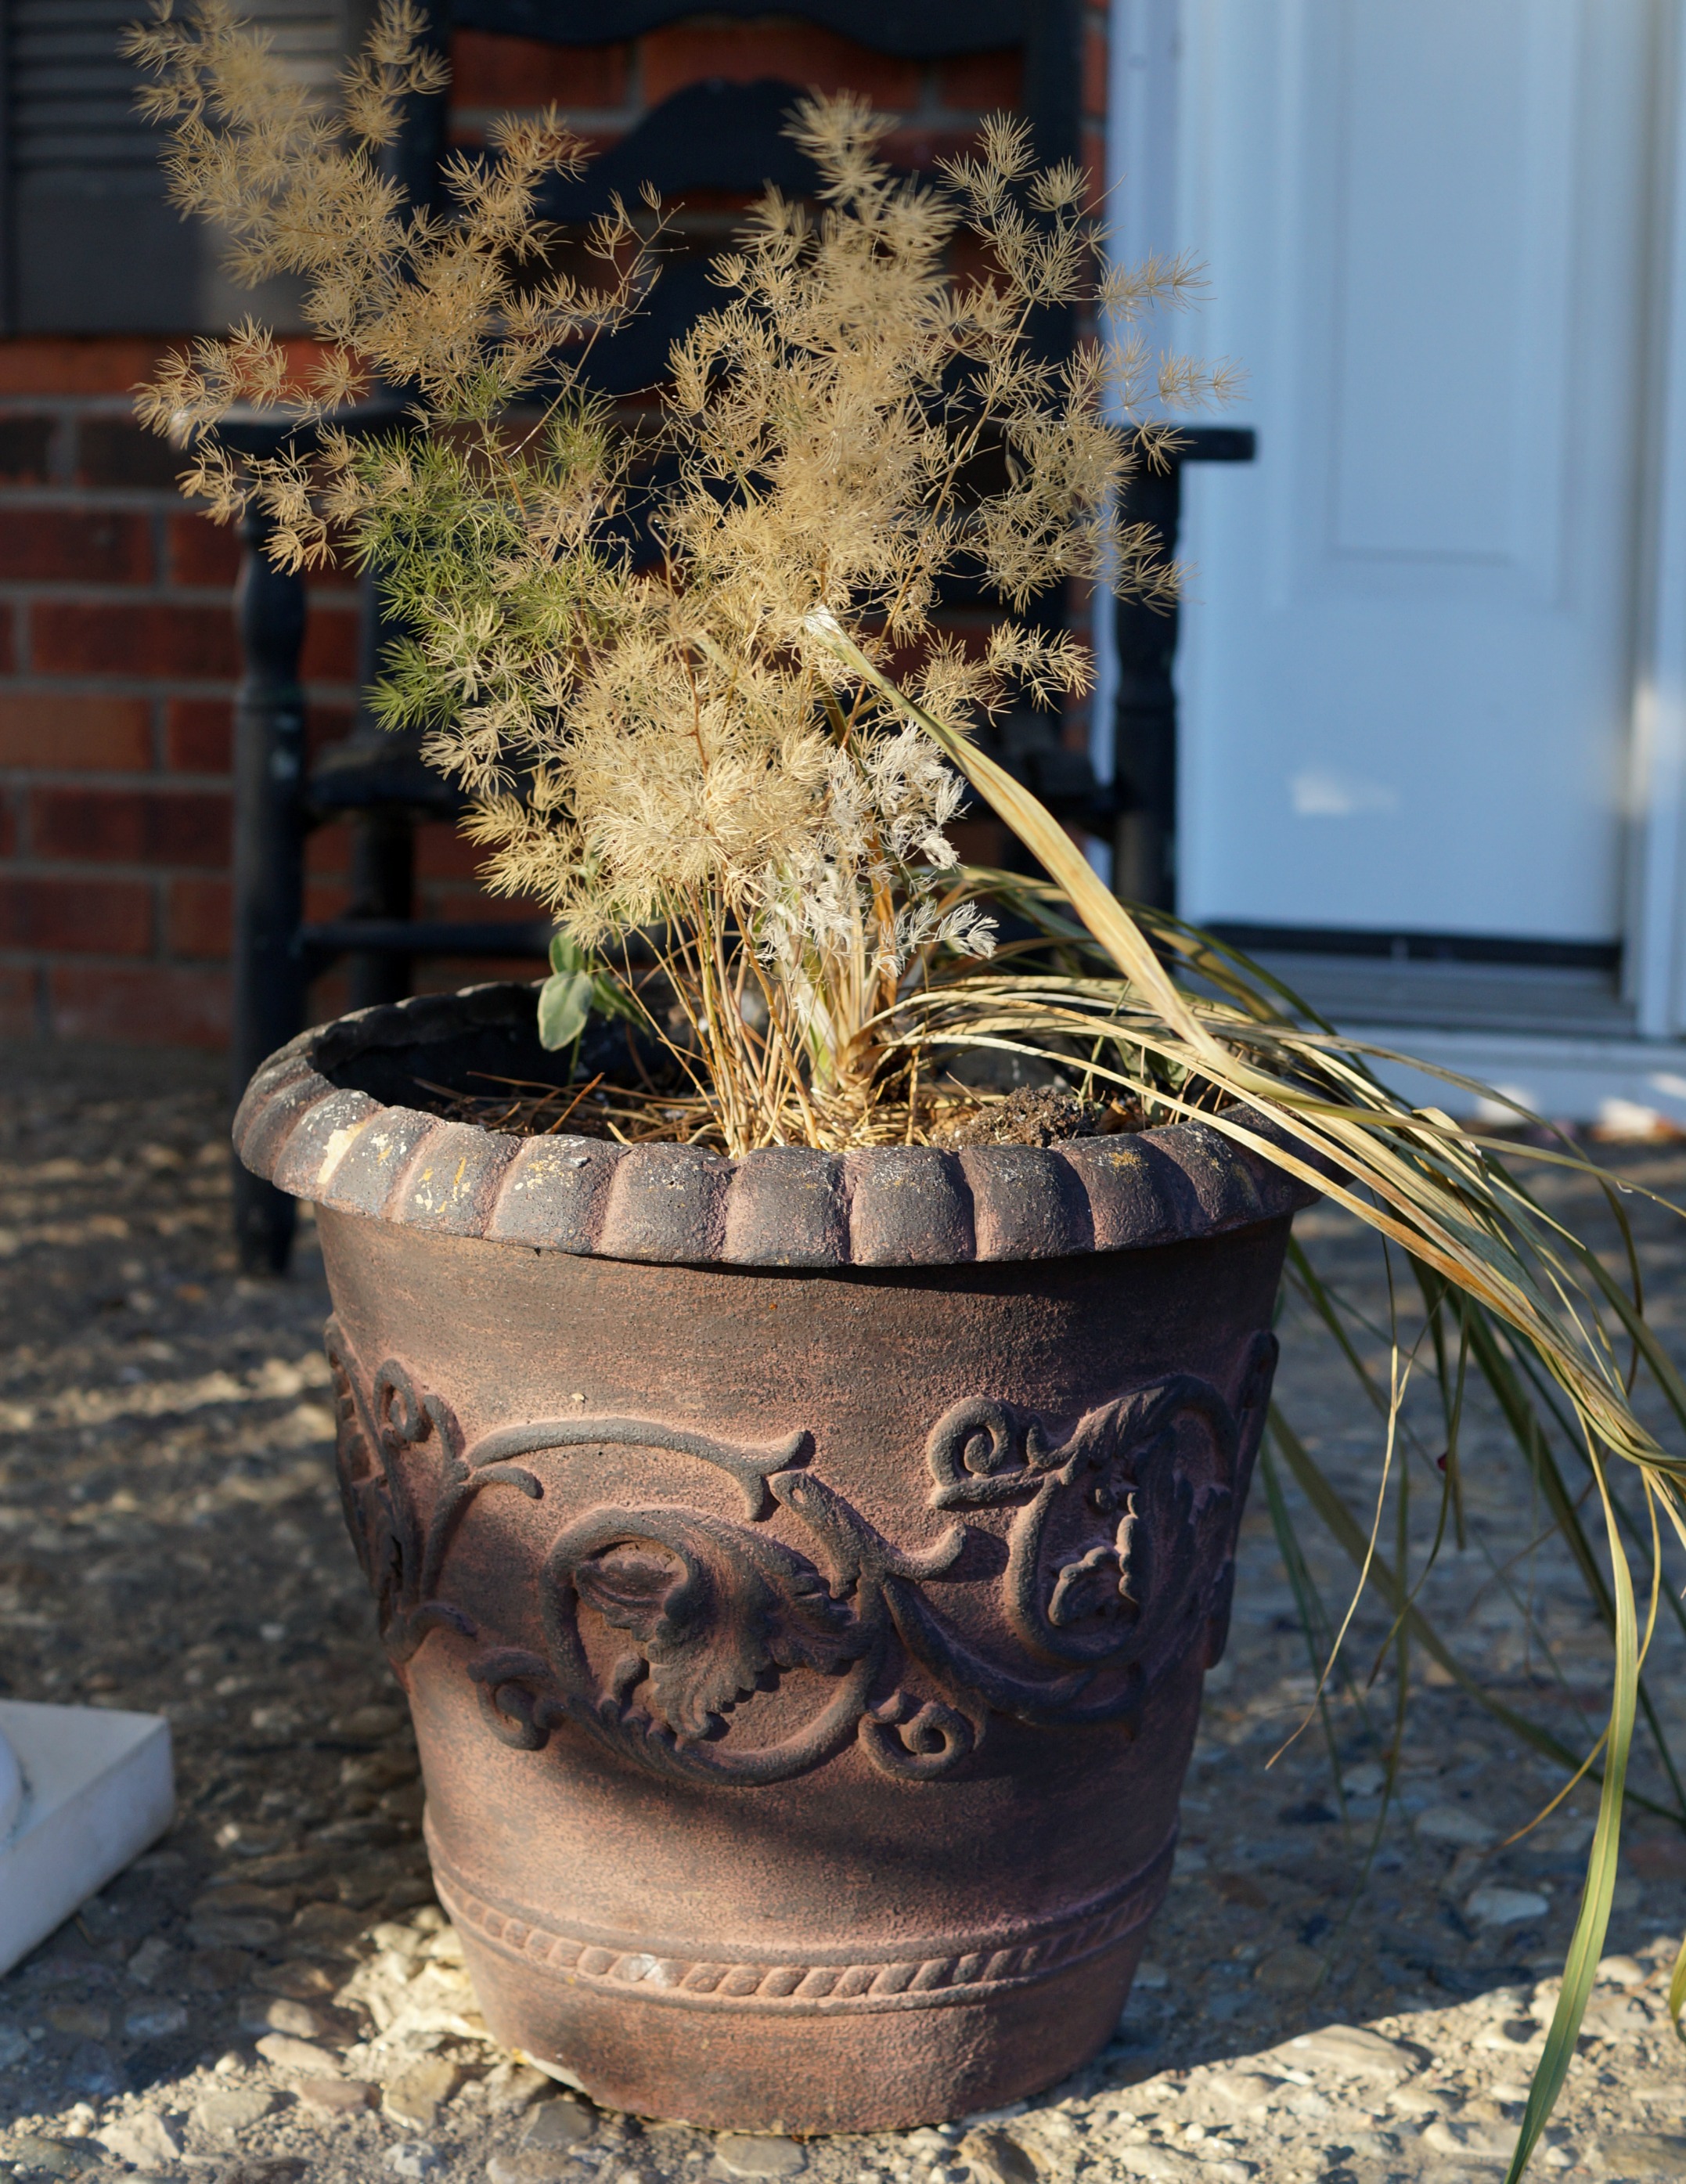
The big pots on the front porch were ignored.

A little Holiday Love was needed.

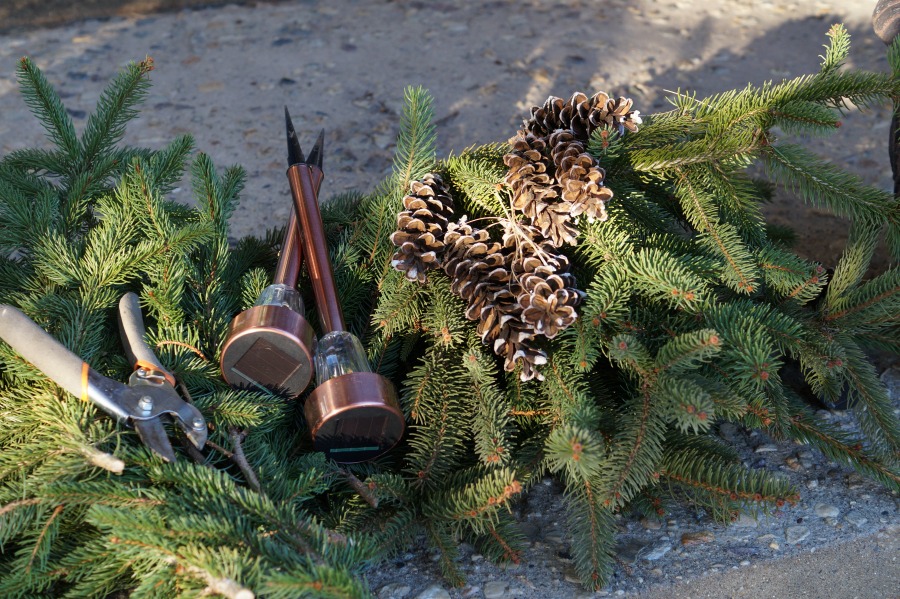
I used my Fiskars Pruning Shears* and went around the yard and cutting sprigs of pine

branches from the large pine trees in my yard.  (lucky for me I have several)

I have a friend who buys an extra Christmas tree to chop up the branches to use for greenery.

After finishing cleaning out the pot…

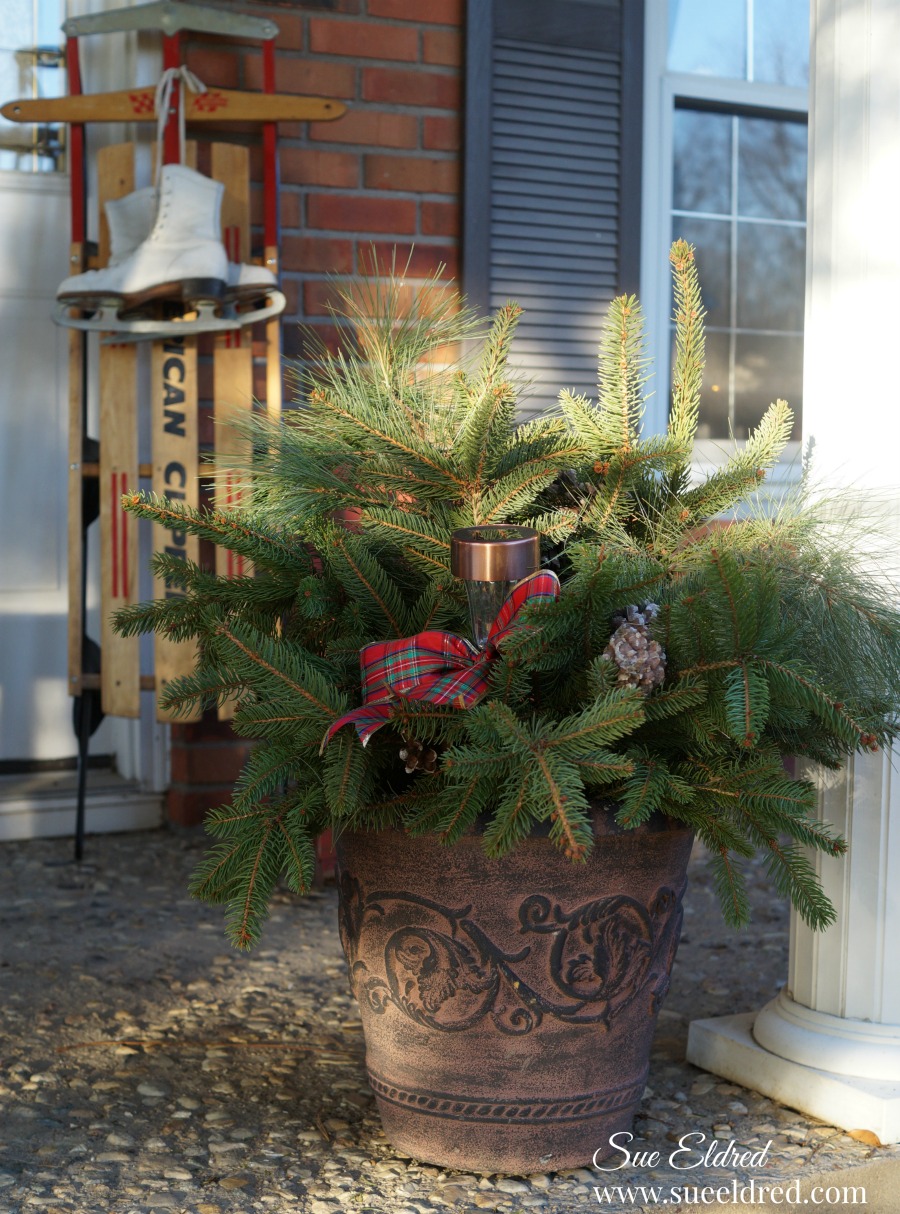
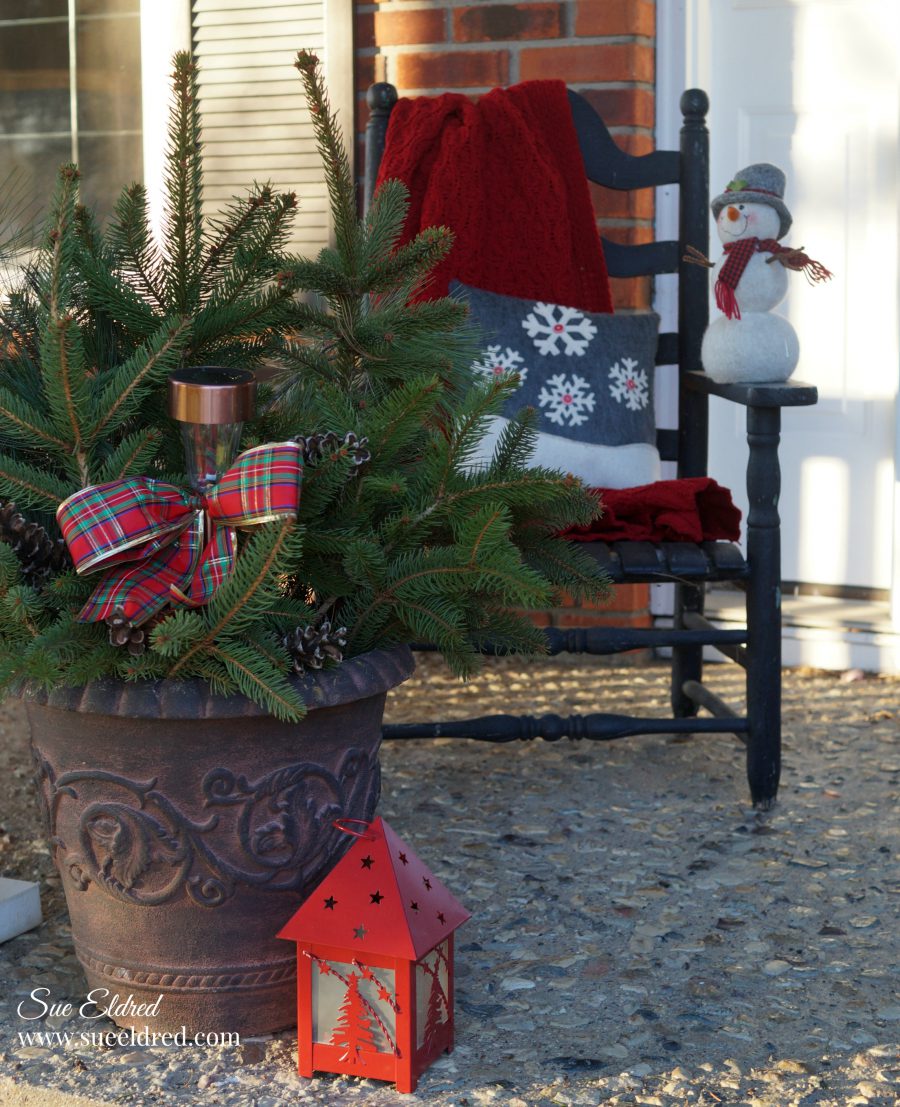
I stuck the ends of the branches into the dirt filling up the pot making it look like a little tree.

I added a few pinecones for fun.

I tied a simple bow around the neck of a Solar Lamp* and added that to the pot.

So simple and easy.  But, what a difference it makes.

One for the other side of the stairs as well.

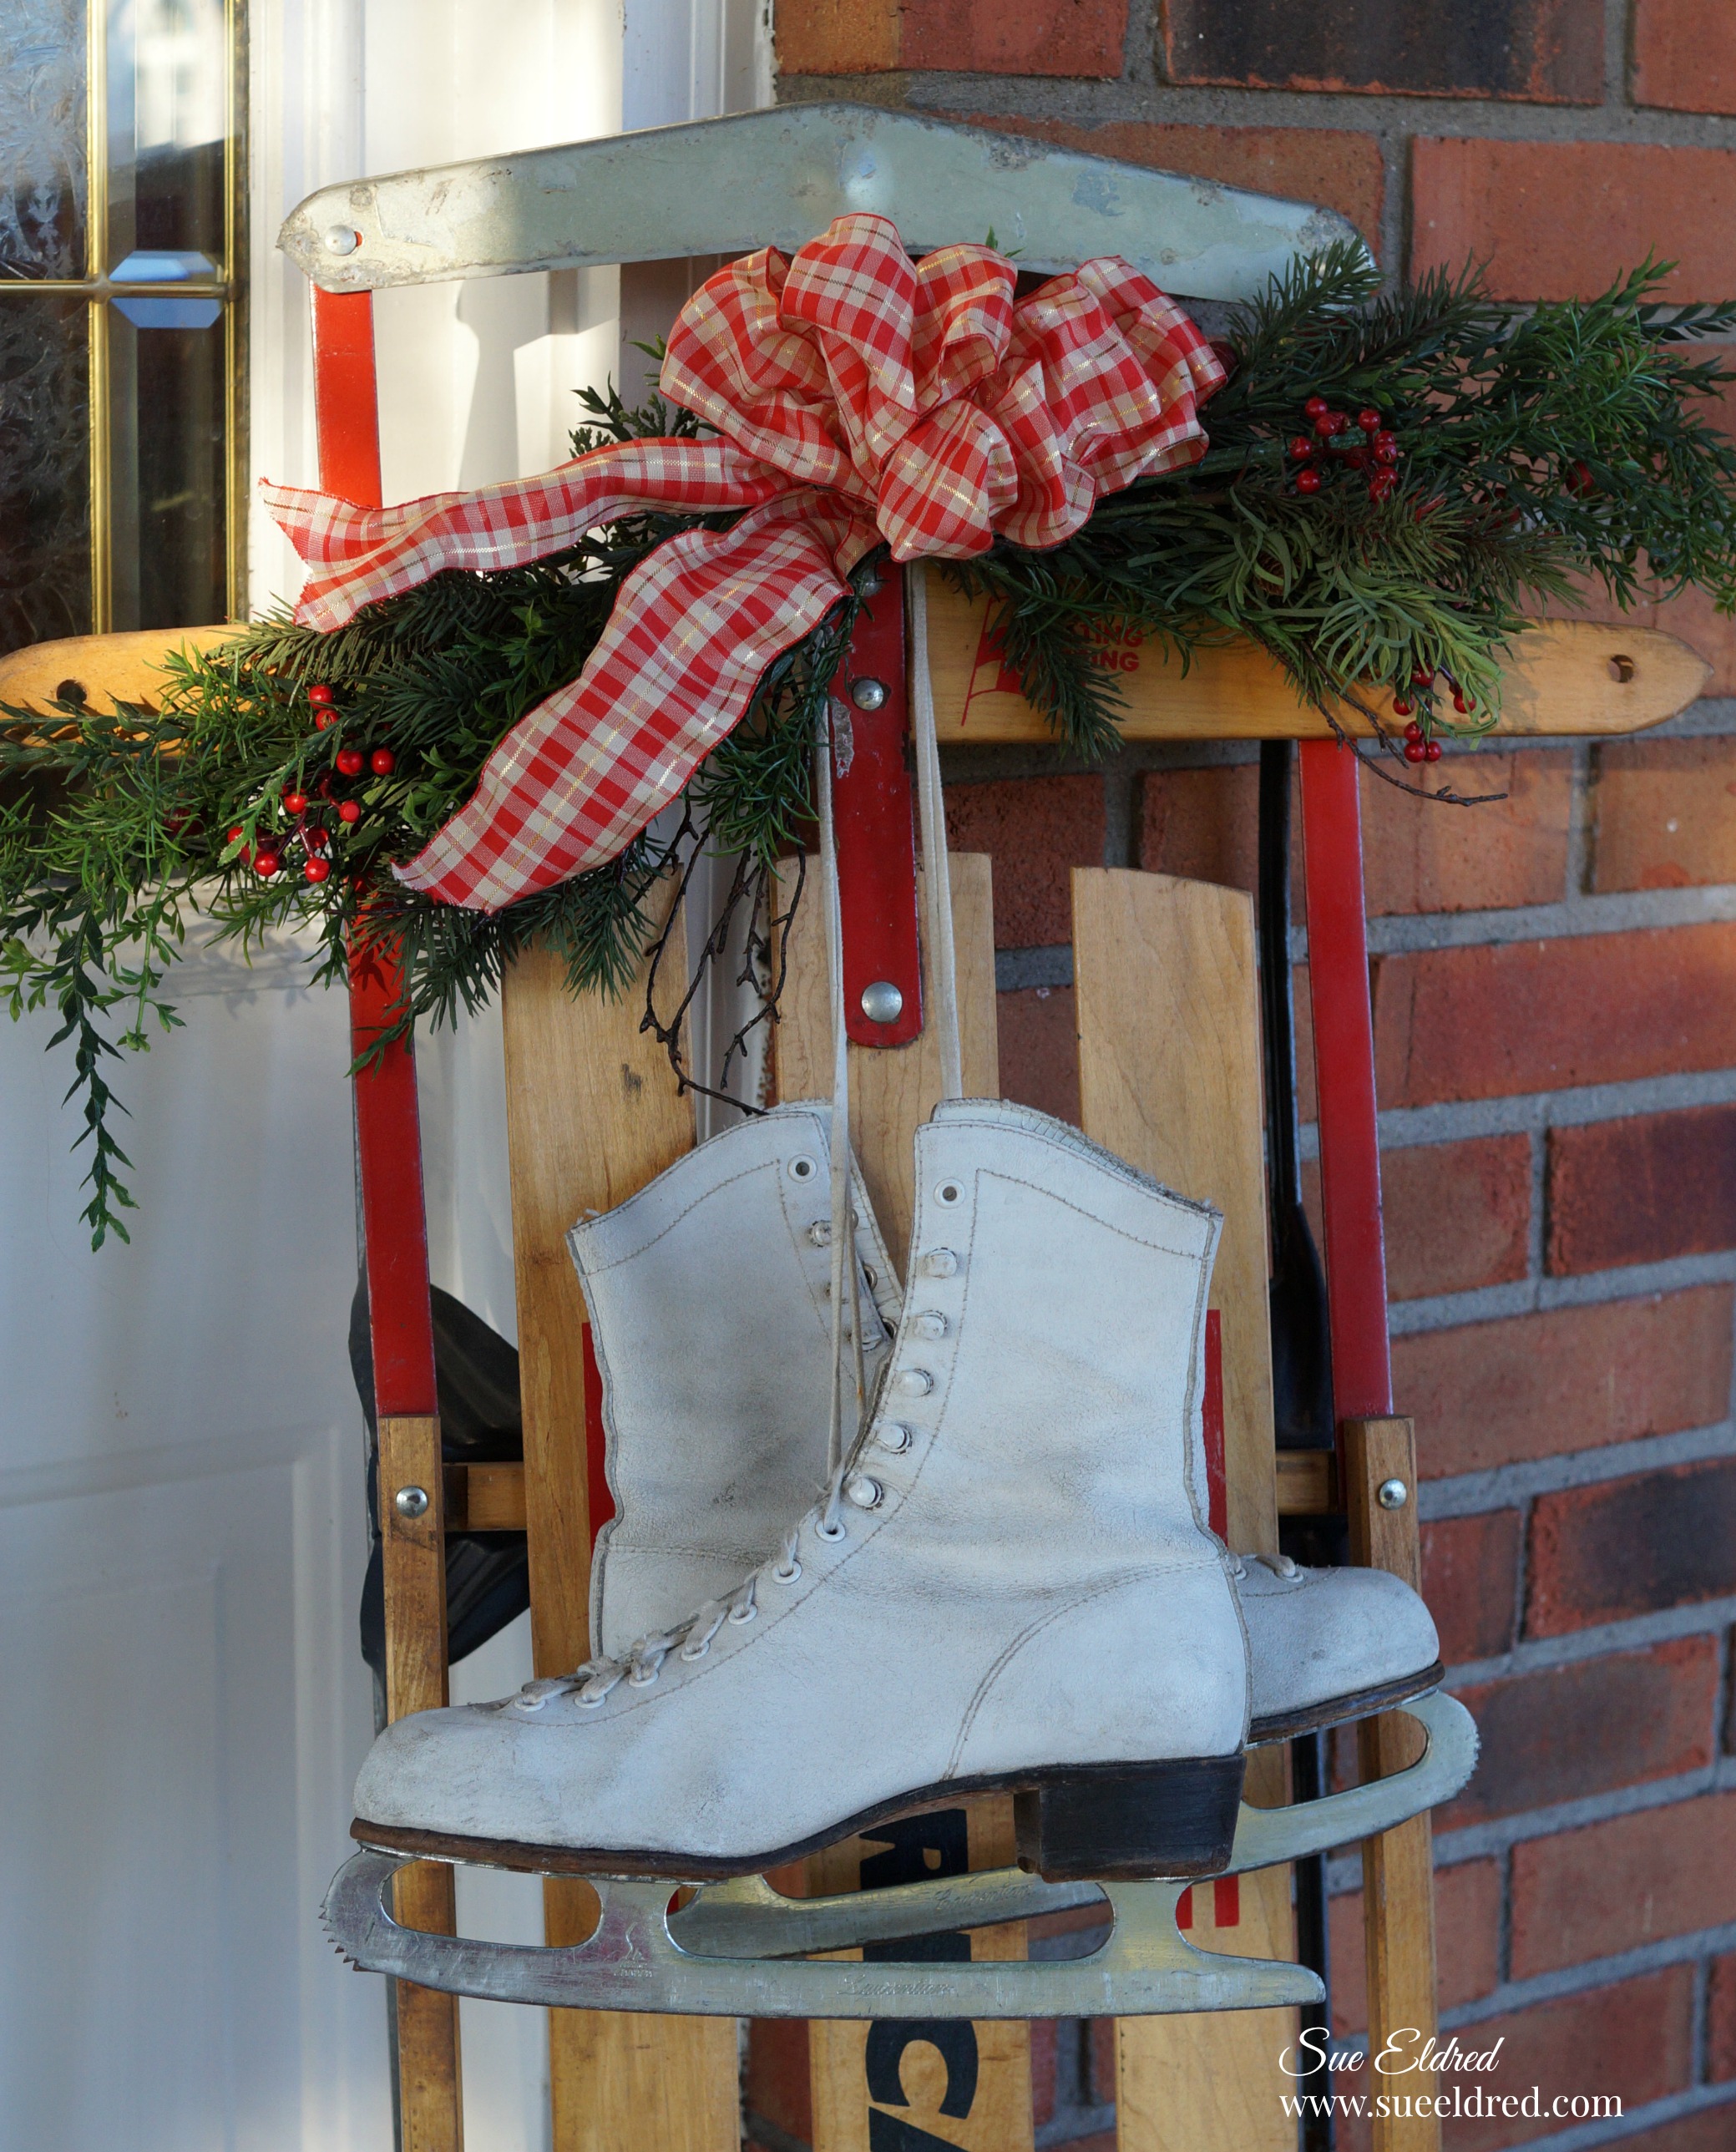
A little Holiday swag for the sled.

I love this vintage sled I picked up at a flea market last year for only $15… skates included.

I’m keeping it fairly simple again this year.

I’ll be honest, with losing my Dad last month, I’ve had a hard time decorating this year.

I’m giving myself grace to keep it simple.  Family is really all that matters.

Happy Holidays…from my house to yours


Holiday Gift Guide!

*Disclaimer:  This post uses ads and affiliate links.  If you choose to make a purchase using one of the links, I receive a small commission (at no additional cost to you) that helps offset the costs of maintaining this blog.  Thanks for your support!

Try Amazon Prime 30-Day Free Trial

Grateful for Fall Frame

Grateful for Fall Frame.

When the days and nights start to get a little cooler… I start looking for simple ways to bring

Fall into my home.  One simple way is by adding beautiful graphics found on scrapbook paper

and adding it into a frame.

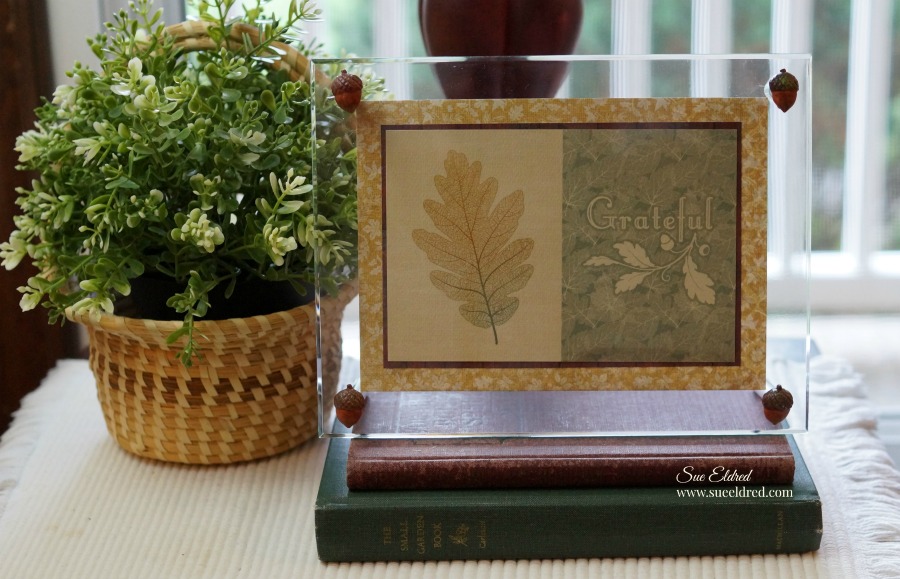
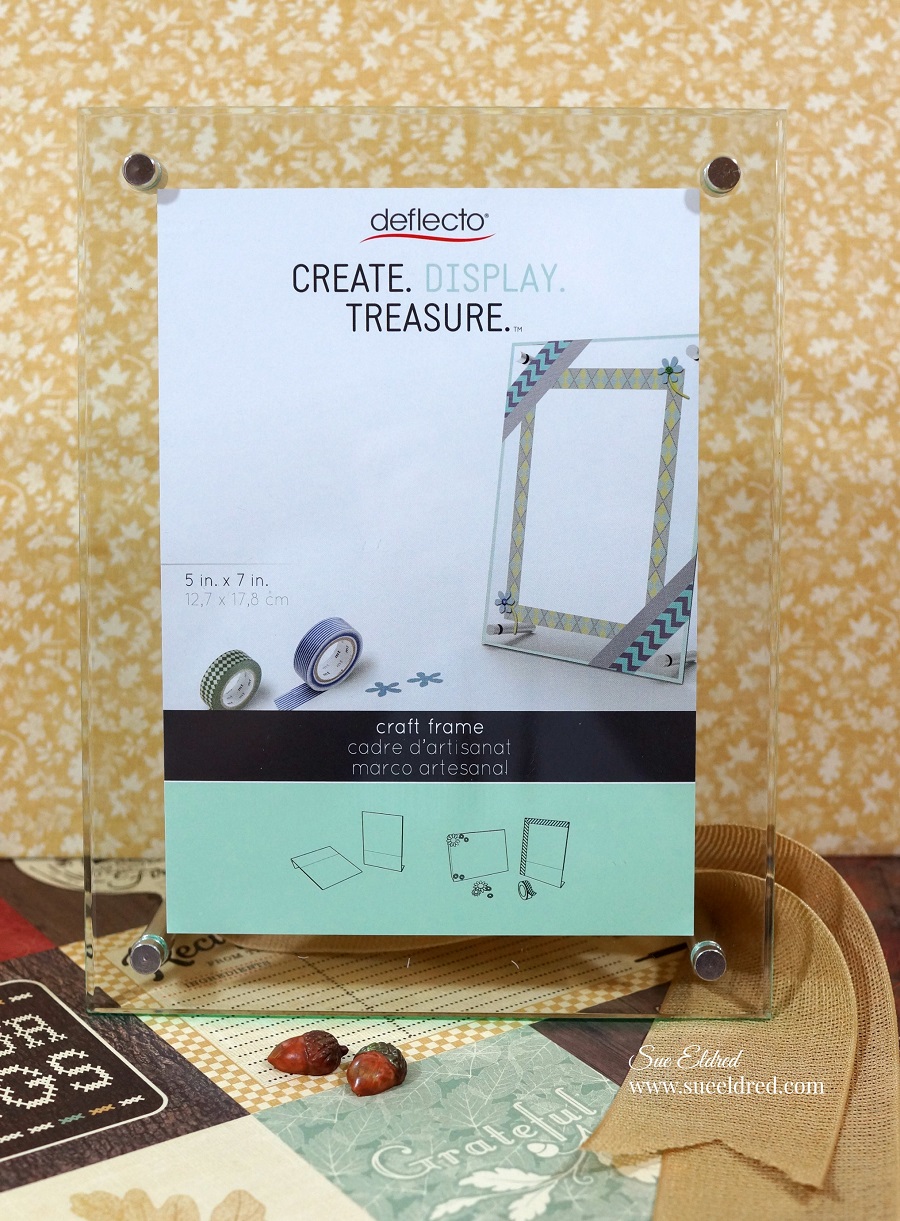
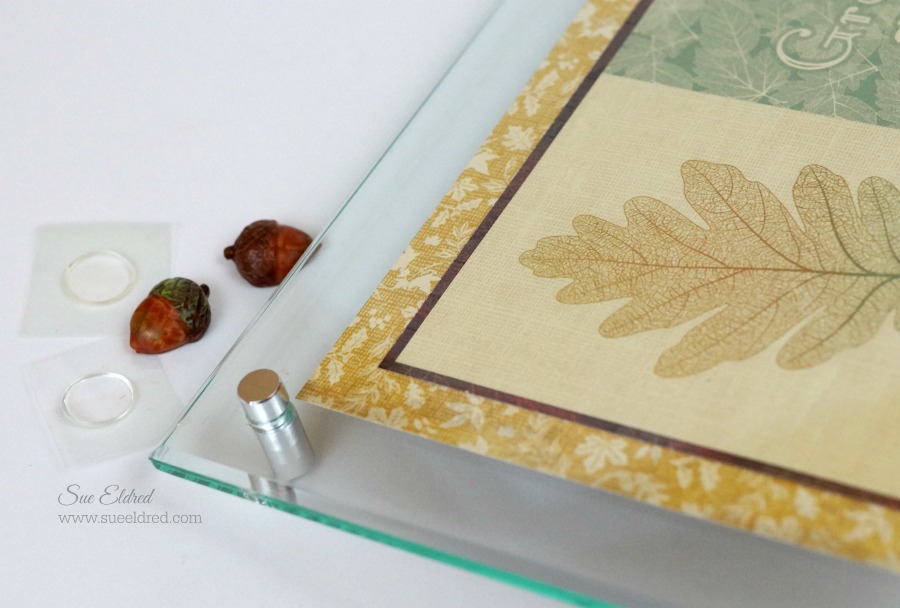
I made my “Grateful for Fall” frame using the Deflecto 5″ x 7″ Beveled Edge Acrylic Frame* 

and beautiful fall paper from Authentique Bountiful Collection*.  (*affiliate link)

After cutting and matting the fall graphics from the Authentique Bountiful Collection*,

I added resin acorns to the metal knobs with Zots Adhesive Dots*.

Simple Fall Decorating.  (and a simple reminder to be grateful)

“This is a sponsored post. As a member of the Deflecto Design Team I have been provided product in exchange for my creative ideas, views and opinions.”

Zots Adhesive Dots

*Disclaimer:  This post uses ads and affiliate links.  If you choose to make a purchase using one of the links, I receive a small commission (at no additional cost to you) that helps offset the costs of maintaining this blog.  Thanks for your support!

Try Amazon Prime 30-Day Free Trial

Sea Glass Milk Bottle Vase

How to create a Sea Glass Vase…

I love the light and airy look of sea glass.

Inspired by a recent trip to the ocean… I decided to try my hand at making a Sea Glass Vase.

I used these cute Milk Bottles* from LeisureArts*  and Krylon Sea Glass Spray Paint, Aqua*.

The Sea Glass Paint is available in several colors like Sea Glass Ruby*.  (I’m thinking Christmas!)

I contemplated the best way to paint my bottle.  Because I wanted to also paint the bottom of

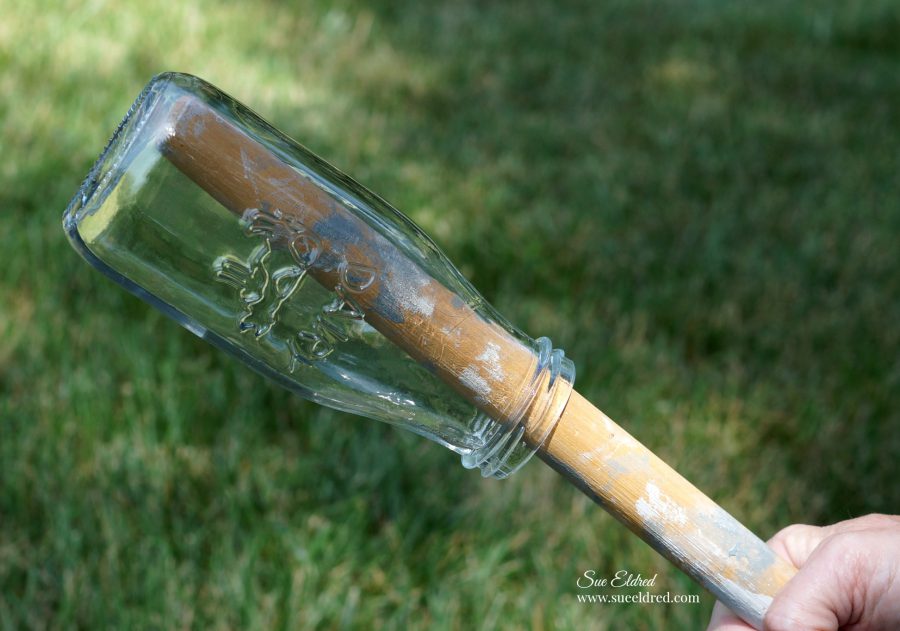
the Milk Bottle*,  I came up with the idea of inserting a paint roller handle into the bottle.

While the idea was good in theory, it was hard to rotate the jar evenly when spraying.

(see first at tempt picture below↓)

After the first attempt…  I got a little smarter and wrapped the handle in paper, making a

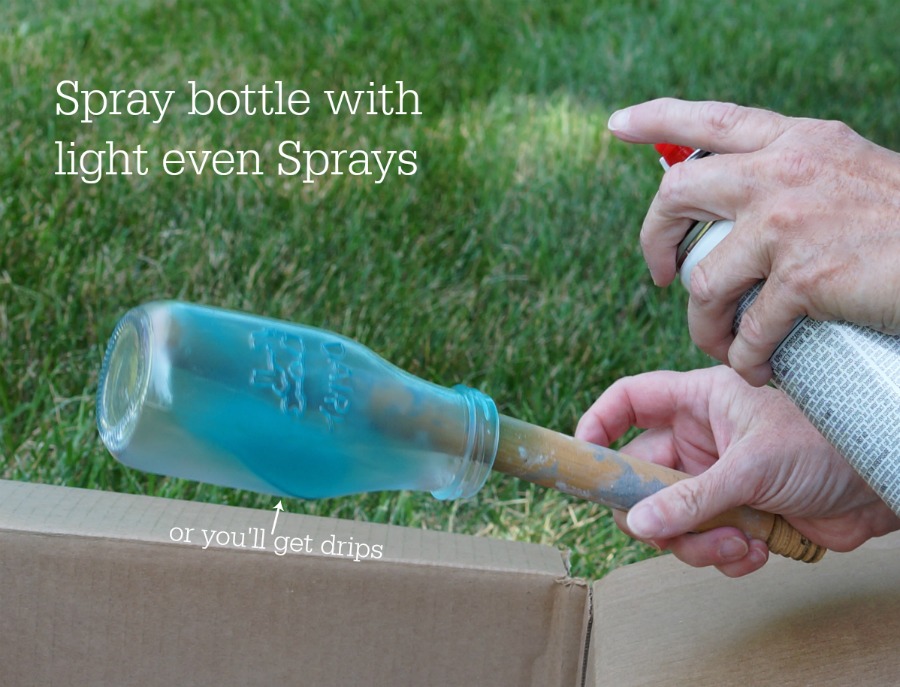
snugger fit.  (that worked great)  I was able to rotate the bottle using the handle as I sprayed

the bottle with short thin coats of paint to avoid drips.

The more coats applied the less translucent the finish will be.

Once painted, I was able to use the handle to aid in drying.

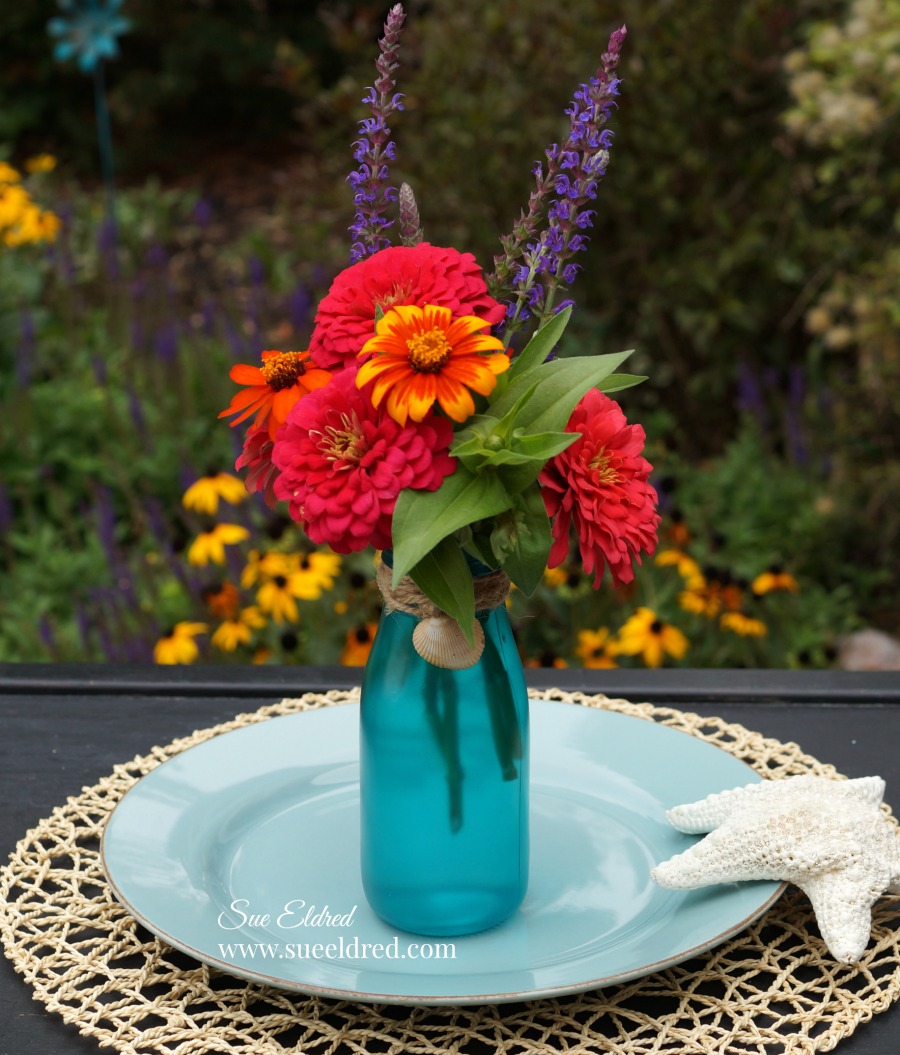
To go with the Beachy Sea Glass look, I wrapped twine around the neck of the Milk Bottle*

and added a small seashell I picked up on the beach.     (FYI…vase should be hand washed only)

A perfect addition to the dinner table.

Shop Your Fav Brands at Scrapbook.com

Disclaimer:  This blog uses ads and affiliate links.  If you choose to make a purchase using one of the links, I receive a small commission (at no additional cost to you) that helps offset the costs of maintaining this blog.  Thanks for your support!

Shop Amazon Scrapbooking Supplies*

Saturday Morning Memo Board

Making Saturdays Special..

Make family time more special with this cute memo board.

Now that the kids are starting to head back to school, weekends are more important than ever.

It’s nice just being together.

Whether I post a reminder about a fun event or a special note to say “I love you,”

this memo board helps me remember that Saturdays should be a little more laid back –

just the way I like it.

To make the Memo board I used…                     (*amazon affiliate link)

Directions:

  1.  Measure and cut the cork tiles to fit inside the frame.
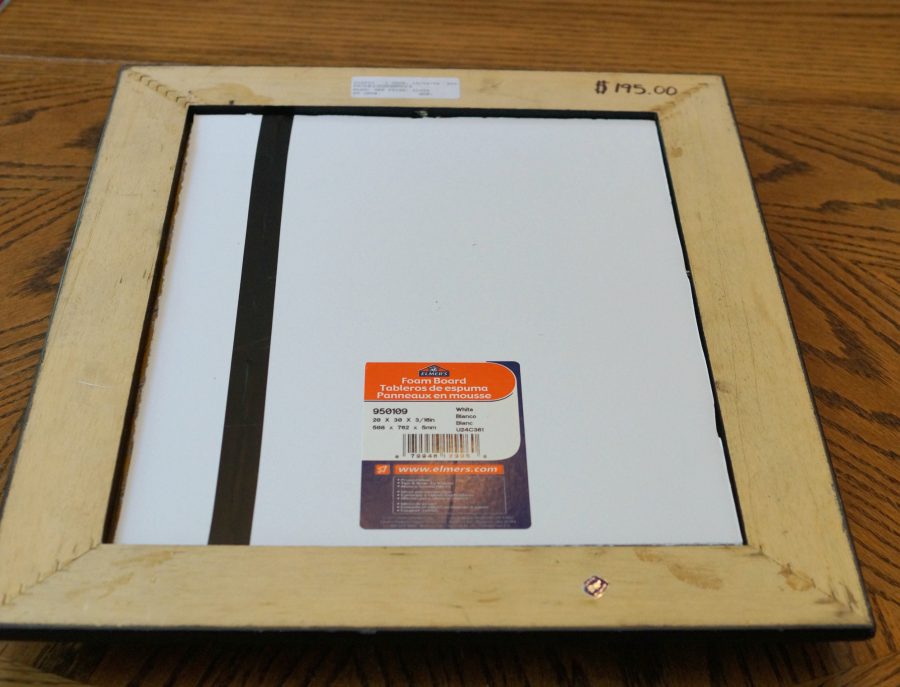
  2. Because my frame was deep, I cut a piece of foam board the same size.  I glued the cork tiles to the foam board using liquid glue.

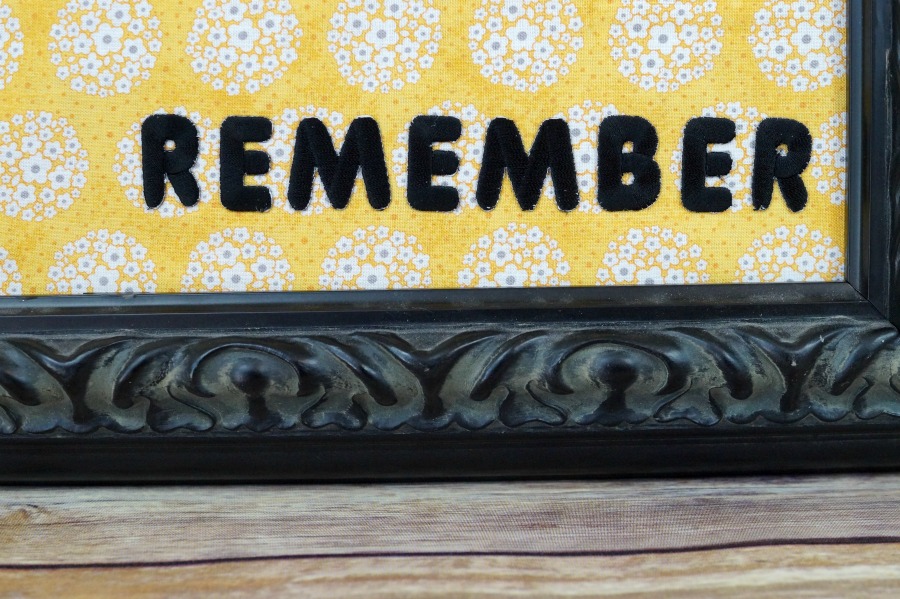
3.  Lay fabric over cork to determine letter placement.  Gently slide cork from underneath fabric and iron letters.

4. Spray the cork with adhesive and smooth the fabric over it.

5. Tap in a few tack nails inside the back of the frame to hold everything in place.

This project was created for and sponsored by Joy, SA.

Shop Amazon Scrapbooking Supplies*

Disclaimer:  This blog uses ads and affiliate links.  If you choose to make a purchase using one of the links, I receive a small commission (at no additional cost to you) that helps offset the costs of maintaining this blog.  Thanks for your support!


Vintage School Desk Make-Over

I was looking for a project when I went into the Goodwill that day.

I saw the old desk sitting there in back.   I looked it over and left.

It wasn’t until later that night when I envisioned the completed project in my head.

I ran back over the next morning.

The desk was in pretty rough shape from years of use and abuse.

The three holes in the front of the desk intrigued me…

Was it a combination of several kids over the years or one very bored individual.

How long did it take?

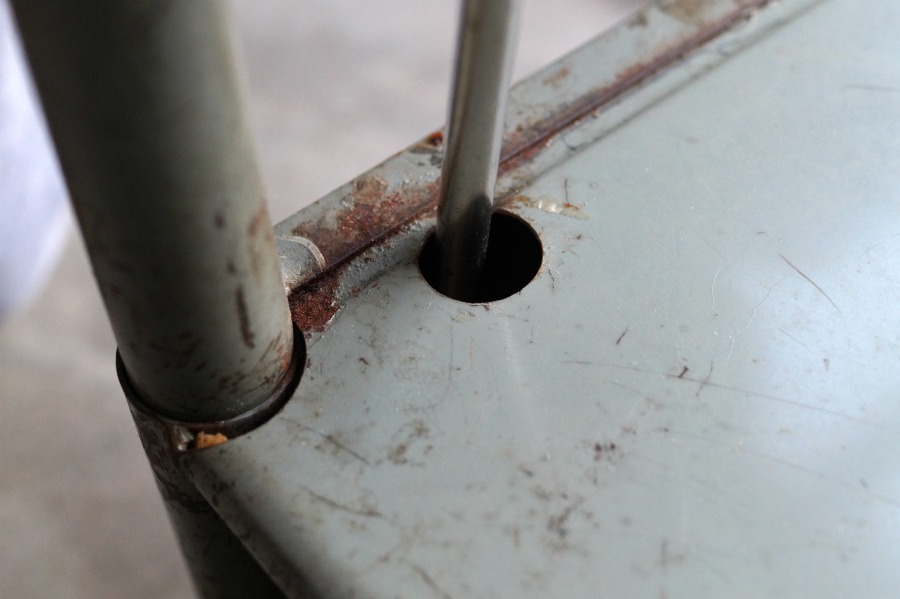
The top was screwed onto the base with 4 screws.  I contemplated how I was

going to fit my hand in the opening to unscrew it.  (I’m including this picture

just in case I’m not the only one. )  Under the desk, were four holes for inserting

an extra long screwdriver into the hole to unscrew the top.  Duh!

I picked up some additional supplies at my local home store.                                   (*affiliate link)

I sanded off the majority of the rust with a Palm Sander*.  (hand sanding would work as well)

Spray the base of the metal  desk with Forged Hammered Antique Pewter Spray Paint*.

This was the first time I’d used a textured spray paint.  I really like the finish.

To keep the project simple, instead of cutting and gluing boards together…

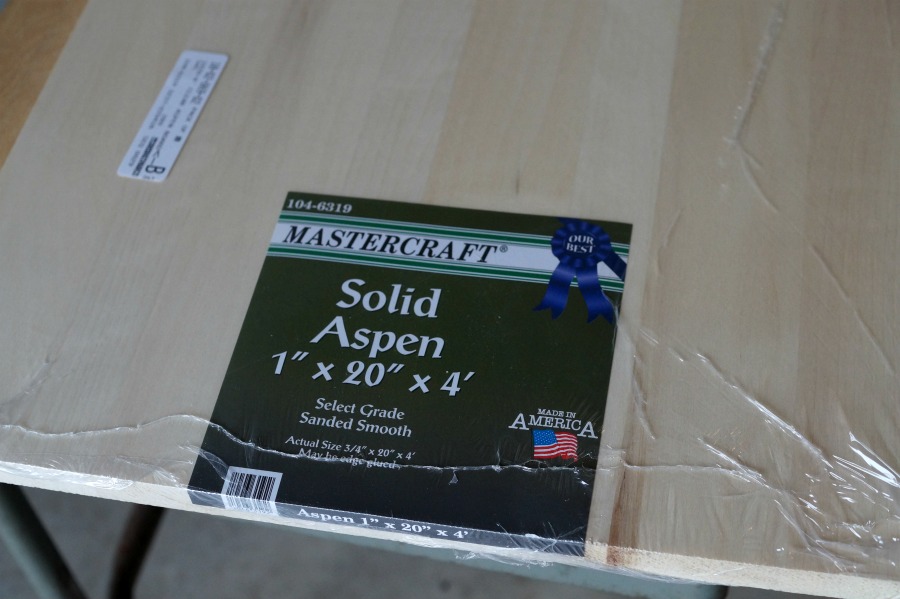
I picked up a large piece of Solid Aspen that was ready to go and just the right length.

I enlisted the help of my brother to help me cut the board.

For those of you that don’t have a circular saw, a regular hand saw could be used instead.

We cut the top 18″ x 24″ and the bottom shelf 15″ x 24″.

If you don’t have any of those fancy corner templates, use the edge of the spray paint can

as a template to mark the rounded corners.

A power sander was used to round the edges of the board.

You could also use a coping saw to cut off the corner and sand smooth with a sanding block.

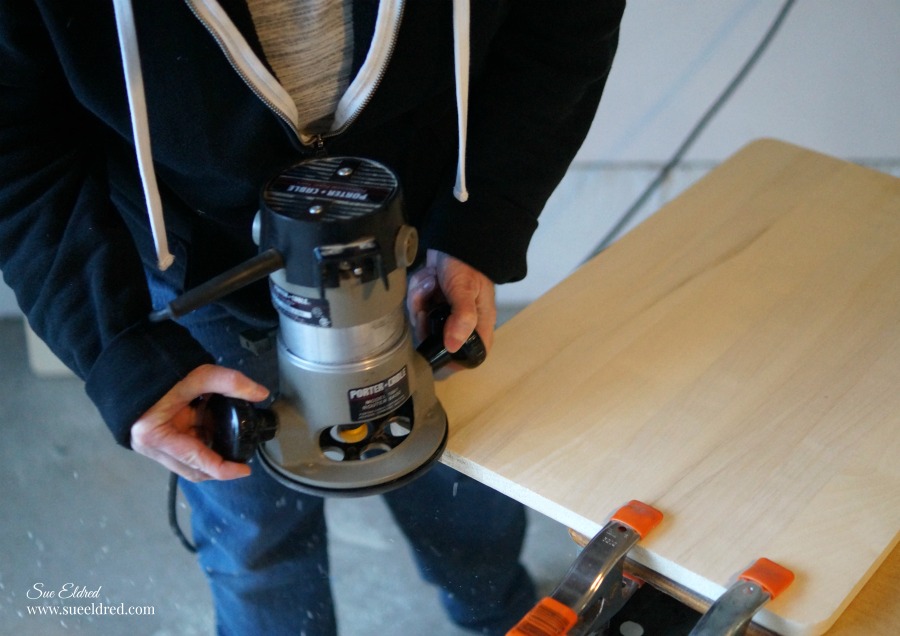
For a smooth finished edge…  I used a router.

Prepare the wood for staining by lightly sanding the surface.  Sand in the direction of the grain.

Remove all the sanding dust with a clean damp rag.    (read all the directions on the can)

Apply stain on the wood with brush or clean lint free rag.   Allow the stain to  penetrate

the wood for 3-5 minutes before wiping excess stain off.   Allow time for the wood to dry.

Apply a coat of polyurethane over the surface of the wood.

After the polyurethane dries, smooth the surface with a fine steel wool.

Wipe surface and apply a second coat of polyurethane.

After all the pieces were dry…

I screwed the top back onto the base and added the shelf to the bottom bar. 

I added a couple of flat rectangle baskets in the desk opening for storage.

I love the vintage industrial feel of this piece.

No longer a desk.  It makes a great side piece.

*Disclaimer:  This post uses ads and affiliate links.  If you choose to make a purchase using one of the links, I receive a small commission (at no additional cost to you) that helps offset the costs of maintaining this blog.  Thanks for your support!

Try Amazon Prime 30-Day Free Trial

Save