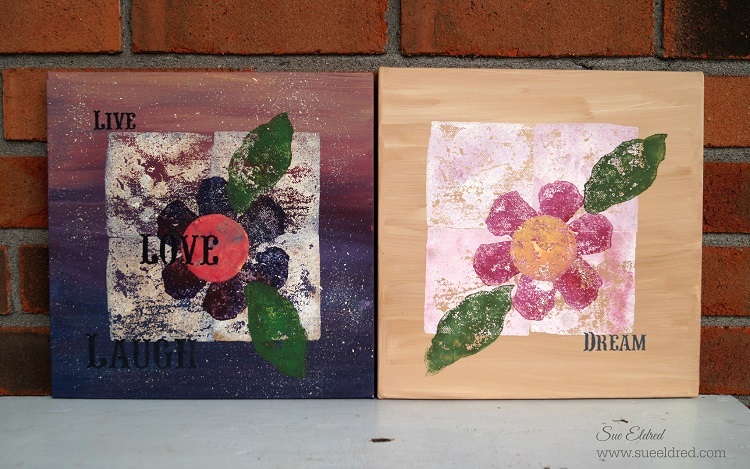
Block Stamping on Canvas with Smoothfoam

Both Canvas' 4913

I had this great idea to make stamps using Smoothfoam so that I could do sidewalk stamping with my

Grandsons.  After one messy (but fun) try, I decided it really wasn’t going to work the way I wanted.

So… I decided to use the stamps on a canvas instead.

(See Wednesday’s post:  The Good, the Bad and the Messy)
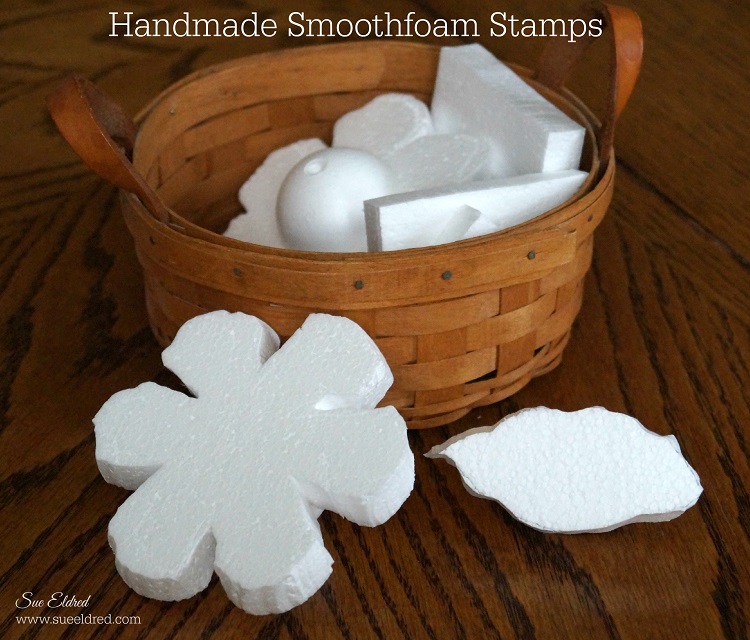
Handmade Smoothfoam Stamps 4837

I created the stamps using a Hotwire Foam Cutter.  You could also use a craft knife.

Because the original plan was to use them with the kids, I glued handles on the back.

I made flower shapes, leaves, squares and triangles.

Block Stamping Collage

Supplies Used:

  1. Prime canvas with acrylic paint.
  2. Sponge acrylic paint on the back of the Smoothfoam pre-cut square, stamp onto the canvas.  You may need to press the back of the canvas with your remaining hand to get crisper image.  Repeat three more times to create square background.
  3. Stamp flower and leaves.  Using a small Smoothfoam ball cut in half, stamp center of flower.
  4. Stencil words on Canvas.

Block Stamping on Canvas with Smoothfoam

Disclaimer:  This project was created for and sponsored by Smoothfoam.

Creating a Keepsake Memory Box with Decorative Trimmings

Sue Eldred's Keepsake Memory Box

I recently got a beautiful assortment of ribbons and trims from Decorative Trimmings to use

on a special project.  It was hard choosing which trims I wanted to use, because their selection

is wonderful.  I decided to Create a Keepsake Memory Box.

You know… for all those special little things that you want to keep and remember forever.

A perfect little box to fill with small gifts for Weddings, Mother’s Day, Bridal or Baby Showers.

Or maybe old love letters from your husband.   (Hmmm… I’d need a bigger box.)

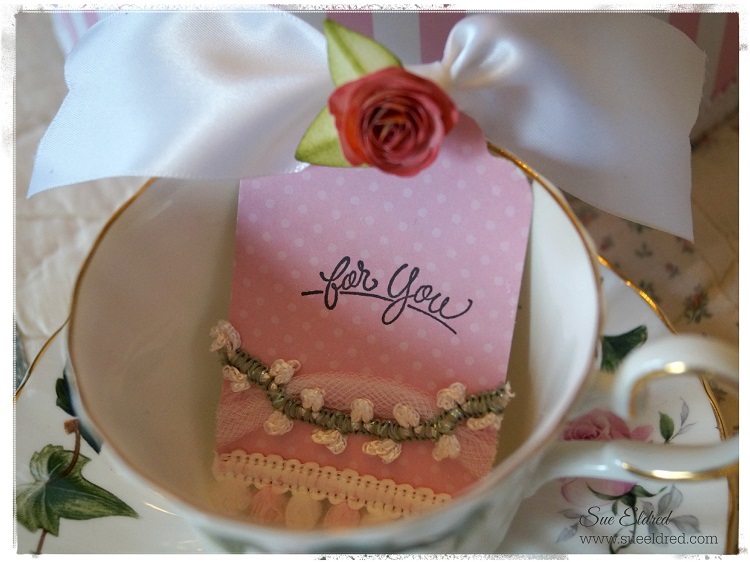
Keepsake Box and Tag Close Up 4973

For my Keepsake Memory Box and Tag I used three of the trims.

  • 1/2″ Pink & White Mini Polar Puff
  • 3/4 Inch Pink Rose Tulle Trim
  • Chinese Braid White
  1. Paint a large papier mache box with white acrylic paint.
  2. Cover it with scrapbook paper.   (I purchased mine from Michael’s.)
  3. Glue the Decorative Trimmings using Beacon Fabri-Tac Permanent Adhesive* (affiliate link)
  4. Stamped greeting is from Serendipity Stamps.

Tea Cup and Tag 4969

Today’s post is part of a blog hop hosted by Decorative Trimmings.

Shop Handmade – The Wedding Store

Disclaimer:  This blog uses ads and affiliate links.  If you choose to make a purchase using one of the links, I receive a small commission (at no additional cost to you) that helps offset the costs of maintaining this blog.  Thanks for your support!

How to make an Up-cycled Watering Can Wind Chime…

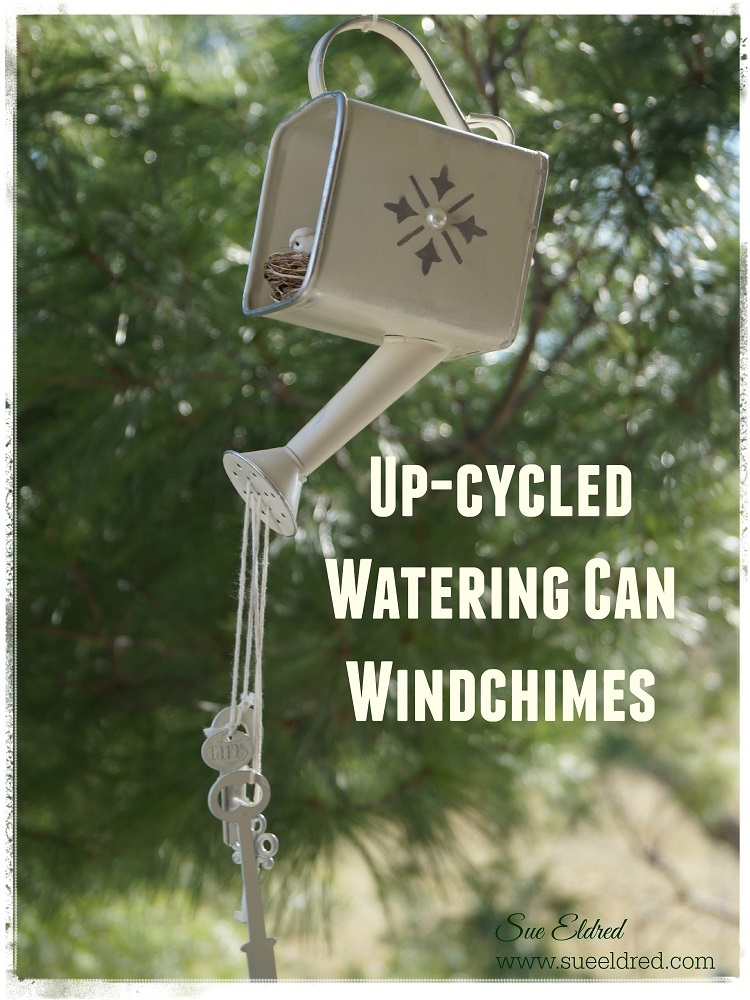
Up-cycled Watering Can Windchimes 3679

My Version of turning Lemons into Lemonade.  (sorry Jim)

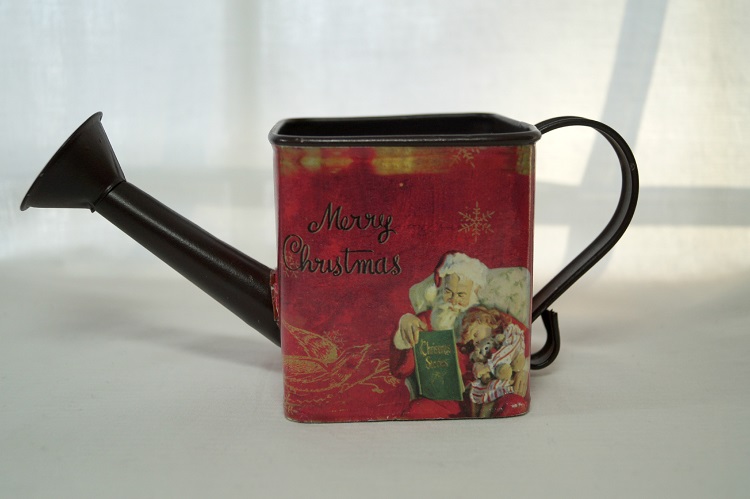
Christmas Water Can 1233

On my Birthday, a couple of years ago, my husband wanted to make my day special and

shower me with lots of little gifts.  Of all the places to shop, he choose to shop at a outlet

store in Southern Missouri that was filled with things that I wouldn’t have sold even when

I had my gift store in the 90’s.  (he’s no longer allowed to shop there)

This Christmas watering can was one of those gifts.

I honestly thought it was a gag gift.  (I may or may not have laughed)

I ran across it again when putting away my Christmas Decorations this past year.

Instead of throwing it out or giving it to Goodwill I thought I’d re-purpose it into

something I would use.

Shabby Watering Can Supplies 01328

My Shabby Watering Can Wind-chime                            (*affiliate link)

Supplies:

 Directions:
  1. Re-purpose a old decorative watering can by taking off the paper covering. Soak in water if necessary.
  2. Sand to remove any additional paper and to make smooth for painting.
  3. Spray-paint watering can and keys with cream paint.
  4. Puddle silver ink onto a piece of scratch paper by pumping the nib. Use the tip of your finger to rub ink directly onto watering can around edges to highlight and distress.
  5. Mask off the center of decorative stencil with blue painter’s tape, lay onto watering can.
  6. Rub silver paint onto stencil as in step #4.
  7. Wind thin wire around the end of a piece of twine. Insert wire into the holes in the spout and pull through to the inside of the can. Repeat for however many keys you plan on using.
  8. Gather the ends from inside the can and tie them altogether in a knot. Pull the opposite ends to bring the knot back through the spout. (The ends will now be hidden.)
  9. Tie keys on to end of each piece of twine.
  10. Glue bird inside of nest.
  11. Glue bird-nest inside of the watering can.
  12. Add adhesive pearl to decorative accent on side of the can.

Best for covered porches or decorative use.

Keys 3699  Bird's Nest 3701

Before you throw me under the bus…

I’m really not an ungrateful, insensitive person.  (really I’m not)

I love and appreciate my husband very much.  He’s the greatest!

(Phew…these are the days I’m glad he doesn’t read my blog)

*Disclaimer:  This post uses ads and affiliate links.  If you choose to make a purchase using one of the links, I receive a small commission (at no additional cost to you) that helps offset the costs of maintaining this blog.  Thanks for your support!

AD→ Zots Adhesive Dots

Save

Spring Bling for your Garden

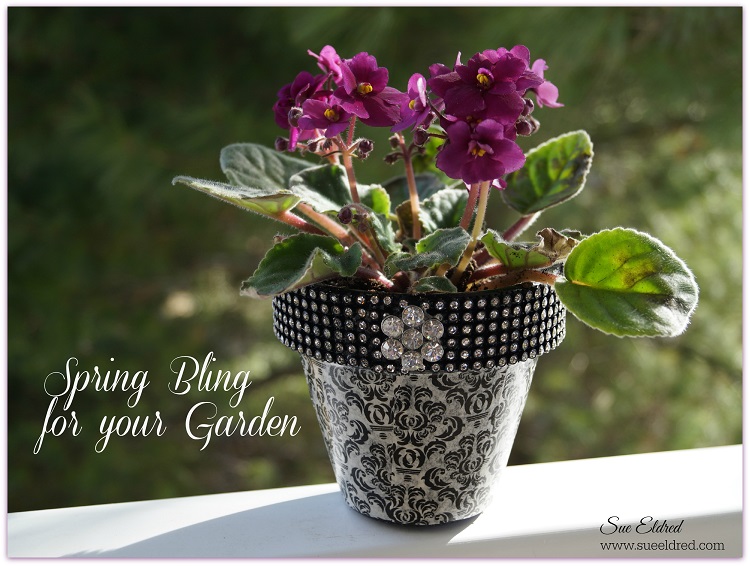
Spring Bling for your Garden 3640

Add a little Spring Bling to plain boring terra cotta pots.

With Spring Fever setting in, I decided I needed a new flower to perk up the place.

I chose a pretty little African Violet that reminds me of my grandma.

Grandma loved African Violets.

In no time at all, armed with a few simple products, I transformed a boring terra cotta pot into

something sparkly and fun.  Just what I needed.

Spring Bling 3596

 To make my Spring Bling Pot you’ll need:      (*affiliate links)

  1. Start with a 4 1/2″ Terra Cotta Pot painted with black acrylic paint.
  2. Cut Black Damask tissue paper the width of the lower portion of the pot.  Cut the strip into smaller sections.  (my sections were 2 3/4″ x 1 1/2″)
  3. Apply a thin layer of Mod Podge to a small section of the pot, add tissue paper and apply another layer of Mod Podge over tissue.
  4. Continue adding tissue sections until the bottom of the pot is covered.
  5. Apply a thin layer of Mod Podge over the top of the pot to give it a nice shiny finish.
  6. Cut a strip from the Black Crystal Sheet to fit around the rim of the pot.
  7. Glue crystal sheet onto rim of the pot.
  8. Glue vintage button over seam for added sparkle.
  • FYI:  I could have used the Weldbond glue shown in the picture above which is a good permanent glue.  But, because of the weight of the crystals I decided to use my Quick Grip glue instead.

Spring Bling 3606  Spring Bling 3607

My Spring Bling Pot was created for and sponsored by Connie Crystal.

connie crystal logo

Disclosure:  I am an Amazon Affiliate.  If you chose to make a purchase using one of the links, I receive a small commission that helps offset the cost of running this blog.  Thanks for your support!

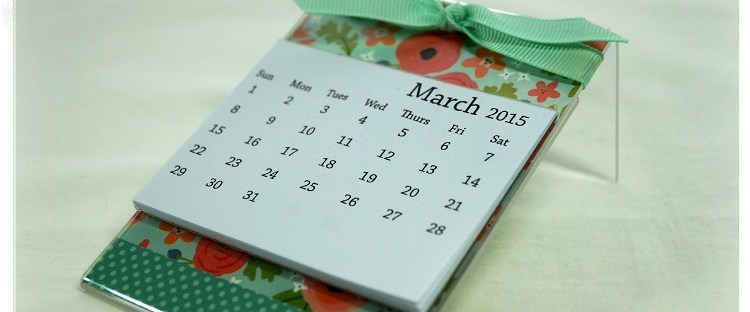
Mini Desk Calendar

Deflecto Mini Calendar 2976

Today’s project is one of those quick & easy projects that just make me smile.

You can put together this Mini Desk Calendar in just a few minutes.

I started with a 3″ x 4″ clear acrylic frame from Deflecto Craft Solutions

and a Mini Tear Off Calendar from Taylored Expressions.

Along with some left over scrapbook paper from a class I was working on.

And… because the paper is inserted inside the frame you can easily change

it out with the seasons.  You can make the mini desk calendar with the acrylic

frame upright or laying down.  Either one is cute.

Mini Desk Calendar 3029

“This is a sponsored post. As a member of the Deflecto Design Team I have been provided product in exchange for my creative ideas, views and opinions.”

Shop Amazon Scrapbooking Supplies*

*Disclaimer:  This post uses ads and affiliate links.  If you choose to make a purchase using one of the links, I receive a small commission (at no additional cost to you) that helps offset the costs of maintaining this blog.  Thanks for your support!

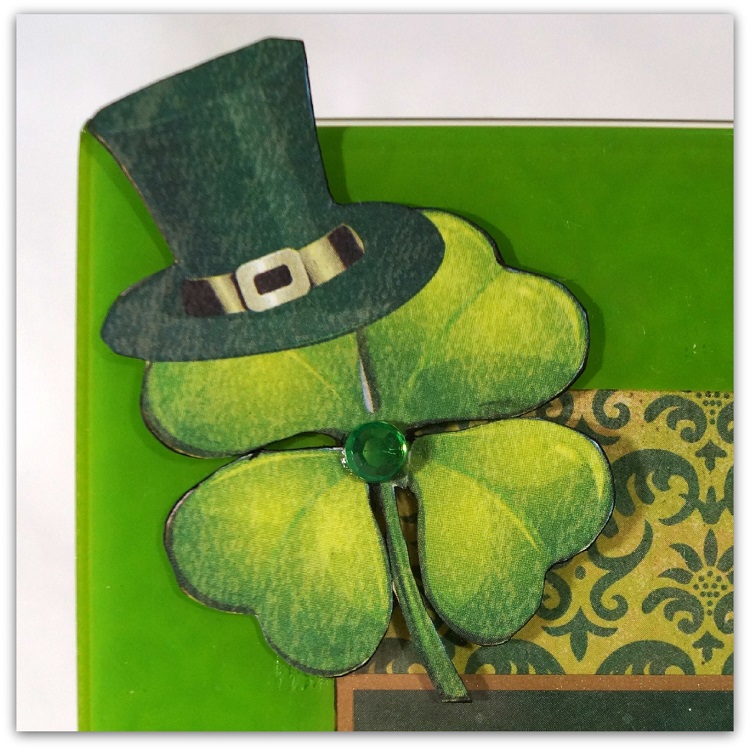
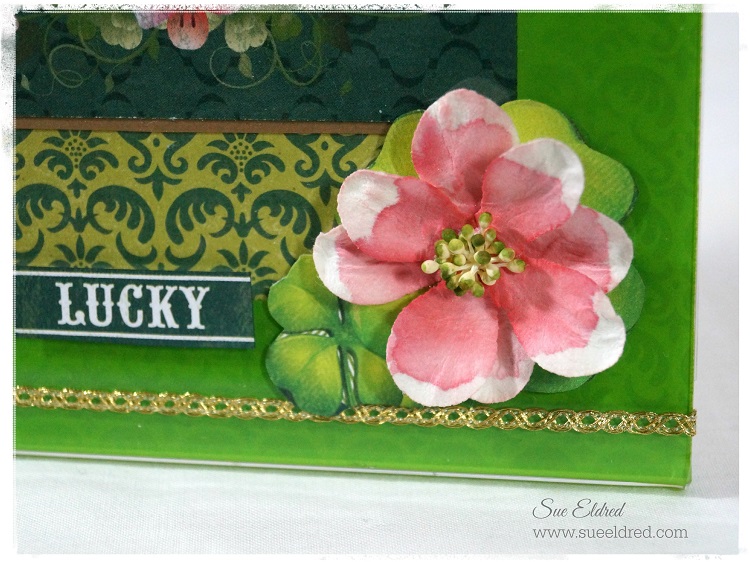
Lucky Day Frame

St. Patricks Day Frame 2722

There’s something about turning the calendar page to March that makes me feel happy.

Even though we got snow on March 1rst and ice on March 3rd, I can’t help but feel

that Spring’s just right around the corner.  And… that really makes me happy!

I don’t usually decorate for St. Patrick’s Day…

but after getting this green bordered frame from Deflecto and seeing this “Lucky Day”

collection from Authentique Paper, I was inspired.

Lucky Frame Corner 3118  Flower Close up

I did a little fussy cutting with the hat and shamrocks and adhered them directly onto the front of

the frame.  I also water-colored directly onto the cream paper flower to make it match the flowers

on the scrapbook paper.

“This is a sponsored post. As a member of the Deflecto Design Team I have been provided product in exchange for my creative ideas, views and opinions.”

Don’t Forget to SMILE Today!

Don't forget to smile 2243

A fun little project to brighten your day.

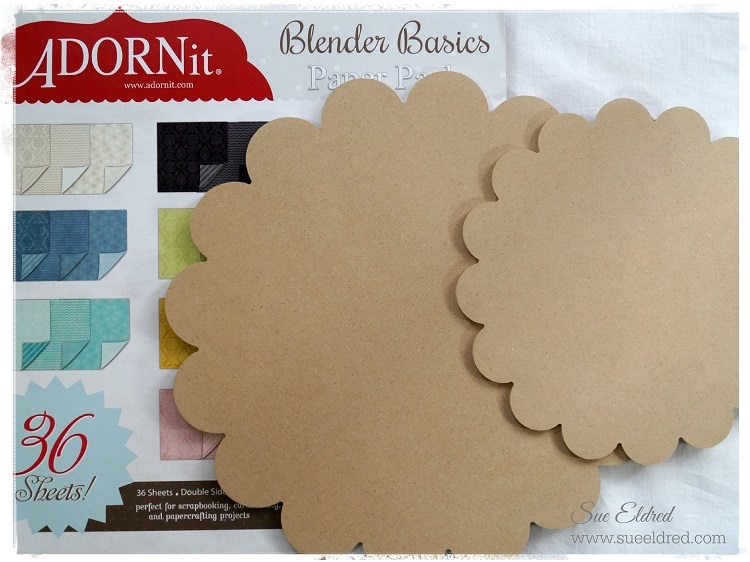
Along with the Art Play Paintables that I used for the ADORNit Blog Hog,

I also received some great wood pieces, a pad of Blender Basics and some fun Art Play Prints.

Adorn It Blender Basics 2139

Shop Your Fav Brands at Scrapbook.com

To make the project:

  1. Paint the edges of the wood pieces with black acrylic paint.
  2. Glue paper from the Blender Basics pad onto the wood pieces using Mono Adhesive glue.
  3. Trim around the shapes with a craft knife and lightly sand the edges with a sanding block.
  4. Distress the edges with Vintage Photo Distress Ink and a Ink Applicator.
  5. Glue the two pieces together.
  6. Cut around the inner circle from the “Smile” Art Play Prints and glue to the center.

Have a great day and don’t forget to SMILE!

This project was created by me, materials provided by ADORNit. 

*Disclaimer:  This blog uses ads and affiliate links.  If you choose to make a purchase using one of the links, I receive a small commission (at no additional cost to you) that helps offset the costs of maintaining this blog.  Thanks for your support!

Shop Amazon Scrapbooking Supplies*

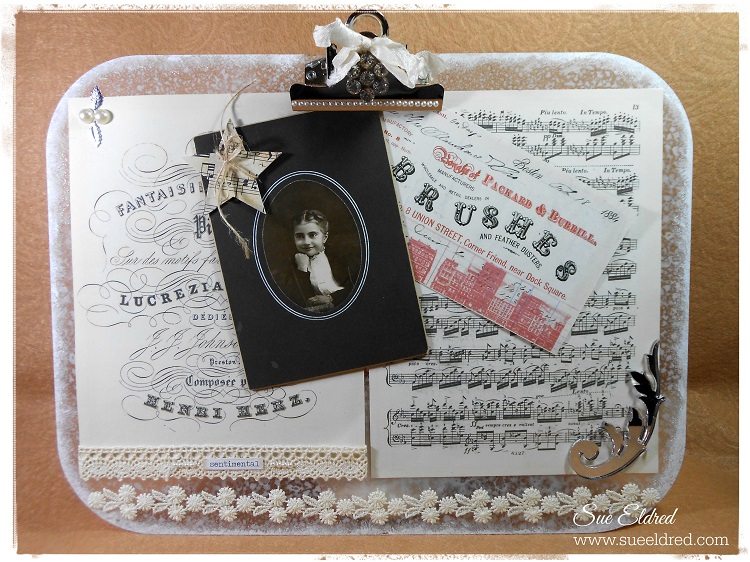
Shabby Vintage Clipboard

Shabby Clipboard 2509

More new products today from Clear Scraps.

This was a fun project.

When I first got this new acrylic clipboard I wasn’t sure how I was going to use it.

Once I got a clearer vision on how I wanted it to look, inspiration soon followed.

Now, I can’t wait to make another one.

Here’s the link to all of the NEW PRODUCTS from Clear Scraps.

Shabby Vintage Clipboard

Supplies Used:

  1. Spray the back of the clipboard with the IrRESISTible Texture Spray to give it a soft lacey look and dab the edges with White Picket Fence paint.  (Both paints work great on acrylic.)
  2. Adhere collage papers and vintage photo into place or allow the clip to hold them.
  3. Adhere mirror embellishment to corner of clipboard
  4. Embellish Clipboard with Vintage Trim and Lace.
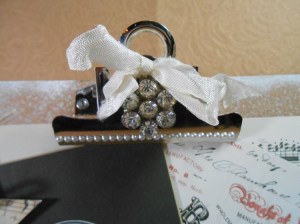
  5. Add small adhesive rhinestones and a vintage style button to the clip and tie a crinkle ribbon bow.

DSCN2510

This project was created for and sponsored by Clear Scraps.

Vintage Frame Project (aka Plan B)

I woke up pretty darn proud of myself today.  All I had to do was put the final coat of wax

on my project and then “Wow” you with the finished masterpiece.

I even had a catchy title for the post called “When Procrastination Pays Off”.

I even took a picture of the pieces beforehand.

I was confidentially prepared for the win.  (you know, my awesome blog post)

Vintage Frame Project Supplies

Some may call me a procrastinator….

I like to wait until inspiration strikes.

Here’s the way I think…

The other evening, I received some awesome paint from the good people at Plaid.

I had this old frame that I picked at a garage sale last May for a quarter, an old needlepoint

tapestry that I made (um-hum) 25 years or so ago, old sheet music and a coupon for Jo-Ann’s

for framing.  All of a sudden I needed to use that frame.

The original plan was to have Jo-Ann Fabrics frame the tapestry and then see if I could purchase

glass and a mat for the frame.

(Side note:  Just because you have a framing coupon doesn’t mean your Jo-Ann’s have a frame shop)

So…the next stop, the hardware store for a $5 piece of glass.

How hard could it be?  I don’t need professional framing.  I can do it myself.

I guess I should of seen the sweat off the old man’s brow as a sign

that I was in for more than I could chew.

Last night I sanded, painted and distressed.  The frame looked lovely.

Today a coat of clear wax, wait an hour, then buff.

Armed with chipboard, tape, flat head screwdriver, old tapestry and good intentions

I went on to finish my masterpiece.  Only one problem… it didn’t fit.

The needlepoint tapestry was too fat for the frame.  (I didn’t see that one coming.)

So… on to “Plan B”.

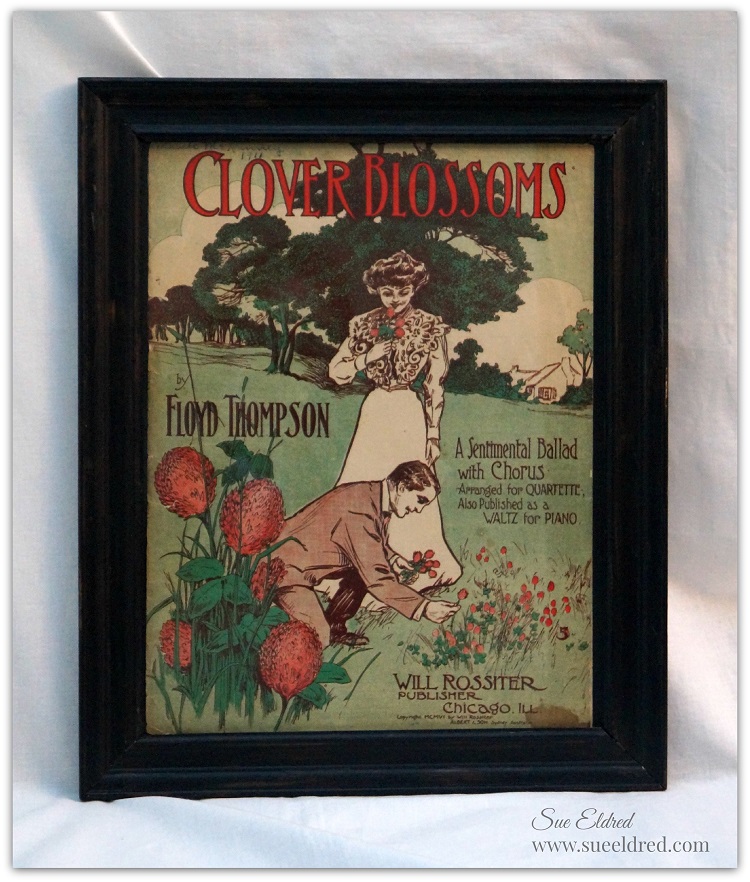
Framed Clover Blossoms

I decided to stick the Vintage Sheet Music in the frame instead.  (maybe it’s really Plan A?)close up of distressed frame

Seriously, I love this chalk paint from Plaid.  (Did you happen to notice the date on the sheet music?)

tapestry

I guess I’ll leave this wonky shaped tapestry for the professionals.  (Michael’s here I come.)

Believe in the Magic of the Holidays

Believe in the Magic of the Holidays

Are you taking time to enjoy the magic?

I’m doing my very best to relax and enjoy every moment.

Believe Wreath

I decided to add the large Believe on a Wreath on the front door.

The large Believe was made using Expressions Large Believe from Clear Scraps.  It measures 5″ x 15″.

On the back I adhered “nestled” scrapbook paper from Authentique Paper’s Cozy Collection.

You can’t really see it from the picture, but, it has a great sweater pattern.

After I trimmed around the letters using a craft knife, I used a gold paint pen to accent each letter.

Make sure to check out all the Expressions Large Clear Word Titles from Clear Scraps.