
Recently, I participated with a group of Designers in a Manufacturer Challenge sponsored by
Fairfield World the makers of Pillow Forms, Batting, Poly-fil®… and a whole lot more.
After a little good natured trash talking between the designers, the challenge was dubbed the
“Pillow Fight” and with that it was game on.
Not being much of a seamstress I knew I had to take it in another direction.
Hopefully, what I lack in sewing skills I’m making up for in quantity and possibly inspiration
for other non-sowers like me.
If you happened to see my post, “Tie-Dying with Nick” then you’ll know I’m on a little bit
of a tie-dying kick. (why stop now? oh… and make sure to check out the bonus project at the end.)


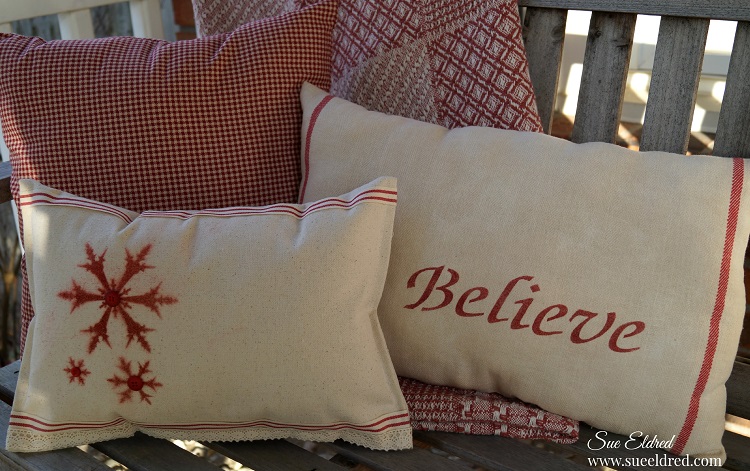
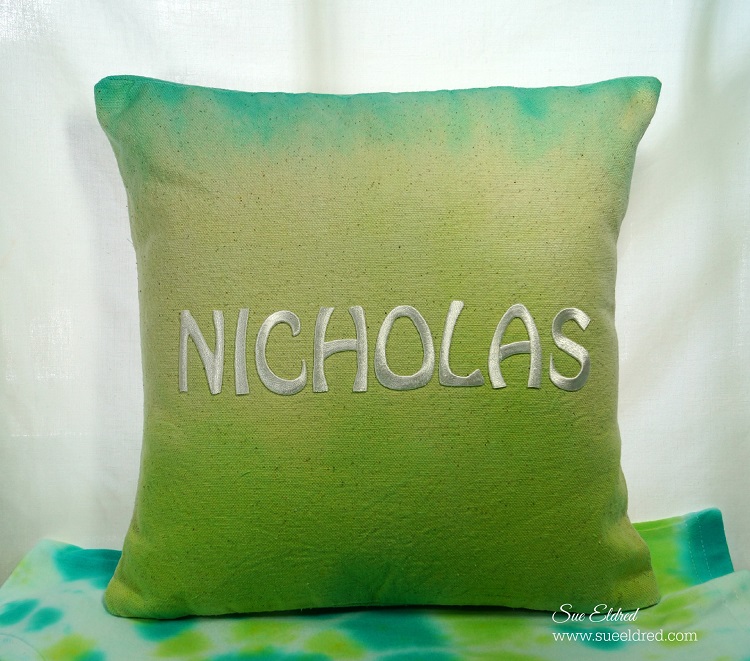
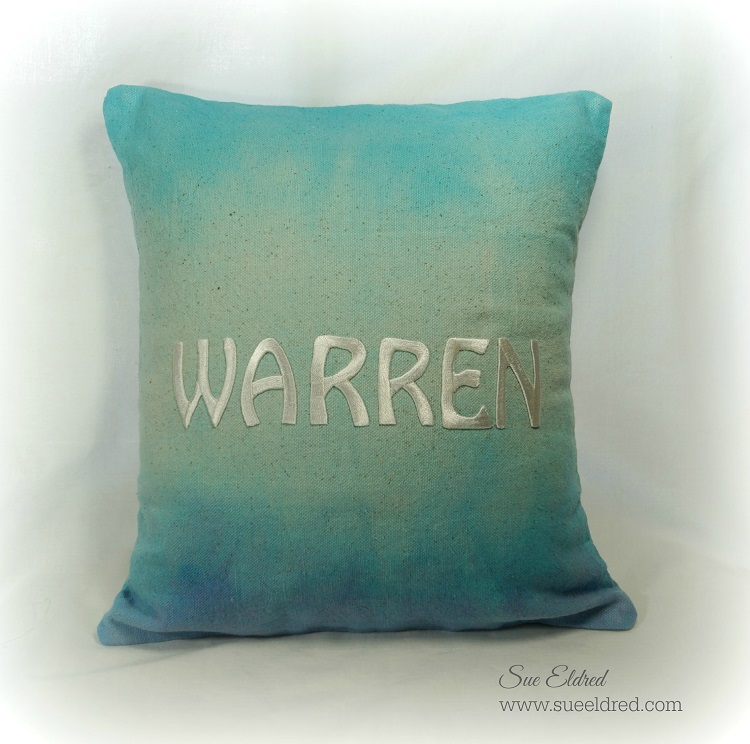
Here are a couple of pillows I made for my grandsons using a one-step tie-dye kit
and the Ombre Technique. (see instructions below)
It was such a fun and easy project that I let my grandson in on the fun.
Thanks to canvas pillow squares and pillow forms there is no sewing involved.
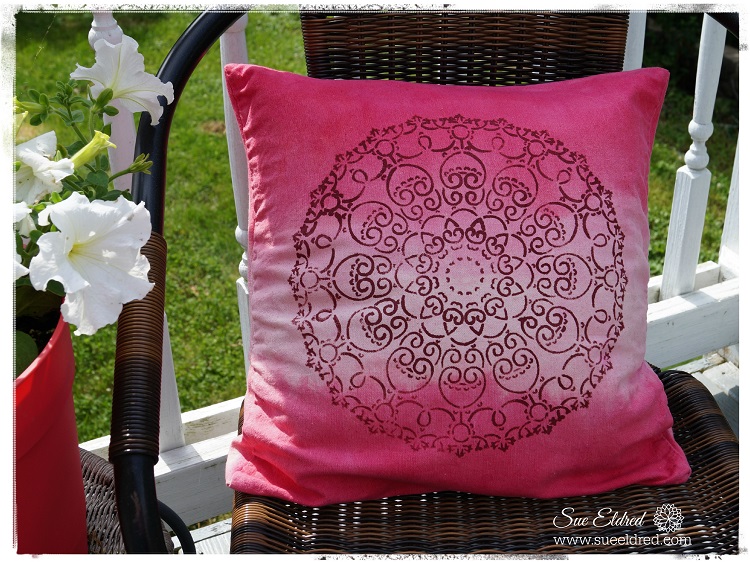
(The red pillow above also uses the ombre Technique only with one color of dye.)
Iron-On embroidered letters allowed me to easily personalize the pillows for the boys.

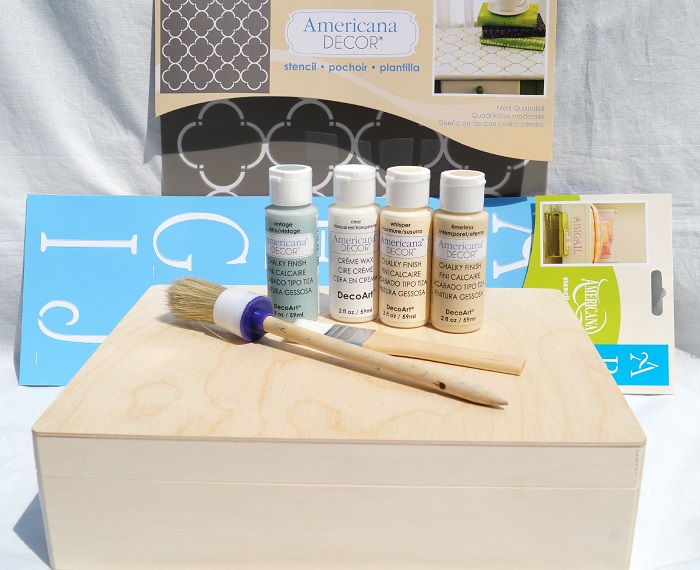
For my No Sew Pillows I used: (*amazon affiliate links)
These are the instructions included with the Tulip dye kit.
- Apply dye.
- Dip brush into dye and apply.
- Dip brush into water and apply.
- Cover dyed fabric with plastic wrap to keep damp.
- Let set for 6-8 hours or longer for intense colors.
- Rinse well with water until excess dye is removed.
- Fill washer to “large load” setting with hottest water suitable for fabric and a small amount of laundry soap. Wash and dry separately. Wash separately for the first few washes.
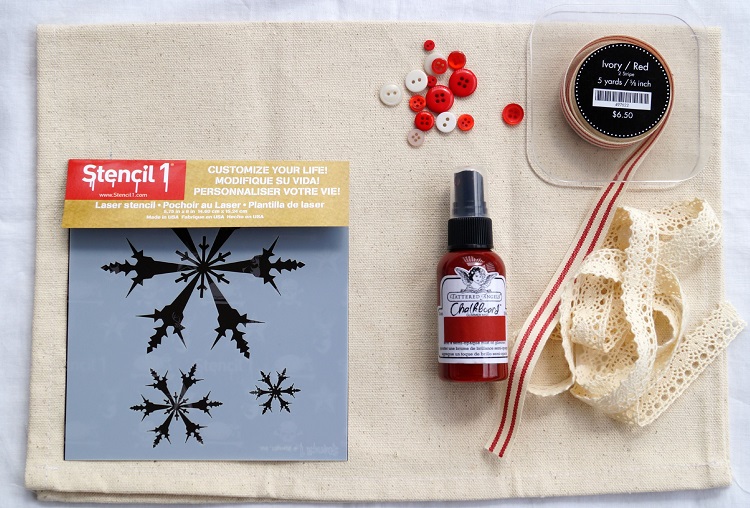
Directions for Stenciling:
The pattern on the Red Pillow was made using the 12″ Doily Stencil*.
- Lay protective paper layer inside the canvas pillow square before stenciling.
- Center and tape stencil onto pillow with removable painter’s tape so that the stencil won’t move.
- Stenciling is a “dry” brush technique. Using a stencil brush, dip just the tip of your brush into the paint. Tap off excess paint before applying to prevent the paint from seeping under the edges of the stencil.
- Apply paint with stencil brush in a straight up and down motion called stippling.
- Stuff pillow with pillow form or Poly-fil®.
And for an added bonus… Tie Dyed Socks!!! (Someone stop me)

This project was sponsored by Fairfield World, Canvas Corp Brand, Tulip Brand and DecoArt.
*Disclaimer: This post uses ads and affiliate links. If you choose to make a purchase using one of the links, I receive a small commission (at no additional cost to you) that helps offset the costs of maintaining this blog. Thanks for your support!

Join Amazon Kindle Unlimited 30-Day Free Trial *
*
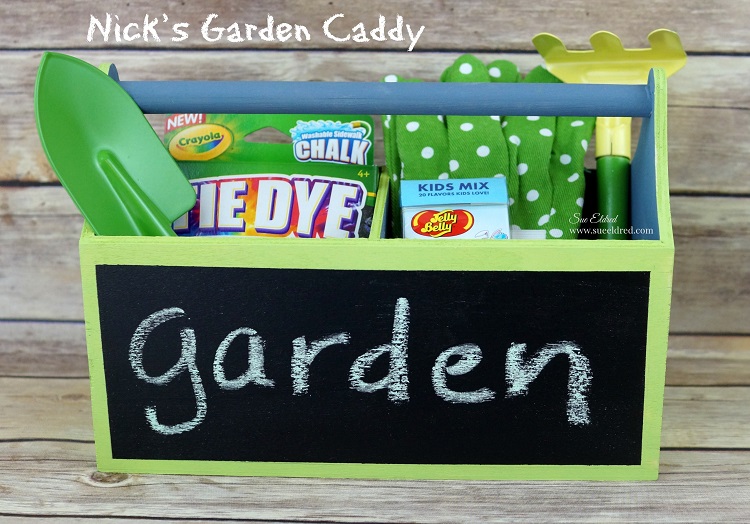


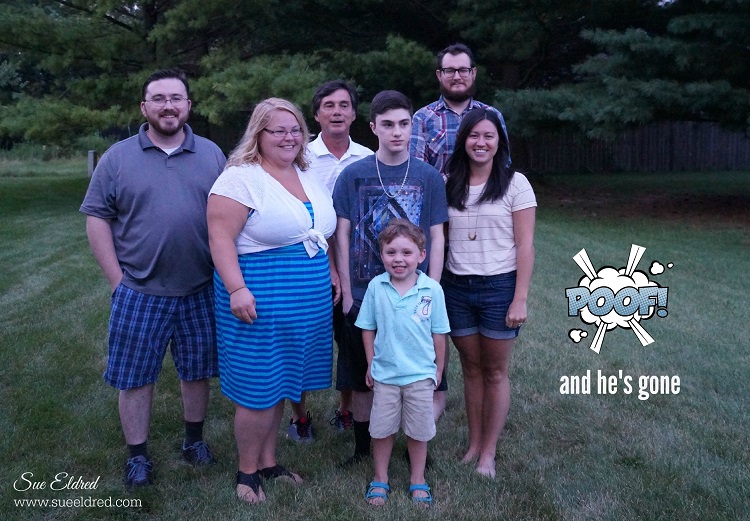
 My grandson Nicholas is celebrating his 5th birthday in just a few days. (but who’s counting?)


