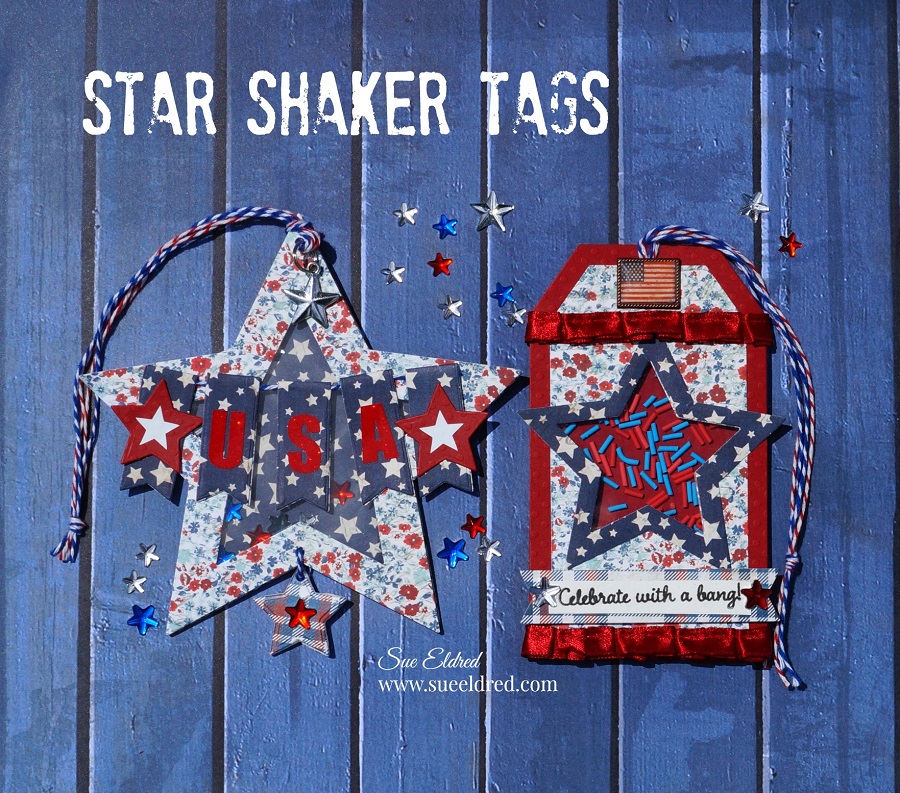
Star Shaker Tags
I love making cards and tags that move and shake.
Generally, making Shaker Tags are fun and easy to make.
But I sometimes tend to make things harder than they need to be?
That was the case with the Star-shaped Shaker Tag.
After working on it and getting frustrated because the vision I had wasn’t quite working out,
I set it aside and went for a simpler version.
As you can see, I did finish the Star Tag and like how both of them turned out.
How to Make a Star Shaker Tag for the 4th of July
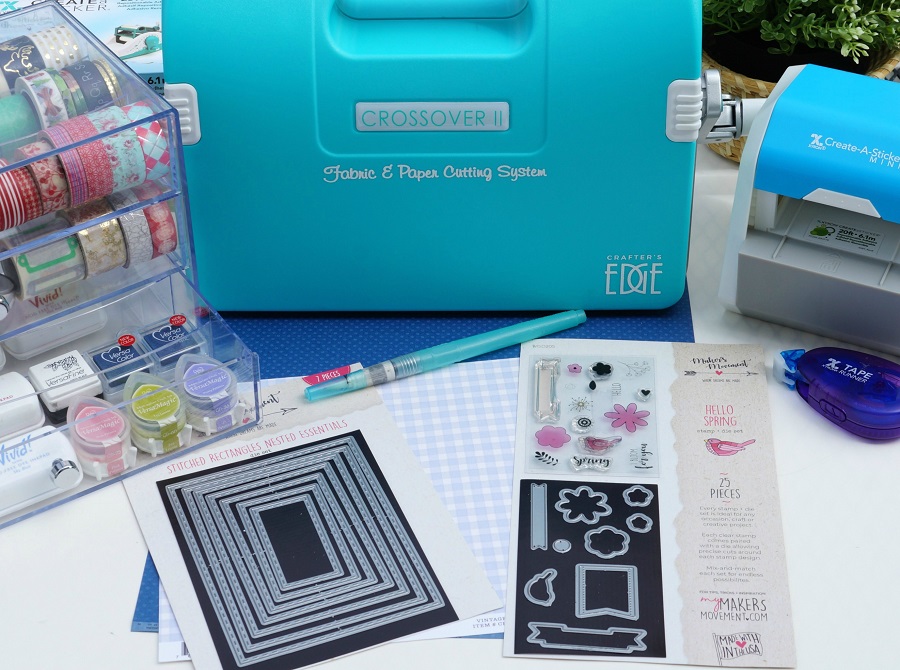
The Maker’s Movement Products Used: (*affiliate link)
- MOD284 Nested Stars Dies
- MOD282 Large Nested Tags
- MOD276 Mini File Folder Die Set (banner)
- Crossover Fabric & Paper Cutting System*
- MMT211 Double Sided Adhesive Craft Foam
- MMT212 Clear Acetate Sheets
- Rainbow Shaker Sprinkles
- MOS204 Home for the Holidays Stamp Set
*FTC Disclosure… “This is a sponsored post for The Maker’s Movement. I have been provided product and compensation in exchange for my creative ideas. The views and opinions are my own.”

Additional Products Used: (*affiliate link)
- RD8914 Freedom 12″ x 12″ Scrapbook Paper* (PhotoPlay Paper)
- RB8918 Land of the Free 12″ x 12″ Scrapbook Paper* (PhotoPlay Paper)
- Red Cardstock
- Xyron Tape Runner*
- Imagine’s Tear It! Double Sided Crafter’s Tape*
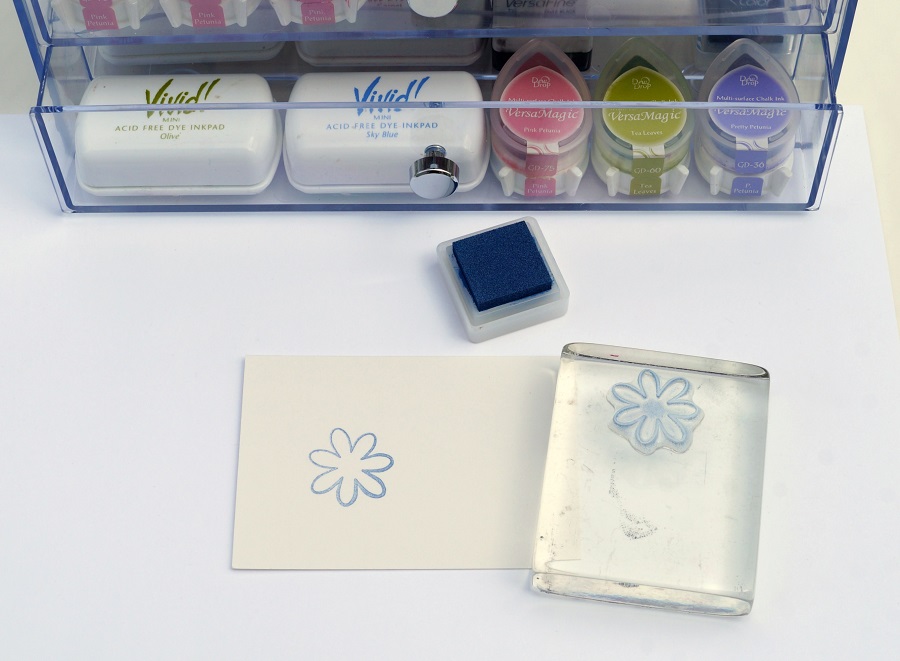
- Black Inkpad
- Acrylic Mounting Block for Clear Stamps*
- Twine: Blue and White Twine*
, Red and White Twine*
- Crop-A-Dile Punch*
- Red Pleated Ribbon
- Patriotic Embellishments
- Beacon Fabri-Tac Permanent Adhesive*
- Removable Painters Tape*
*Disclosure: This blog uses ads and affiliate links. If you choose to make a purchase using one of the links, I receive a small commission (at no additional cost to you) that helps offset the costs of maintaining this blog. Thanks for your support!

Directions:
- Cut two tags using the Nested Tag Die Set. The larger out of red cardstock and the smaller out of red, white, and blue floral print.

- Adhere the tags together using the tape runner.
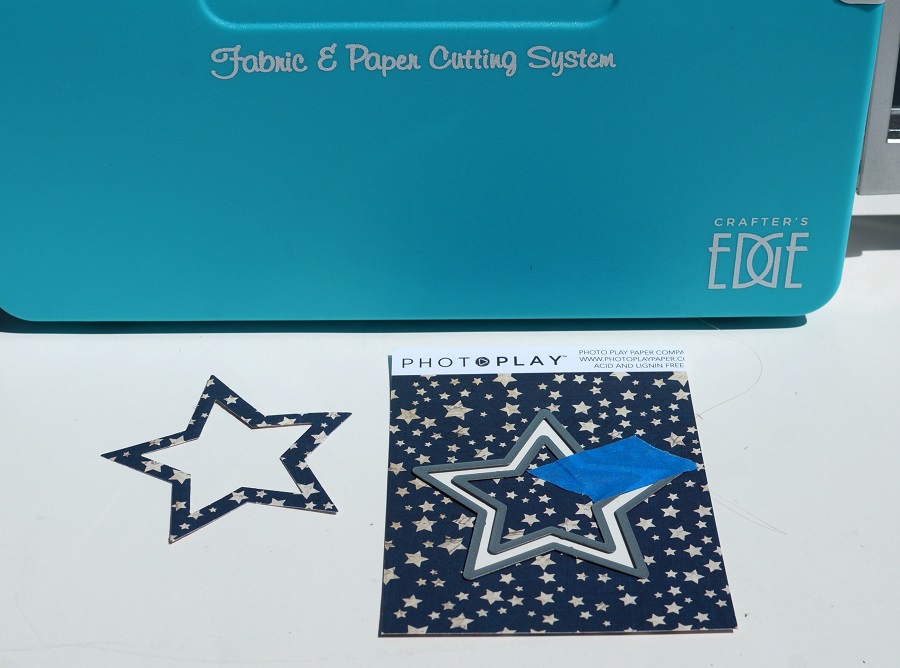
- Die-cut both layers with the star die. Once happy with the placement, put a small piece of removable painters tape*
over the star to keep it from moving when it is die-cut.
- Lay banner die onto the tag to help figure the correct placement for the star hole.
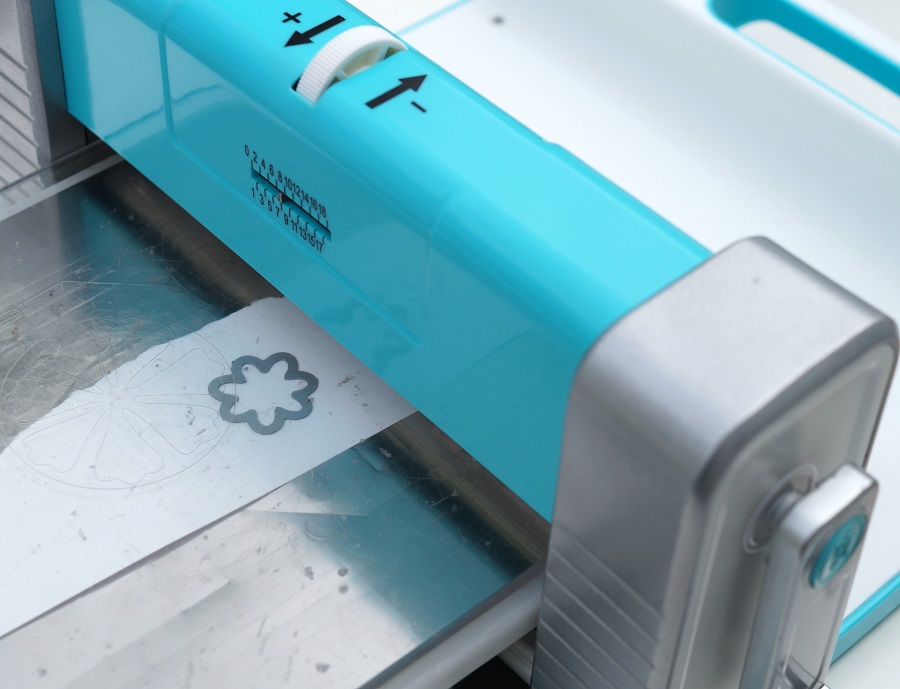
- Place the tag and die onto the Crossover II Die-Cutting System*
- .Place clear acrylic protective plate over the dies and crank the handle to run the die through the machine.
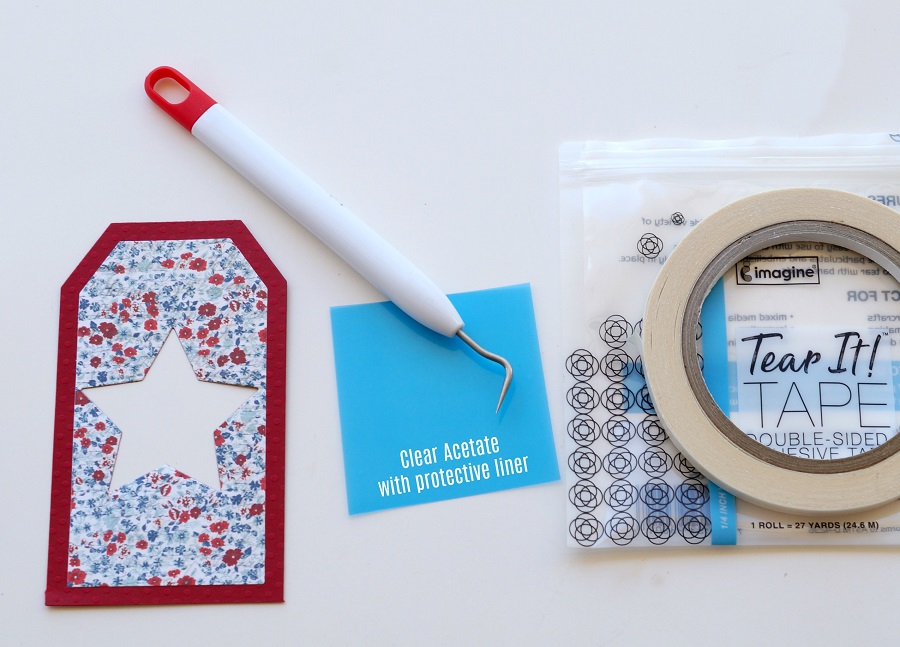
- Cut a small piece of acetate to fit over the star opening. The acetate comes with a protective liner on both sides. You will need to remove both sides before adhering it to the tag.

- Pick out Red and Blue Shaker Sprinkles, from the Rainbow Sprinkles, to use for the inside of the shaker tag.

- On the back of the die-cut tag, place tear it tape adhesive around the opening of the star.
- Remove protective liner off the tape. Place acetate over the star opening.
- Cut a second red tag. Place strips of adhesive craft foam around the star to make a well around the star. Add additional strips around the bottom and top.
- Add red and blue sprinkles in the well around the star. Remove protective liner off the back of the foam strips and adhere to the second red tag.
- Center two star together, place a piece of removable painters tape*

- Adhere star frame over the star opening.
- Cut a banner out of plaid paper.
- Stamp “Celebrate with a bang!” (from the Home for the Holidays stamp set) Trim down to fit onto the plaid banner.
- Glue pleated ribbon around the bottom and top of the tag.
- Punch hole in the top of the tag. The Crop-A-Dile Punch*
easily goes through all the layers.
- Tie twine together and loop through the hole.
- Glue small star and flag embellishments onto the tag.

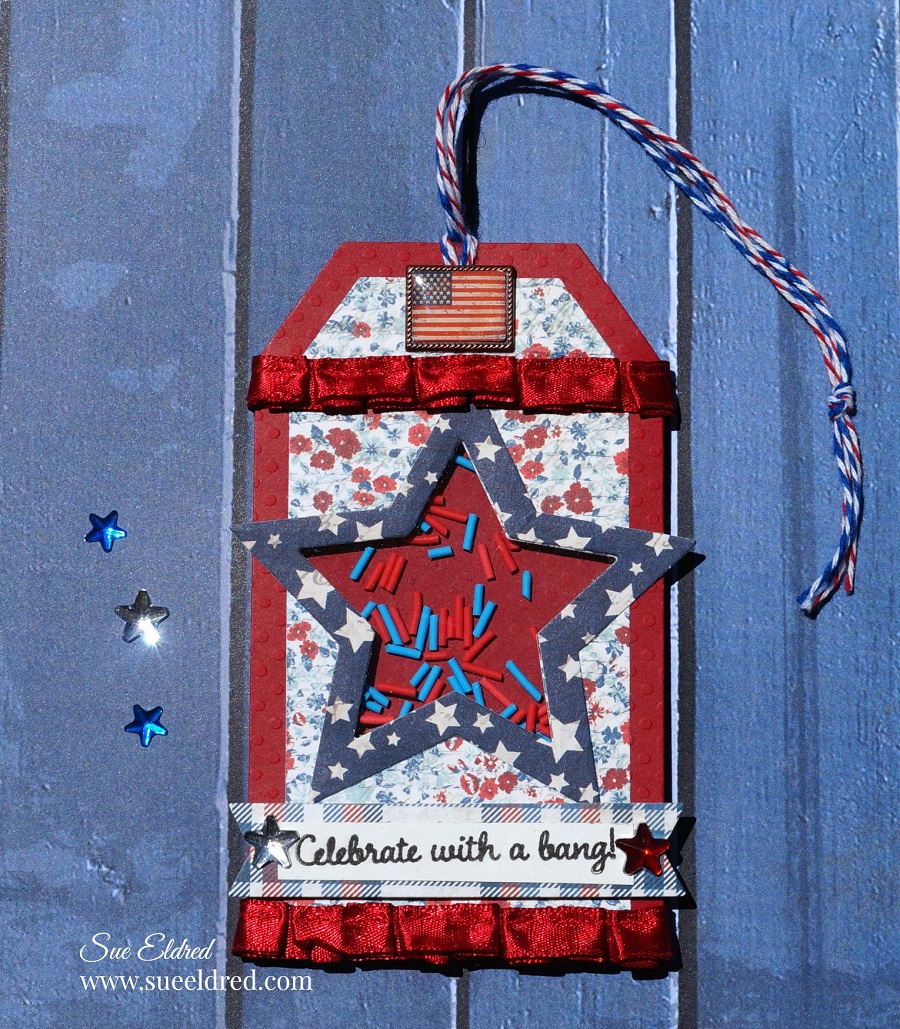
Close up of the Star Shaker Tag
- I used the largest of the Nested Star Die for the outline of the star.
- What made the process a little more difficult for me was that I also cut a foam star the same size. I had problems getting the foam star to line up and had to set it aside momentarily.
- A small star cut out of foam and scrapbook paper was used as the dangler on the tag.
- I cut several banners to use on the front of the tag.
- You can find the small banner instructions here.

Here’s another tag that I made for The Maker’s Movement using the Nested Star Dies.