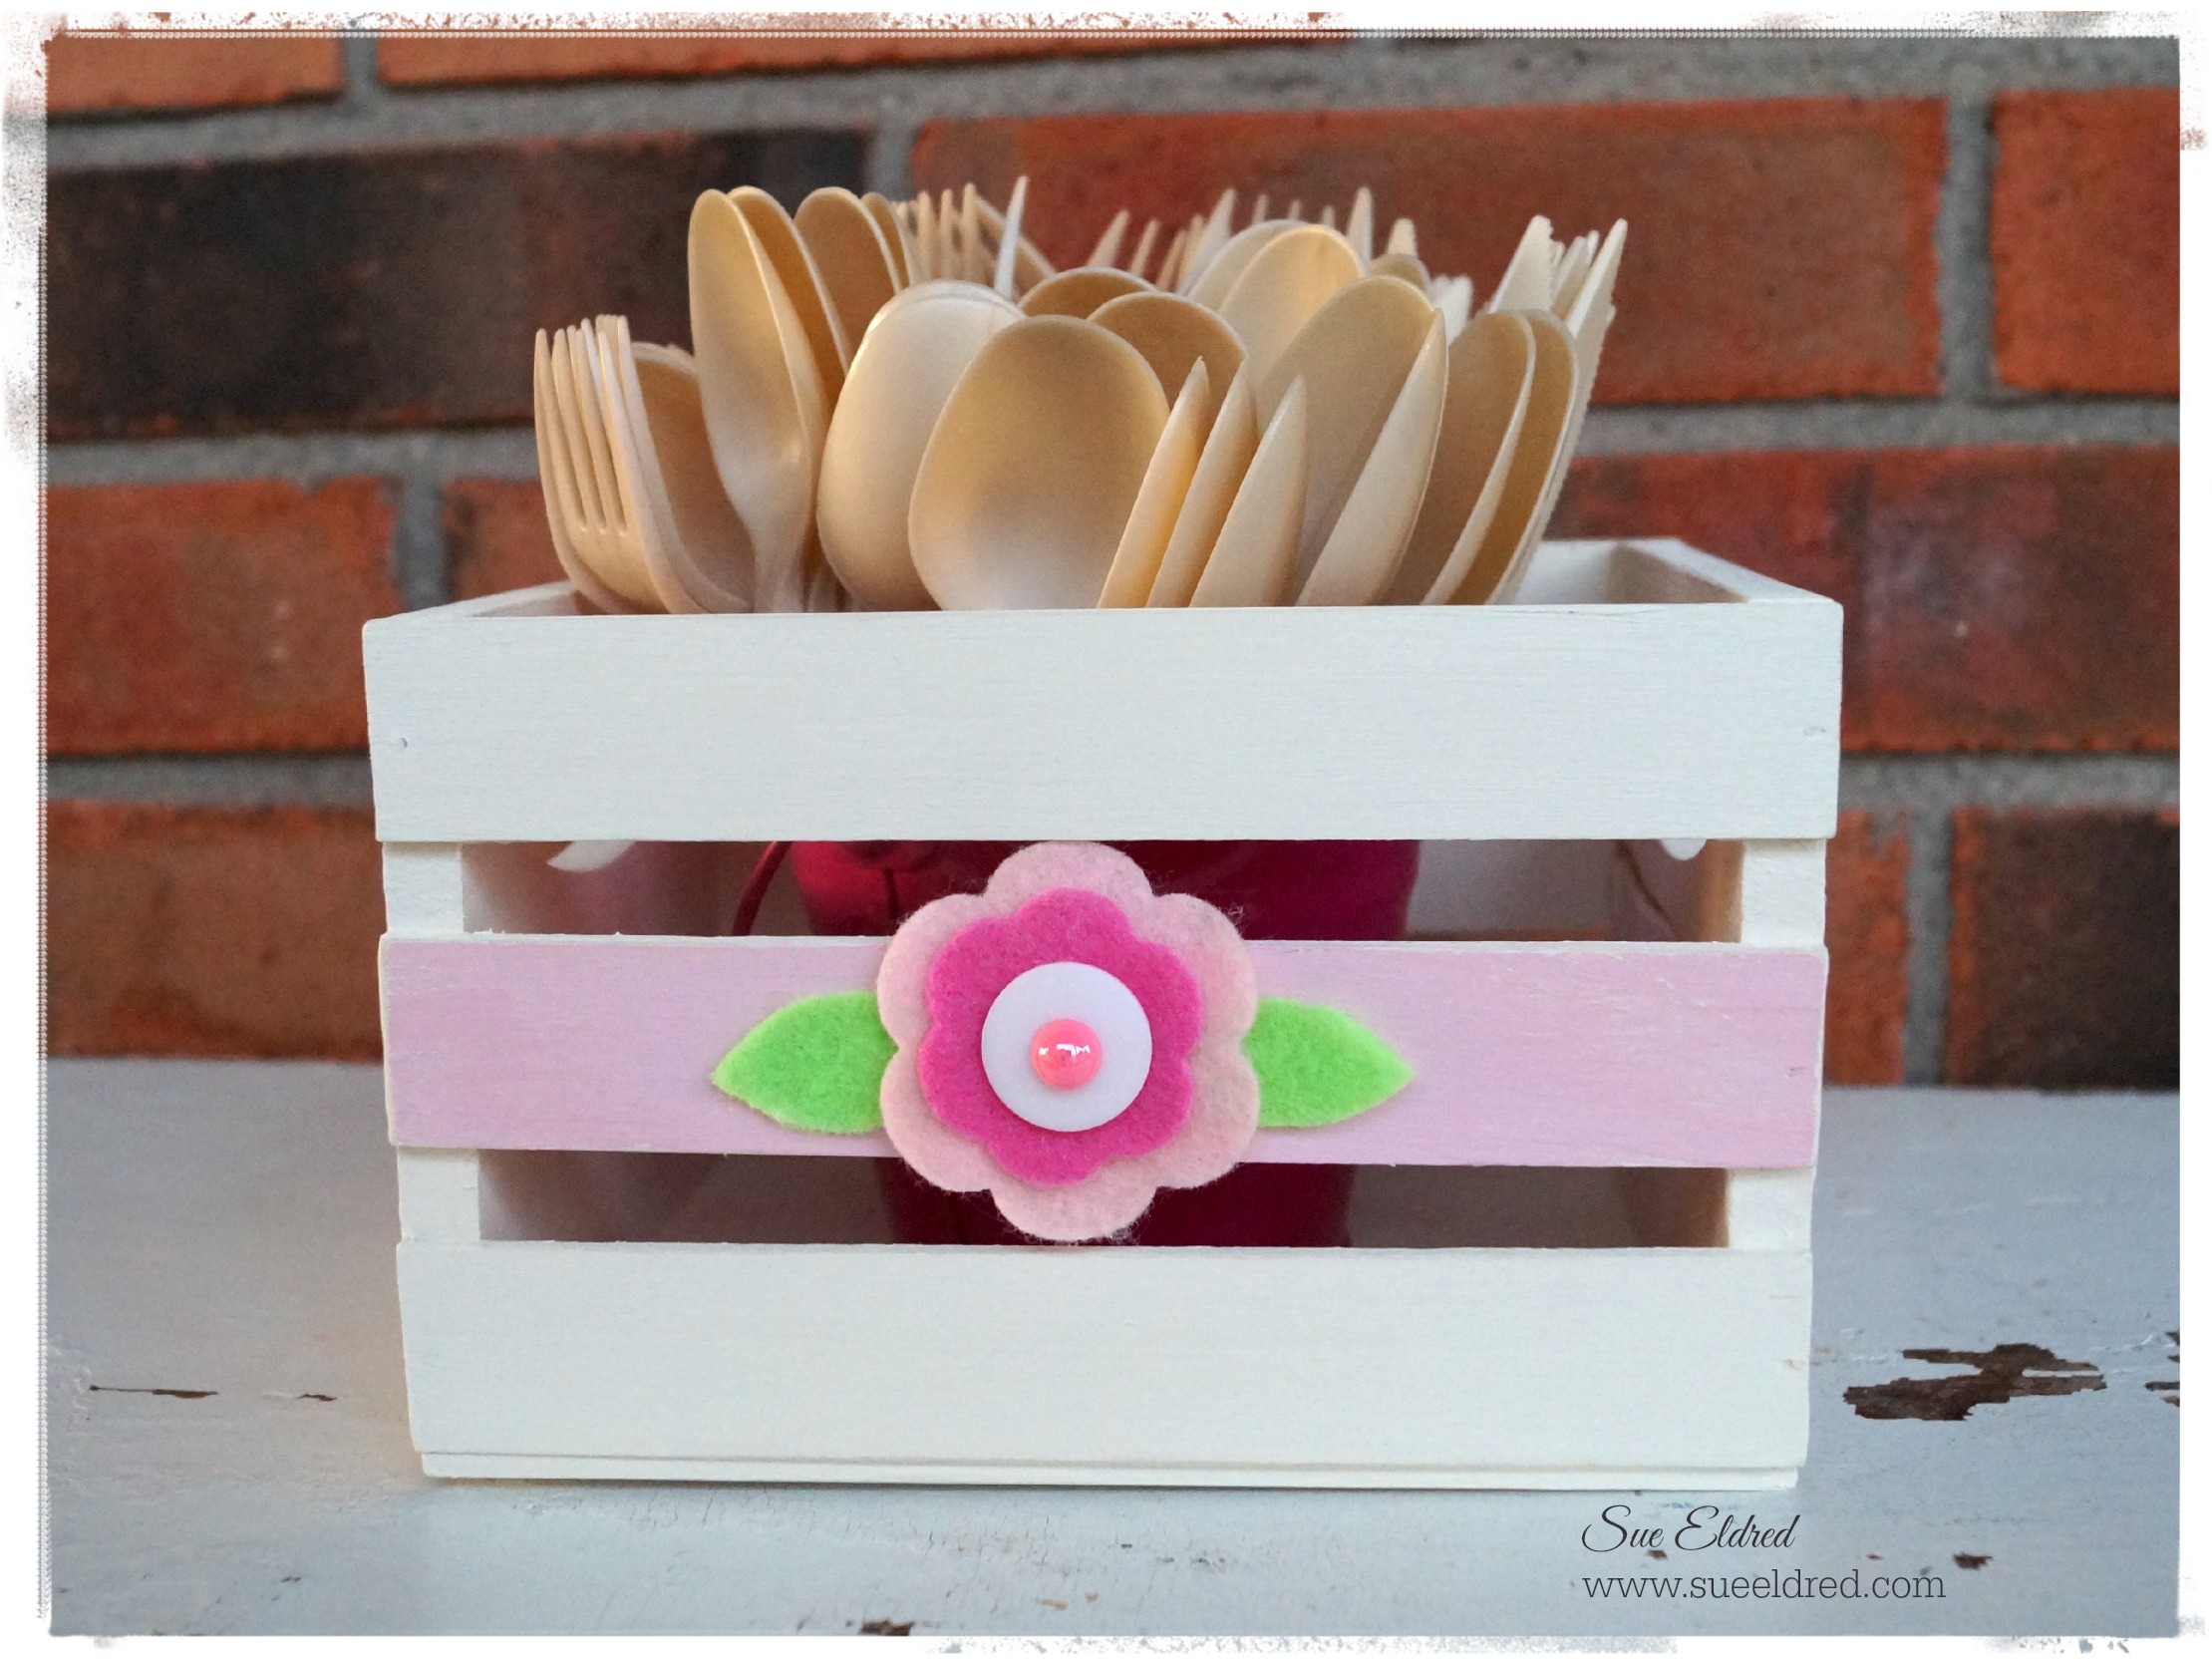
A simple paint and stencil project, fun for kids or grown ups.
I decided to finish painting this colorful Rustic Pallet Frame* that I started working on
yesterday evening. As the name suggests, the frame is rustic and somewhat rough.
Because I was planning on stenciling on it… I sanded the front of the frame to make it smoother.
I wasn’t worried about making it completely smooth.
The Colorful Chalkboard Frame would be a great project to make with the kiddos.

Directions to make the Colorful Chalkboard Frame:
- Sand the front of the frame.
- Paint the frame with white acrylic paint.
- Paint the top of each pallet section with different acrylic colors. Sort of a modified rainbow.
- Because the stencil had four unique patterns, I decided each color needed its own pattern.
- Mask off each section of the wood before stenciling.
- Stencil using a stipple brush and white acrylic paint.
- Allow to dry completely
- To mute to colors: Lightly sand the frame with a sanding block. (optional)
- For an added sheen: Apply clear crème wax to front of frame, allow to sit for one hour and buff.
- I added a small chalkboard to the inside of the frame.
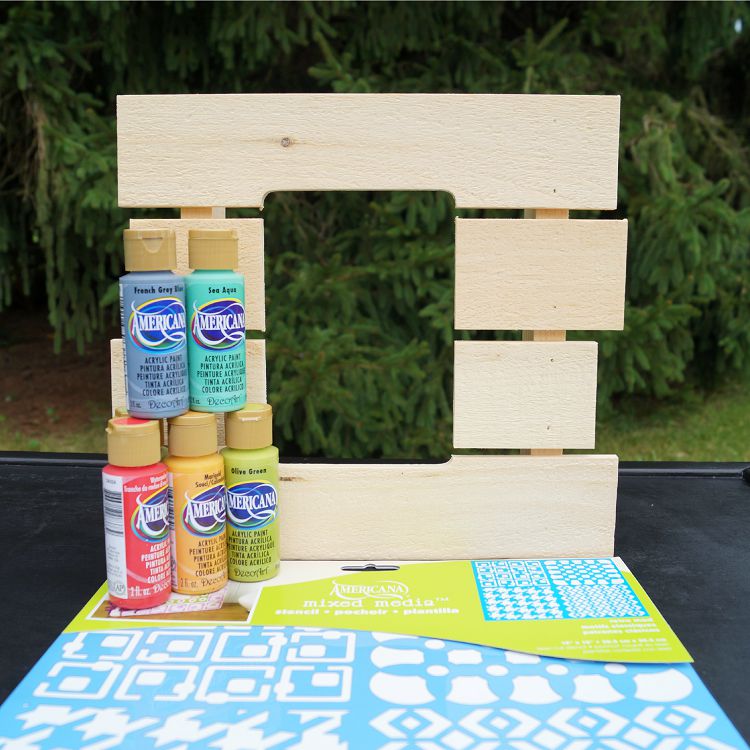
Supplies Used: (*affiliate link)
- Walnut Hollow Rustic Pallet Frame, 11 by 12 by 2-Inch
*
- DecoArt Americana Mixed Media Stencil, 12 by 12-Inch, Retro Mod
*
- Deco Art American Acrylic Paints: White Wash, Watermelon Slice, Marigold, Foliage Green, French Grey Blue
- Paintbrush
- Americana Creme Wax 2Oz-Clear
*
- Sanding Block
- Clean soft cloth
- Small Chalkboard
*Thanks to Walnut Hollow and DecoArt for providing the materials used on this frame.
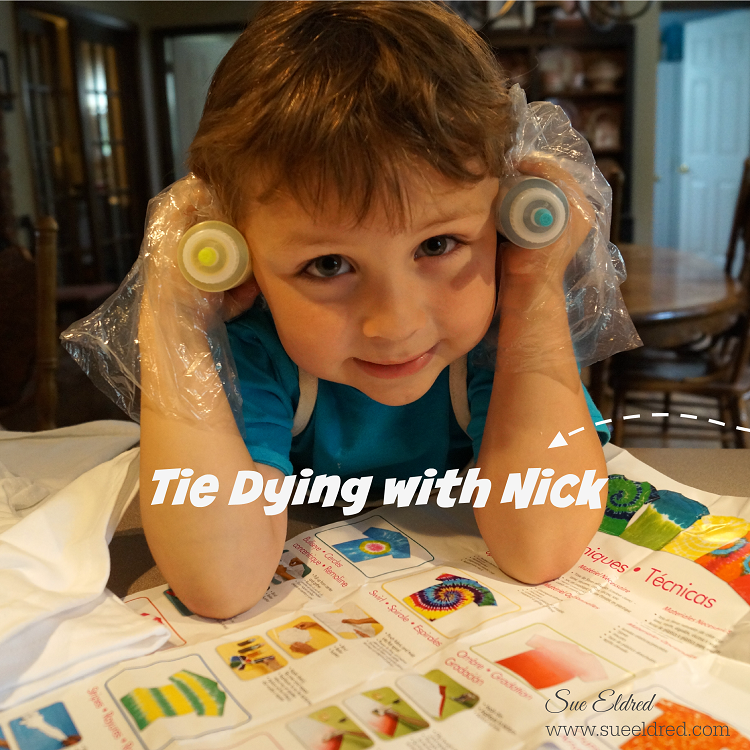
For more Summer fun with the kids…click on SIime Ad below.

Disclaimer: This blog uses ads and affiliate links. If you choose to make a purchase using one of the links, I receive a small commission (at no additional cost to you) that helps offset the costs of maintaining this blog. Thanks for your support!