Fall Woodland Friends Card

Fall Woodland Friends Card

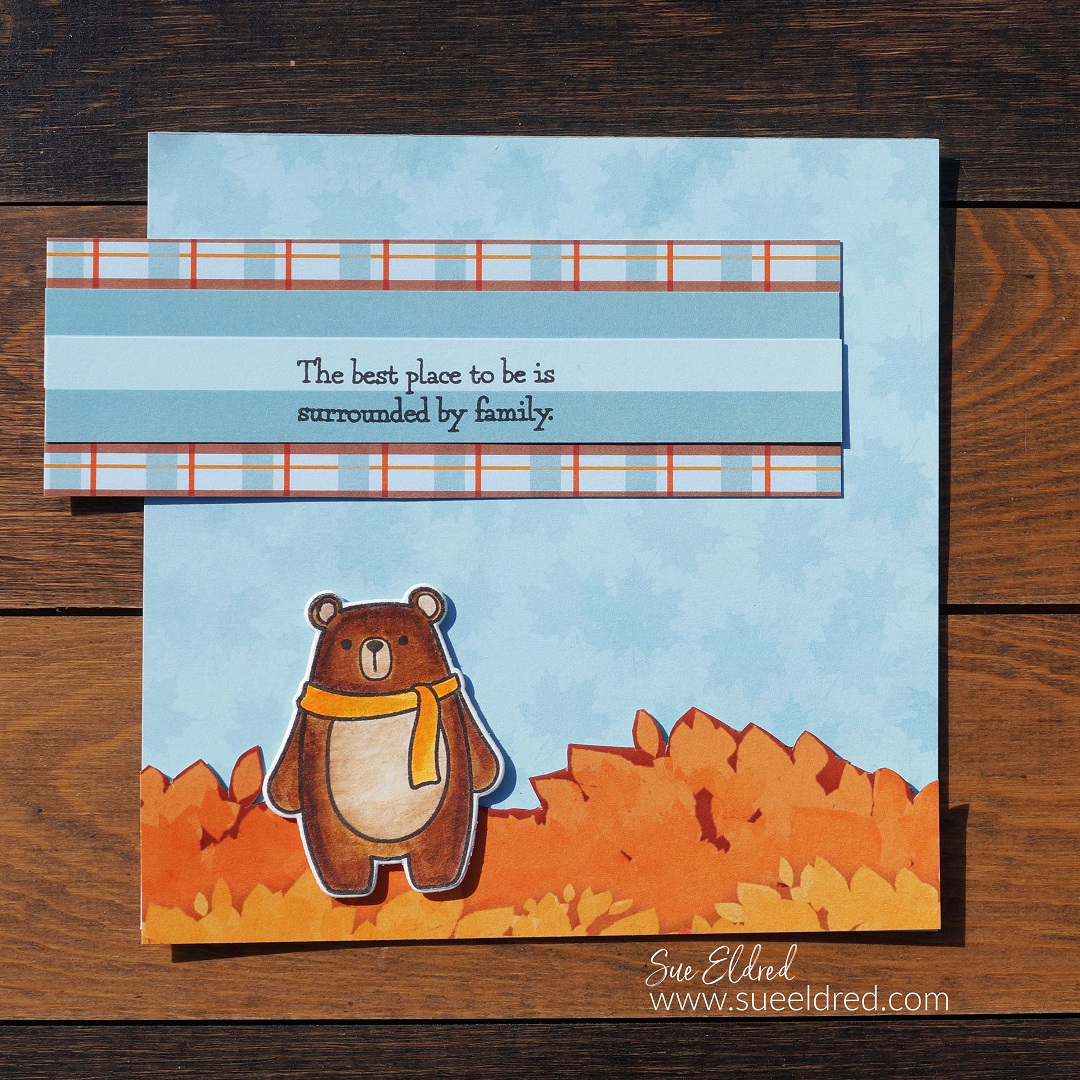
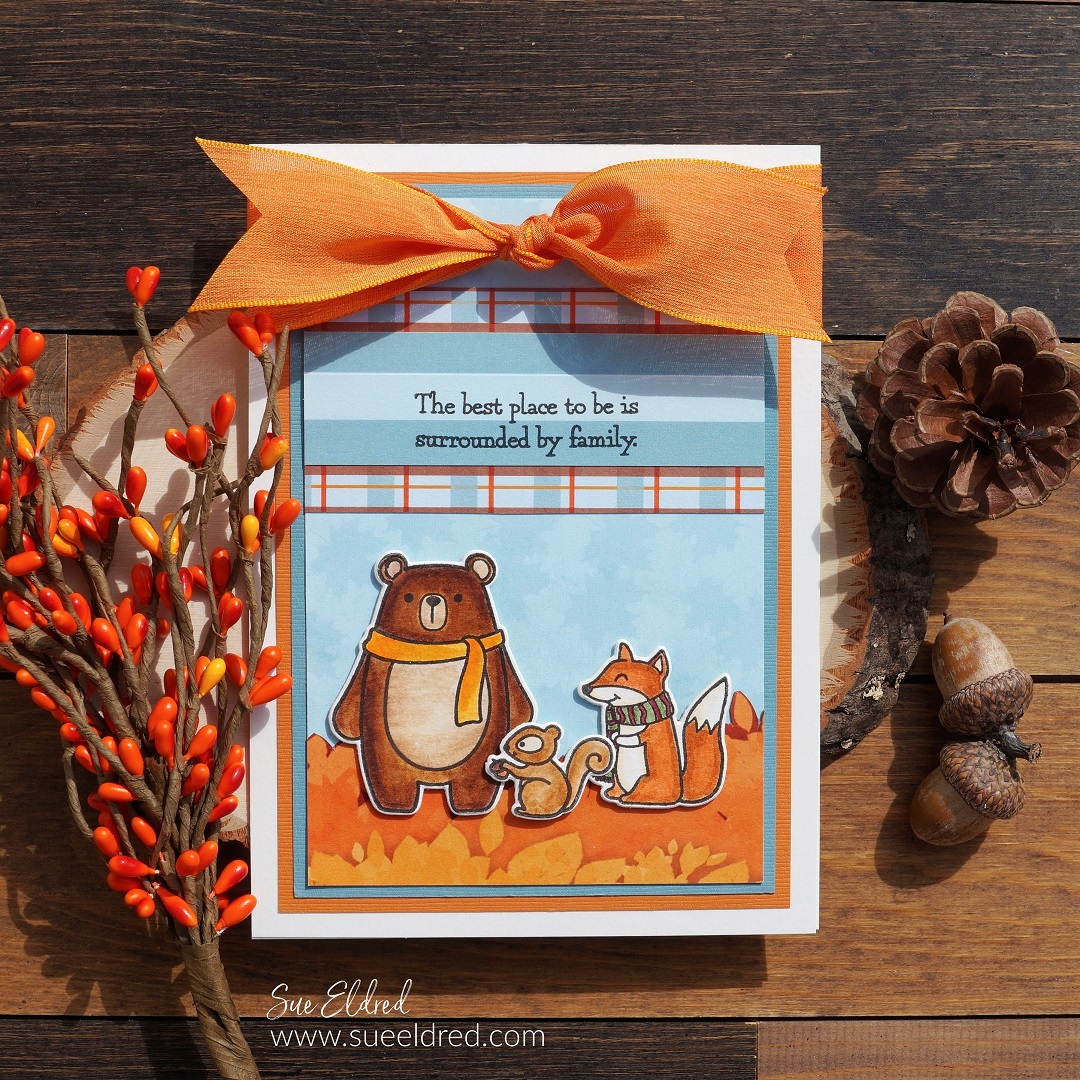
How to make a Fall Woodland Friends Card.

I have another fun fall card to share with you today with warm fall colors

and sweet furry friends.

Fall Woodland Friends Card

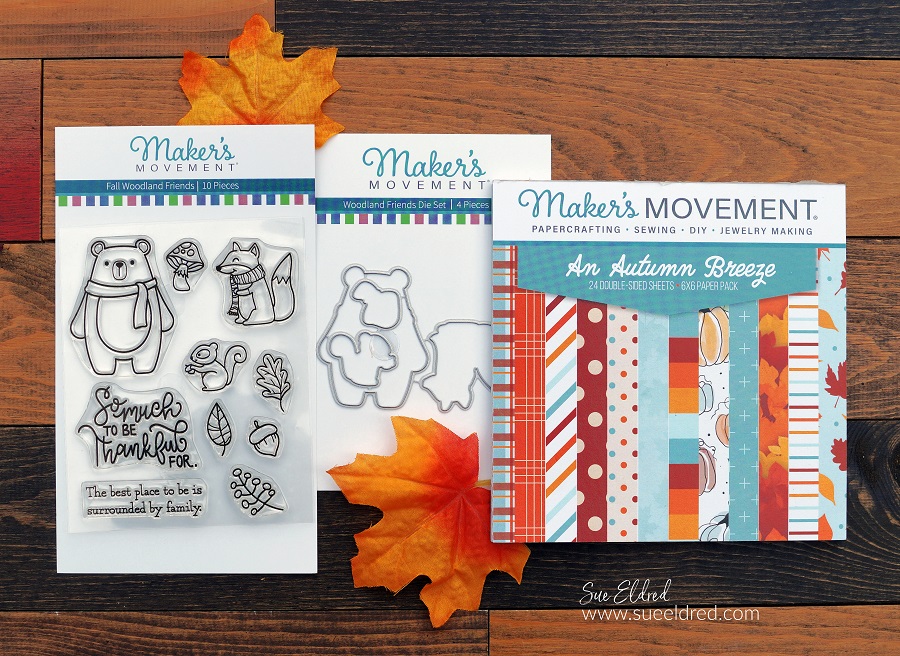
I know I say this all the time, but I think the Fall Woodland Friends Stamp Set and the

coordinating die set from The Maker’s Movement are just about the cutest sets ever.

Mix it with the Autumn Breeze paper for a great combination.  (I love the colors in this pad.)

Maker's Movement

Disclosure:  This is a sponsored post for The Maker’s Movement.  I have been provided product and compensation in exchange for my creative ideas.  The view and opinions are my own. 

Fall Woodland Friends Card

Materials Used:     (*affiliate links)

Shop Tombow

*Disclosure:  This blog uses ads and affiliate links.  If you choose to make a purchase using one of the links, I receive a small commission (at no additional cost to you) that helps offset the costs of maintaining this blog.  Thanks for your support!

Fall Woodland Friends Card

Details and Helpful Tips for making the Fall Woodland Friends Card…

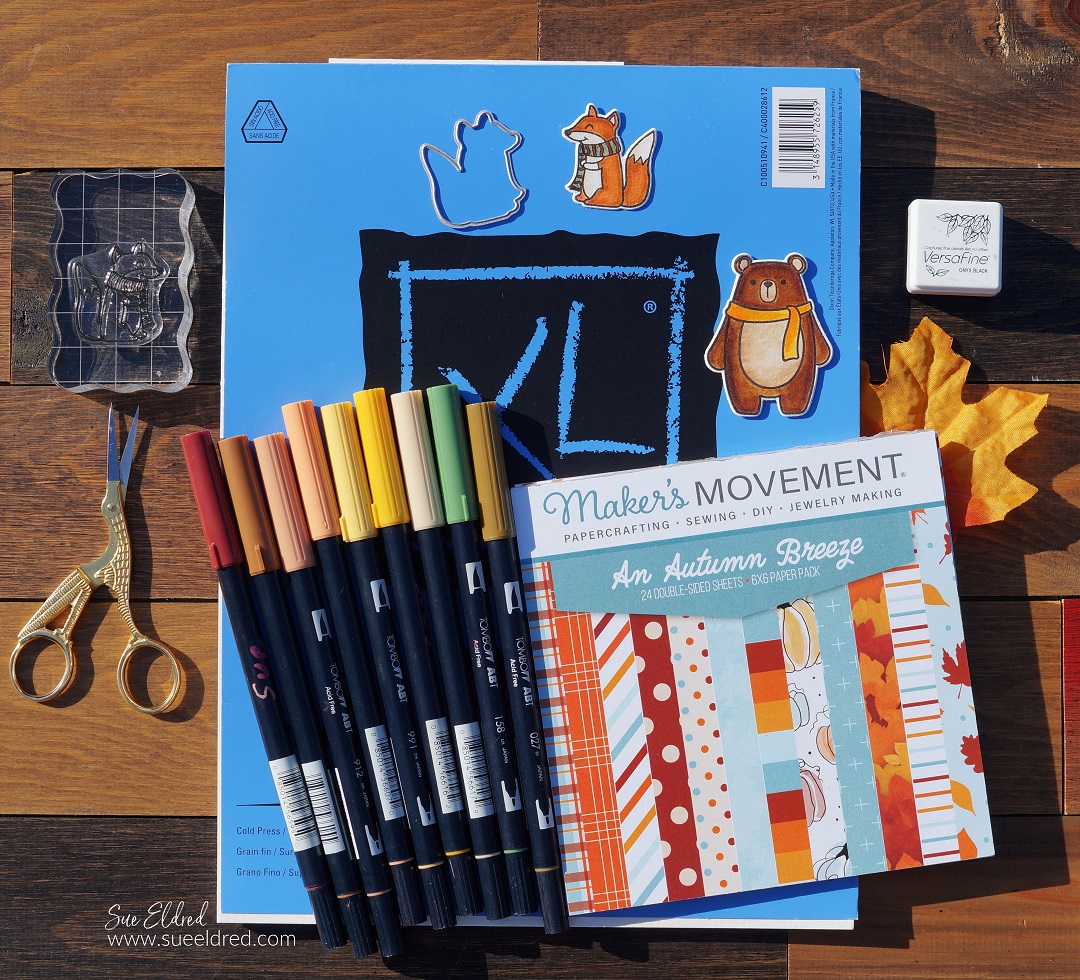
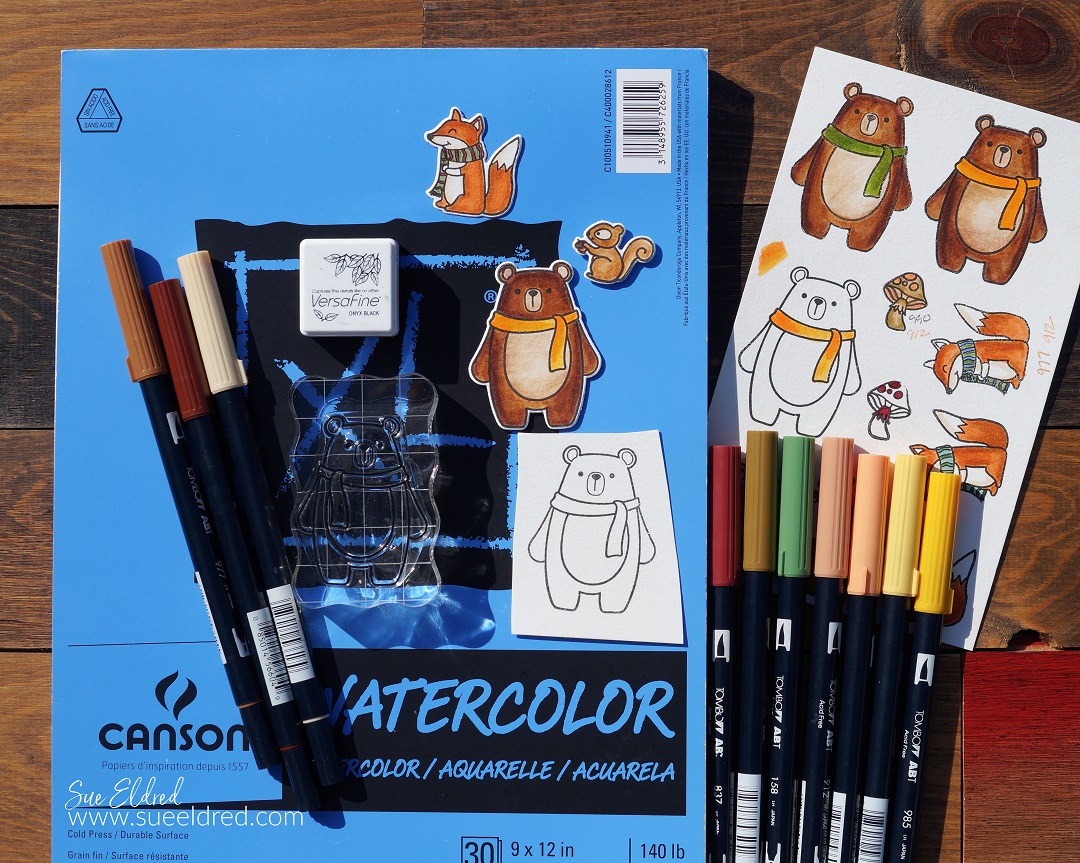
  • When coloring stamped images with markers, I like to stamp my image on watercolor paper first. The watercolor paper helps when blending the inks.
  • It’s best to use a fast-drying permanent ink, like VersaFine Black Instant Dry Pigment Ink*. The Versafine ink keeps your stamped outline from bleeding when coloring the image.
  •  I like to stamp the images that I will be working with several times on watercolor paper to experiment with different color combinations.

Fall Woodland Friends Card

  • Start with a darker marker and color and bring shades to the outside edge of the image, do not fully color the stamped image.
  • Choose a second lighter marker to blend the darker colors.

Fall Woodland Friends Card

  • Align the coordinating die with the stamped image.  Place a small piece of washi tape (or a removable tape) to hold the die in place while die-cutting.
  • Run the stamped image and die through the Mini Maker Die-Cutting Machine to cut out the image.

Fall Woodland Friends Card

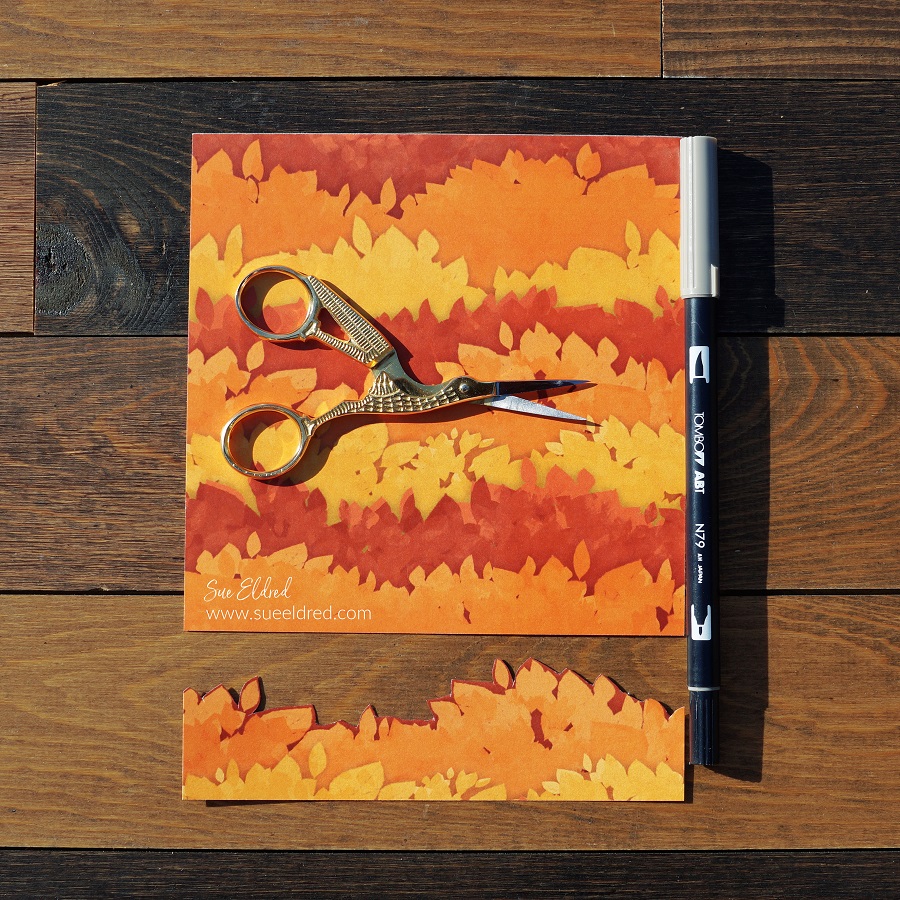
  • “Fussy cut” a 1 1/2″ border using the “fall leaves” paper from the Autumn Breeze paper pad.
  • It helps when fussy cutting to use detail scissors.
  • To cover up the white core of the paper, I use a light gray marker to color the edges of the paper.

Fall Woodland Friends Card

  • Layer a strip of striped paper onto a 2″ plaid strip of paper. (both from the paper pad)
  • Adhere the “fall leaves” border and the “striped” layer onto the 6″ x 6″ turquoise leaves paper.
  • Cut the card front to 4″ x 6″.
  • I used 3D Foam Squares* to adhere the Woodland Friends to the front of the card.

Fall Woodland Friends Card

  • Adhere the card front onto a 4 1/4″ x 6 1/4″ turquoise cardstock layer and then onto a 4 1/2″ x 6 1/2″ pumpkin-colored cardstock layer.
  • My finished card is 5″ x 7″.
  • I didn’t have a top folding 5″ x 7″ card, so I made one. I used watercolor paper as my card base.
  • Adhere the card front to a 5″ x 7″ piece of watercolor paper.
  • Cut a second piece of watercolor paper 5″ x 8″. Score the paper at 1″ from the top and fold over.
  • Adhere the card front onto the folded tab.
  • Tie a piece of orange ribbon onto the front of the card. The ribbon hides the folded tab.

Fall Woodland Friends Card

The Fall Woodland Friends would look cut on tags, on a scrapbook layout, or in a pop-up card.

Trick or Treat Halloween Shaker Card

Trick or Treat Halloween Shaker Card

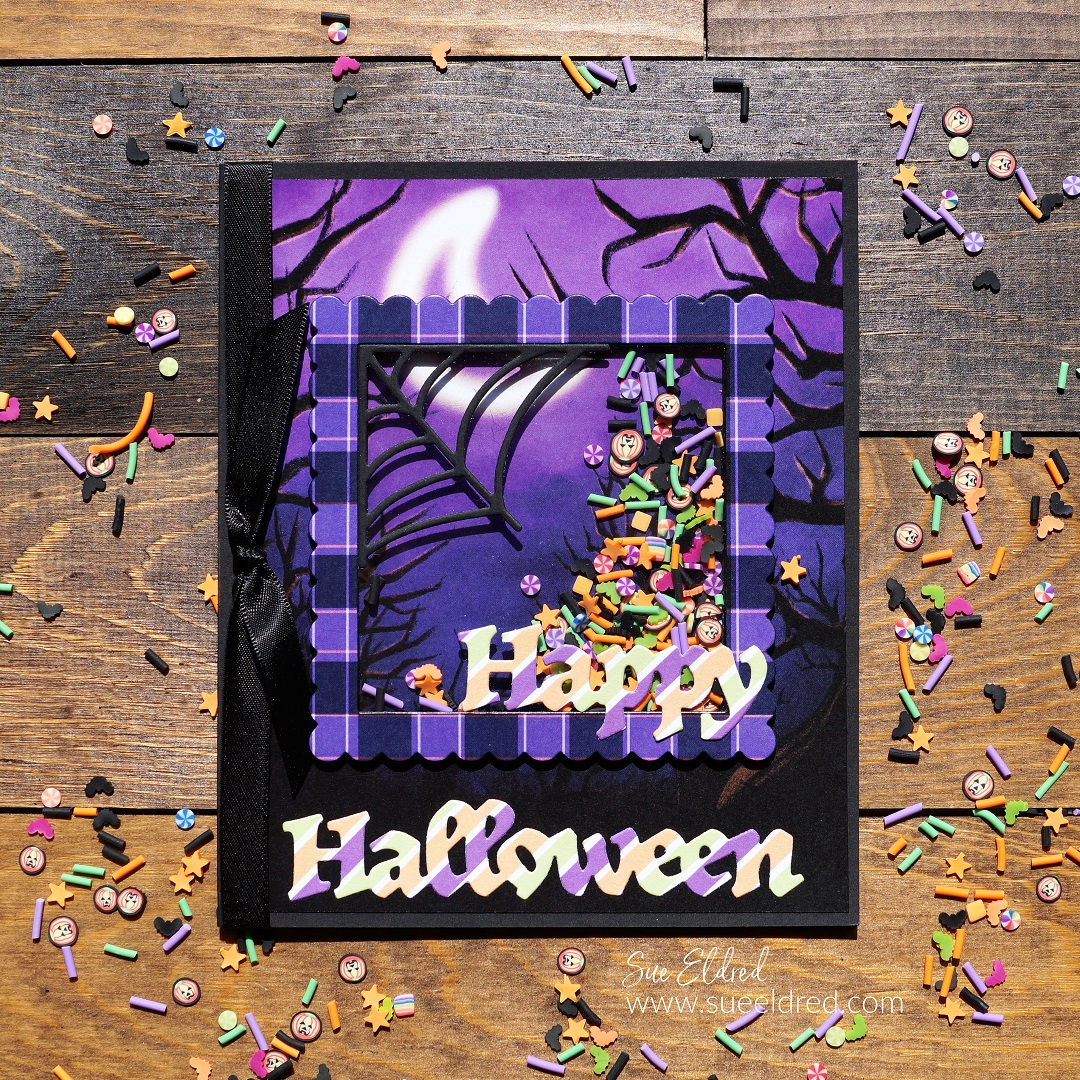
How to Make a Not So Spooky Halloween Shaker Card.

When it comes to anything Halloween, I like it more “cute” than scary. (big chicken here)

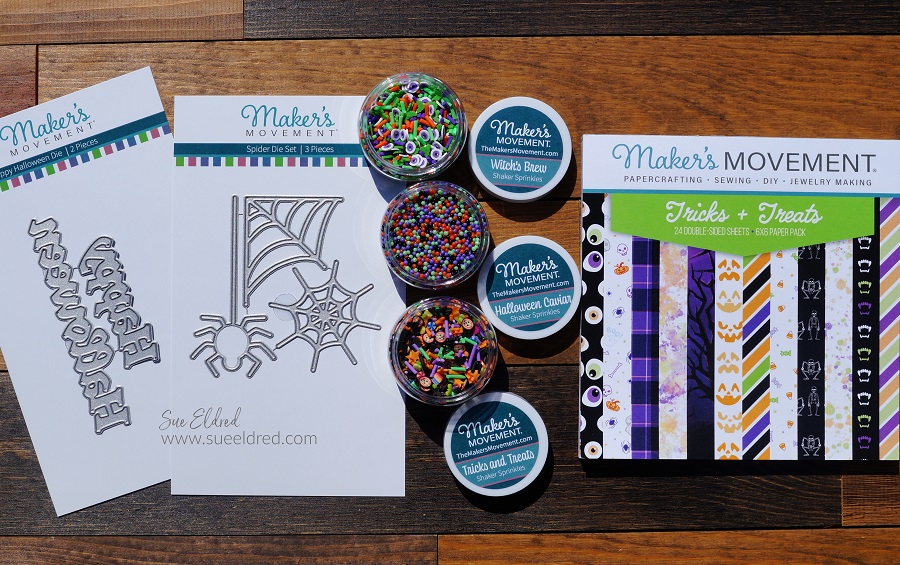
This Not So Spooky Halloween Shaker card uses Dies and Shaker Sprinkles from

The Maker’s Movement’s New Halloween Collection.

Maker's Movement

Disclosure:  This is a sponsored post  for The Maker’s Movement.  I have been provided product and compensation in exchange for my creative ideas.  The view and opinions are my own. 

Trick or Treat Halloween Shaker Card

Materials Used:           (*affiliate link)

*Disclosure:  This blog uses ads and affiliate links.  If you choose to make a purchase using one of the links, I receive a small commission (at no additional cost to you) that helps offset the costs of maintaining this blog.  Thanks for your support!

Trick or Treat Halloween Shaker Card

Directions:

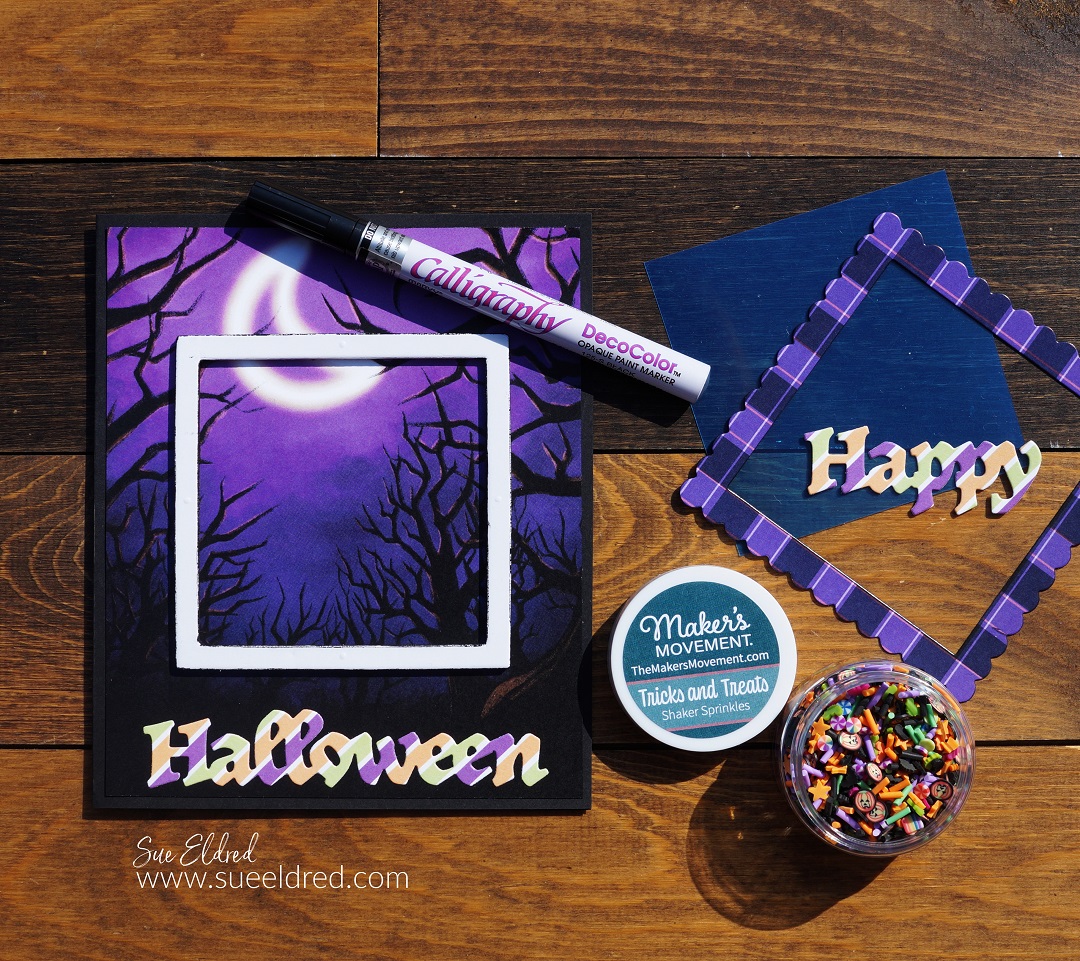
  • I used the Halloween Scene from the Tricks and Treats paper pad for the base of my card. I cut off a 1/2″ off both sides of the paper, making it 5″ x 6″. (The finished card measures 5 1/4″ x 6 1/4″.)
  • Die-cut a large scalloped square frame out of the purple plaid paper from the paper pad.
  • Die-cut a large foam square using the foam cutter die. The foam square will fit under the scalloped square frame.
  • Because I didn’t want the white sides of the foam showing in my shaker element, I used black calligraphy (chisel point) paint marker to color the outside and inside of the foam square. Place the foam square onto the card base. (as shown above)
  • Add “Tricks and Treats” shaker sprinkles into the center of the foam square.
  • Cut a 3 1/4″ x 3 1/4″ piece of clear acetate. Remove the blue protective covering from both sides of the acetate.
  • Remove the top protective coating from the foam square and place the acetate onto the foam.
  • Add adhesive under the purple plaid scalloped square and place it over the acetate lined up with the foam square.

Trick or Treat Halloween Shaker Card

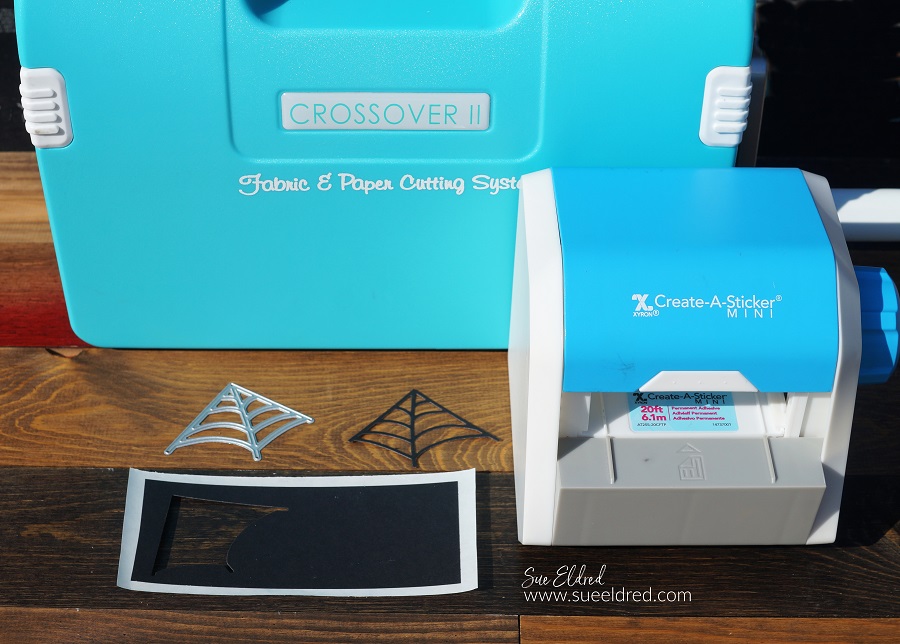
Die-Cutting Tip…

  • When cutting small die-cut pieces, I like to run the paper through the Xyron Create a Sticker Mini*.  After die-cutting, they become little stickers. That makes applying the die-cuts a whole lot easier.

Trick or Treat Halloween Shaker Card

  • Apply the Spider Web die-cut onto the inside corner of the shaker element.
  • Add the words “Happy Halloween” onto the front of the card.

Trick or Treat Halloween Shaker Card

I enjoy making cards with dimension and movement.

I think this is one of the simplest shaker cards I’ve made so far.

If you love making shaker cards, make sure to check out all the dies and cute shaker sprinkles

that are available from The Maker’s Movement.

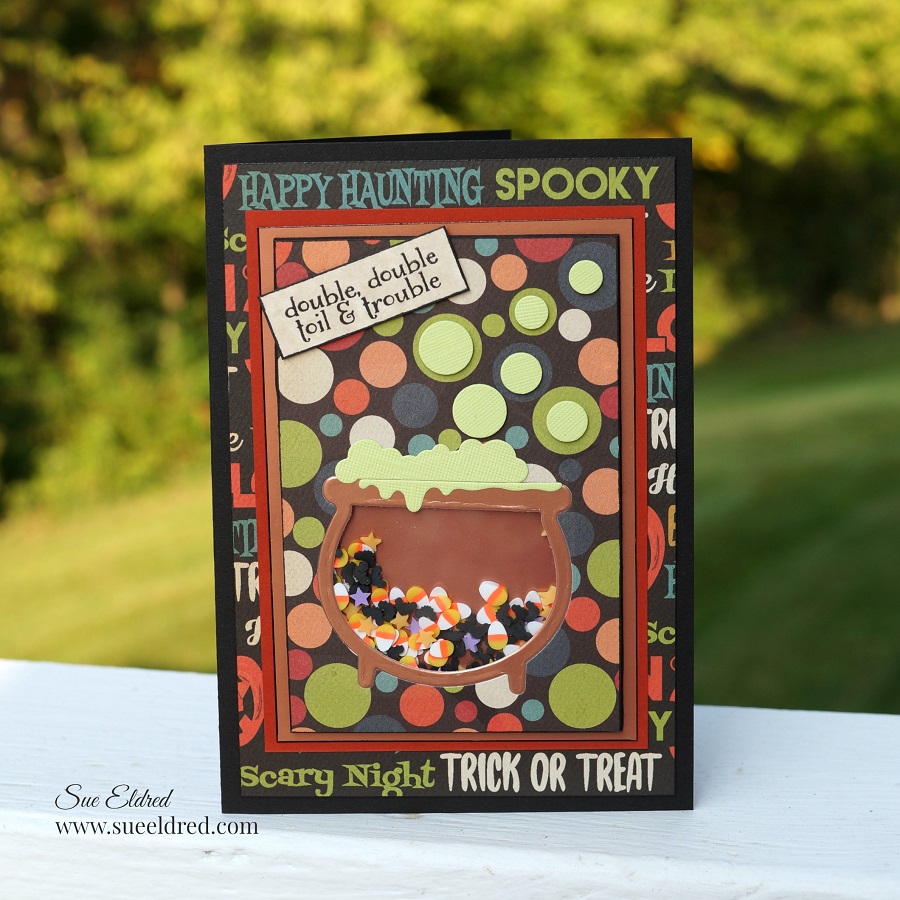
Toil and Trouble Halloween Shaker Card

Toil & Trouble Halloween Shaker Card.

This is the Halloween Shaker Card I made last year.  You can see how it was made here.

First Day of School Scrapbook Layout

First Day of School Scrapbook Layout

Capturing the First Day of School Smiles…

As a kid, I always looked forward to going back to school.

New clothes, new supplies, and the new fall lineup on TV.

As a mom, I was a little sad sending them.

It always felt like summer was over as soon as the kids went back to school.

I was never that mom that couldn’t wait for them to go back.

But once we got back into the routine, everything was good again.

(The layout is of my older two Grandsons First Day of School.)

First Day of School Scrapbook Layout

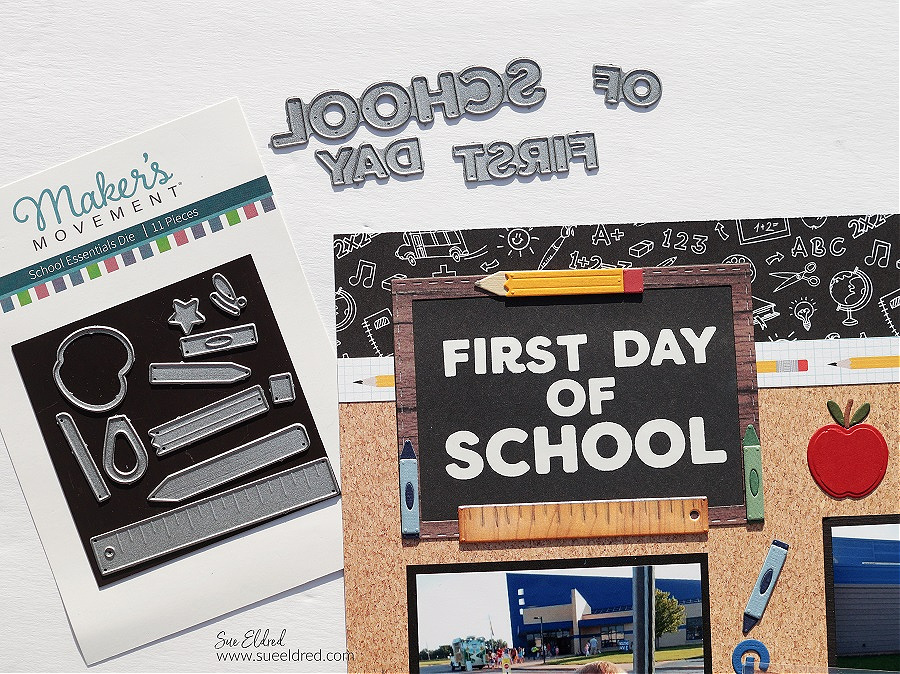
Die-Cutting Tips…

  • For better results with dies that have grooves, use thick or double-layered cardstock.
  • I adhered two pieces of cardstock together using the Xyron Create-A-Sticker Mini*.
  • I also added a second layer of adhesive to the cardstock before cutting the pieces out using the Mini Maker Die Cutting Machine.
  • You will want to run it through and then back again to make sure that all layers have been cut.
  • Each little die-cut piece becomes a sticker which makes it easy to put all the parts together.

Maker's Movement

Disclosure:  This is a sponsored post  for The Maker’s Movement.  I have been provided product and compensation in exchange for my creative ideas.  The view and opinions are my own. 

School Essentials Die Set from The Maker's Movement First Day Die Set from The Maker's Movement

Materials Used:    (*affiliate links)


*Disclosure:  This blog uses ads and affiliate links.  If you choose to make a purchase using one of the links, I receive a small commission (at no additional cost to you) that helps offset the costs of maintaining this blog.  Thanks for your support!

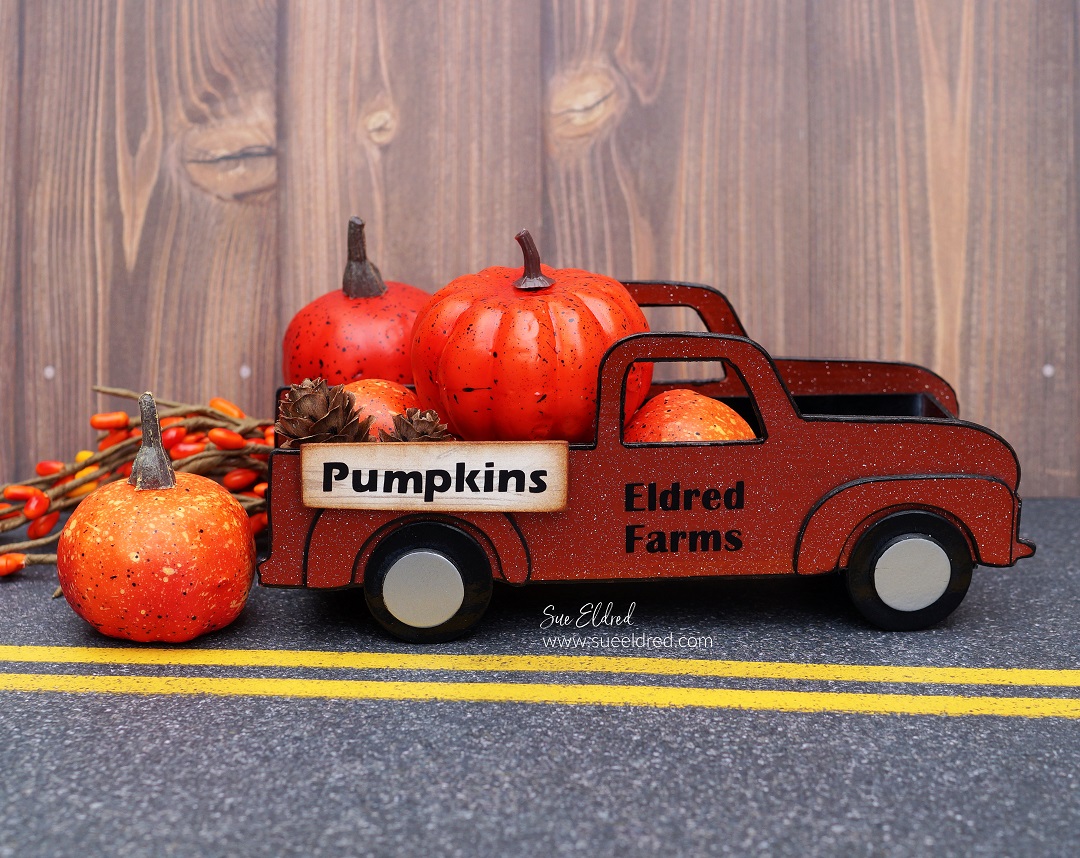
DIY Vintage Pumpkin Truck

DIY Vintage Pumpkin Truck

For the Love of Old Trucks…

When I first shared Eileen’s New Vintage Truck in June, I said, “Can you imagine it as an old

rusty pickup filled with miniature pumpkins?” Well, here it is.

Except it’s not rusty looking and old…

instead I tricked it out with a shiny new paint job.  (so to speak)

Vintage Pumpkin Truck

How to Create a Vintage Pumpkin Truck with Eileen Hull Vintage Truck Die* from Sizzix.

  • Instead of painting the pieces of the truck, I used adhesive vinyl on the truck parts before die-cutting them.
  • Cut a piece of mat board slightly larger than the shape you are going to die-cut.
  • Apply vinyl on both sides of the mat board and die-cut the shape using the Vintage Truck Die* and the Big Shot Die-Cutting Machine*.

*Disclosure:  This blog uses ads and affiliate links.  If you choose to make a purchase using one of the links, I receive a small commission (at no additional cost to you) that helps offset the costs of maintaining this blog.  Thanks for your sup

Eileen Hull's Vintage Truck Die

Materials Used:       (*affiliate links)

Vintage Truck Parts and Pieces

  • When all the pieces have been die-cut, go around the edges with a black calligraphy paint marker. Adding paint to the edges will cover up the white core of the mat board and give the pieces more detail.
  • Adhere the pieces of the truck together using Rapid Fuse Adhesive*.

Vintage Truck

Adapting the truck to carry a wider load.

  • I wanted the truck to have a wider body, to carry a larger load.  
  • After die-cutting the bottom piece for the truck bed, cut the piece in half.  
  • I cut a second piece of mat board 2″ x 6″.  (or you could even cut it a little wider than that)
  • Glue the scored die-cut pieces to the bottom of the larger mat board using Rapid Fuse Adhesive*.

Vintage Pumpkin Truck

Vintage Pumpkin Truck

A Fun Fall Décor Piece.

Book Marks for Book Lovers and Readers

Bookmarks for Book Lovers and Readers

Creating Bookmarks for Book Lovers and Readers…

Besides crafting, reading is one of my favorite hobbies.

Sitting and reading is a luxury for me.  Never enough time.

Bookmarks for Book Lovers and Readers

Just one more page…

I love getting lost in a good book. My problem is once I start reading,

I can’t seem to put the book down until I finish reading it.

Forget about work, dinner, or dishes.

Bookmarks for Book Lovers and Readers

Combining my two hobbies…

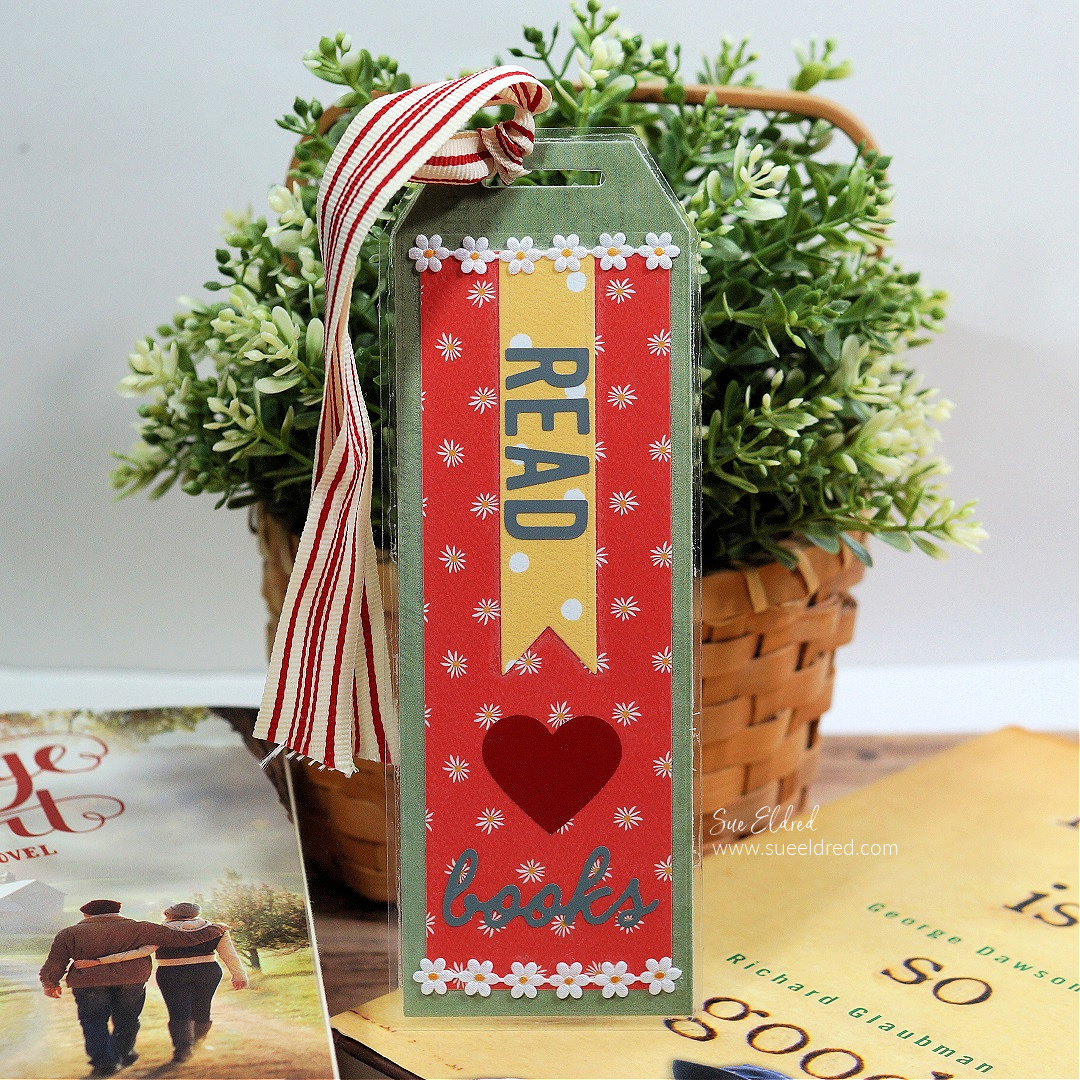
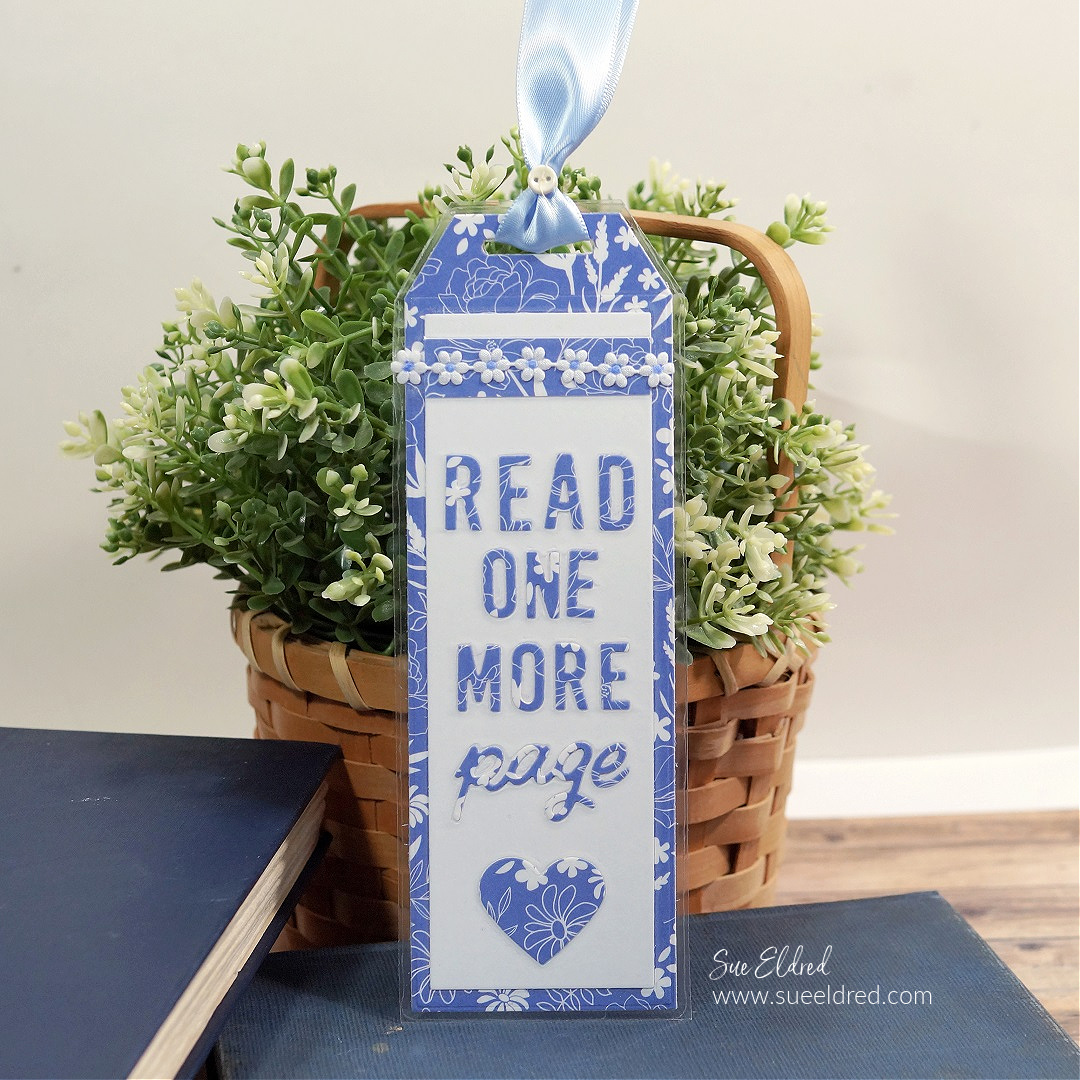
I created bookmarks using the New Bookmark Die Set from The Maker’s Movement.


Disclosure:  This is a sponsored post for The Maker’s Movement.  I have been provided product and compensation in exchange for my creative ideas.  The view and opinions are my own. 

Bookmarks for Book Lovers and Readers

Materials Used:      (*affiliate links)

*Disclosure:  This blog uses ads and affiliate links.  If you choose to make a purchase using one of the links, I receive a small commission (at no additional cost to you) that helps offset the costs of maintaining this blog.  Thanks for your support!

Bookmarks for Book Lovers and Readers

Directions:

  • Cut out the layers of the bookmark using the bookmark die. 
  • Adhere them together using a tape runner*.
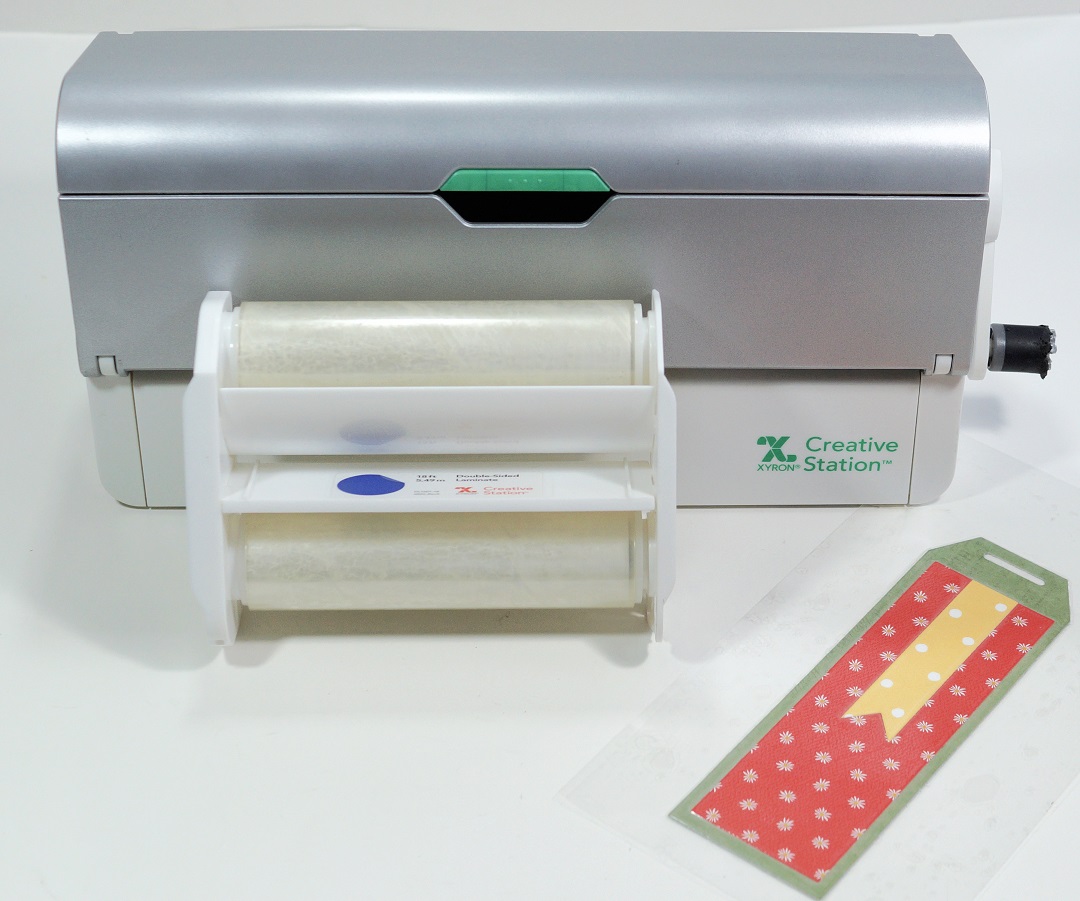
  • Using the Xyron Creative Station* with a double-sided Laminating cartridge, place the bookmark base in the machine.  Crank the handle to run it through the machine. The Creative Station adds clear laminating onto both sides of the bookmark.

Bookmarks for Book Lovers and Readers

  • Trim the bookmark with scissors leaving a 1/8″ border of lamination.
  • Reopen the top slot of the book mark with scissors or a craft knife.

Bookmarks for Book Lovers and Readers

To make the letters on the blue bookmark… place a piece of scrapbook paper through the Xyron Creative Station* with a permanent adhesive cartridge* to add adhesive to the back of the scrapbook paper. Once the letters were die-cut, they became little letter stickers.

Bookmarks for Book Lovers and Readers

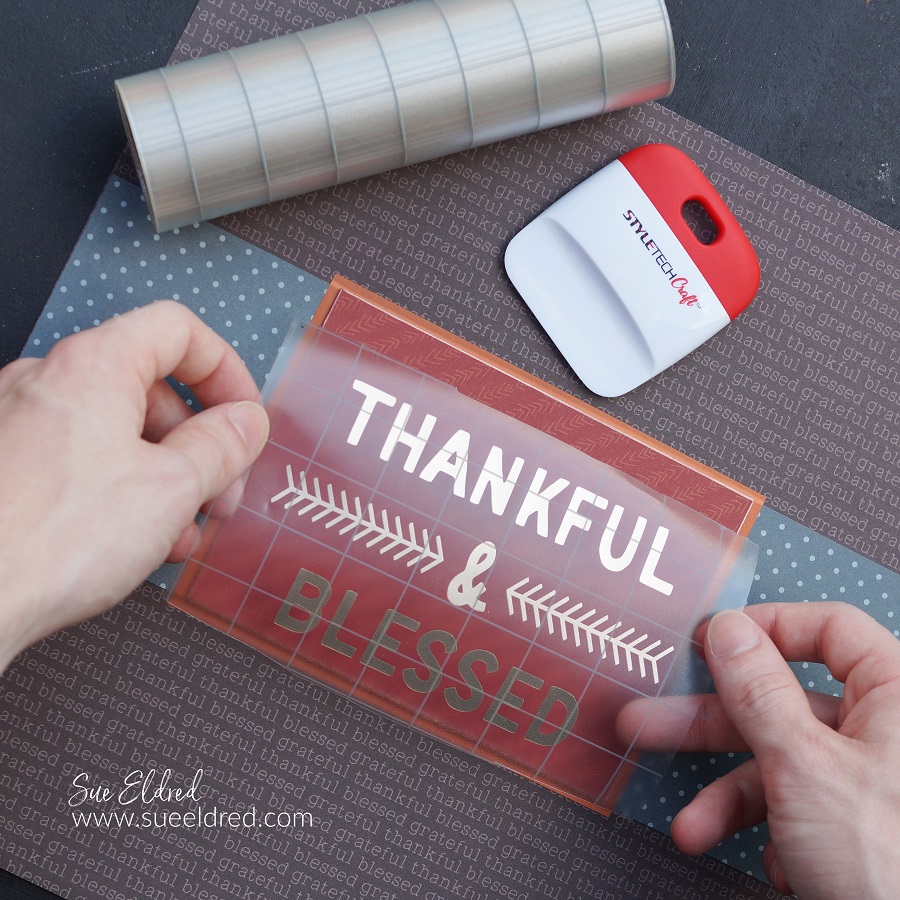
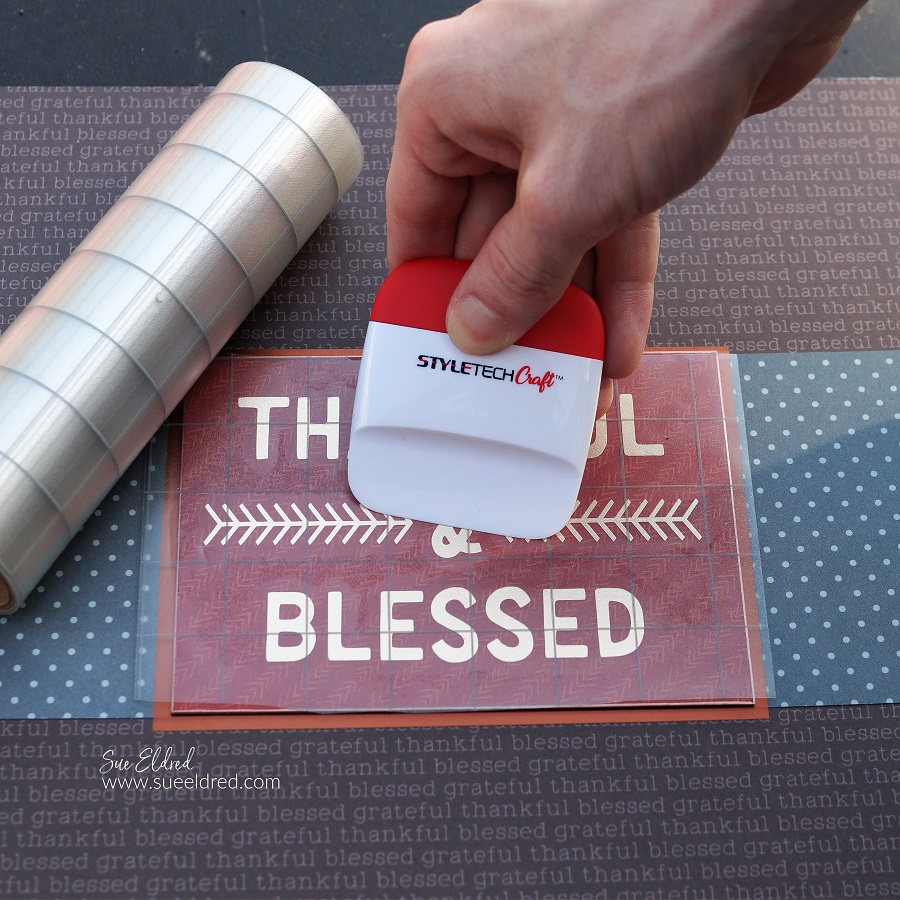
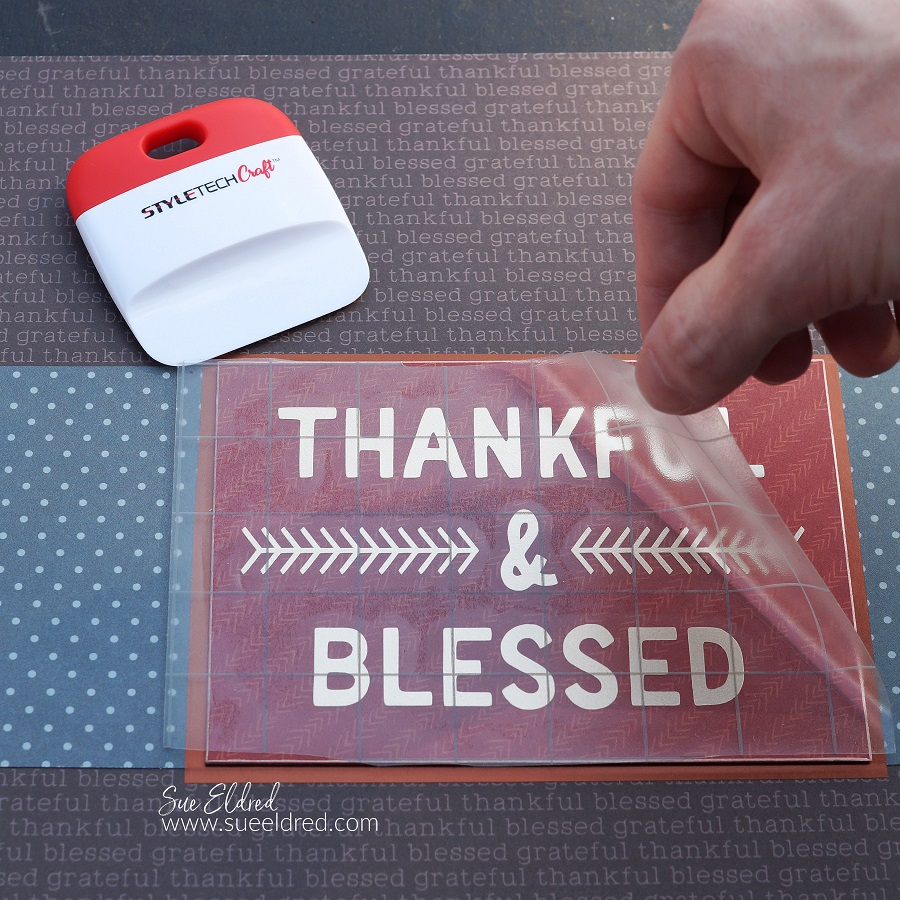
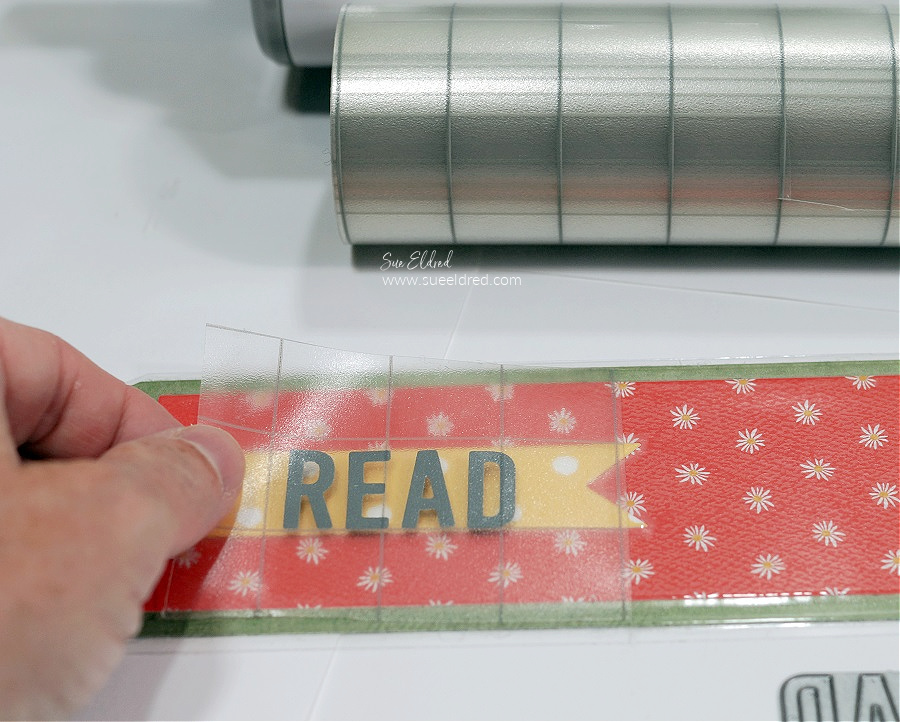
  • Place the vinyl onto the bookmark, and rub over the transfer paper to make sure the vinyl sticks to the lamination.  (You can use a vinyl scraper tool.)

Bookmarks for Book Lovers and Readers

Add ribbon and trim to create the perfect bookmark for your favorite book lover.

DIY Holiday Planner

DIY Holiday Planner

Creating a Holiday Planner…

It’s never too early to start thinking about the Holidays.

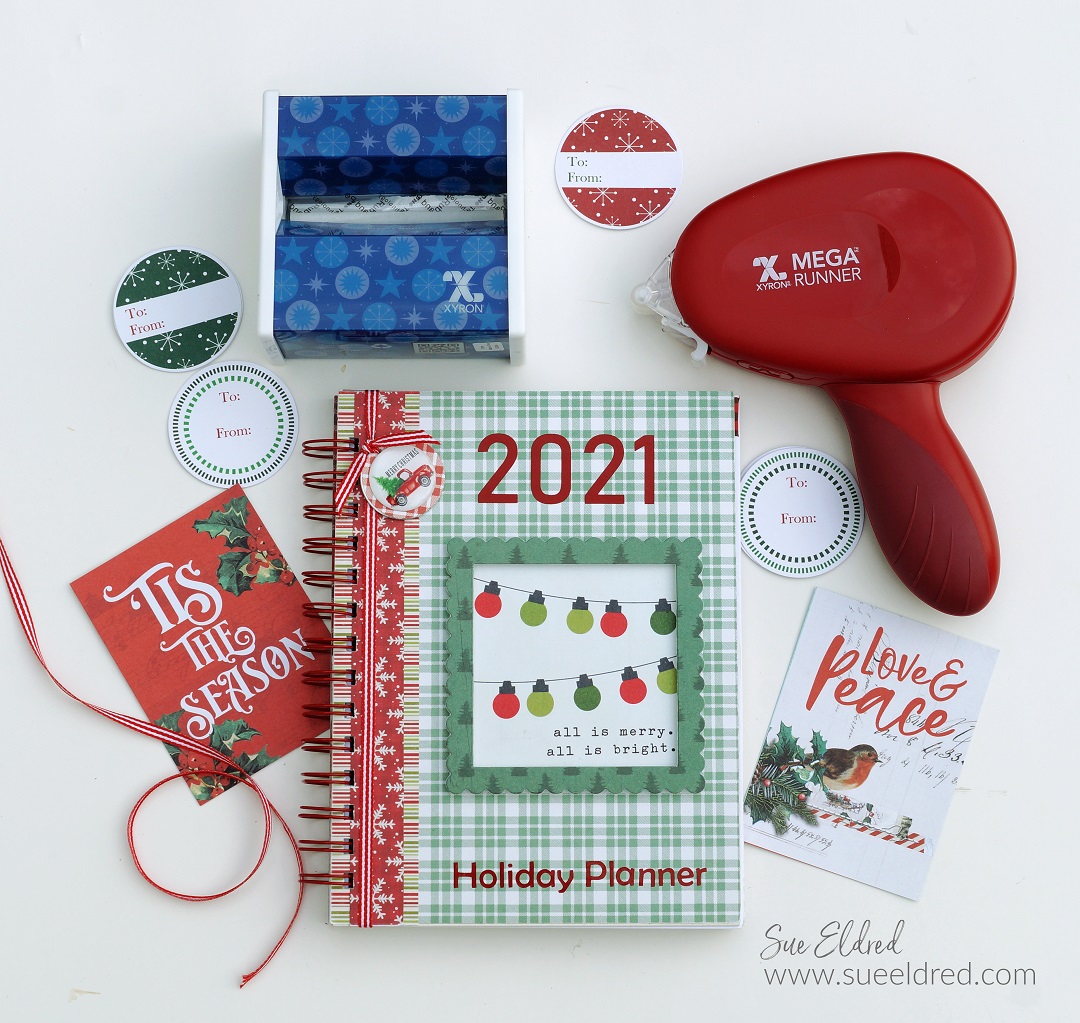
So…when Xyron asked me to do a Christmas in July project using the Xyron Holiday Bundle,

of course, I said YES!

To be honest, my first thought was to run over to my local scrapbook store

and buy something new to use in my project.

Christmas is my weakness, and I have so much leftover from previous years.

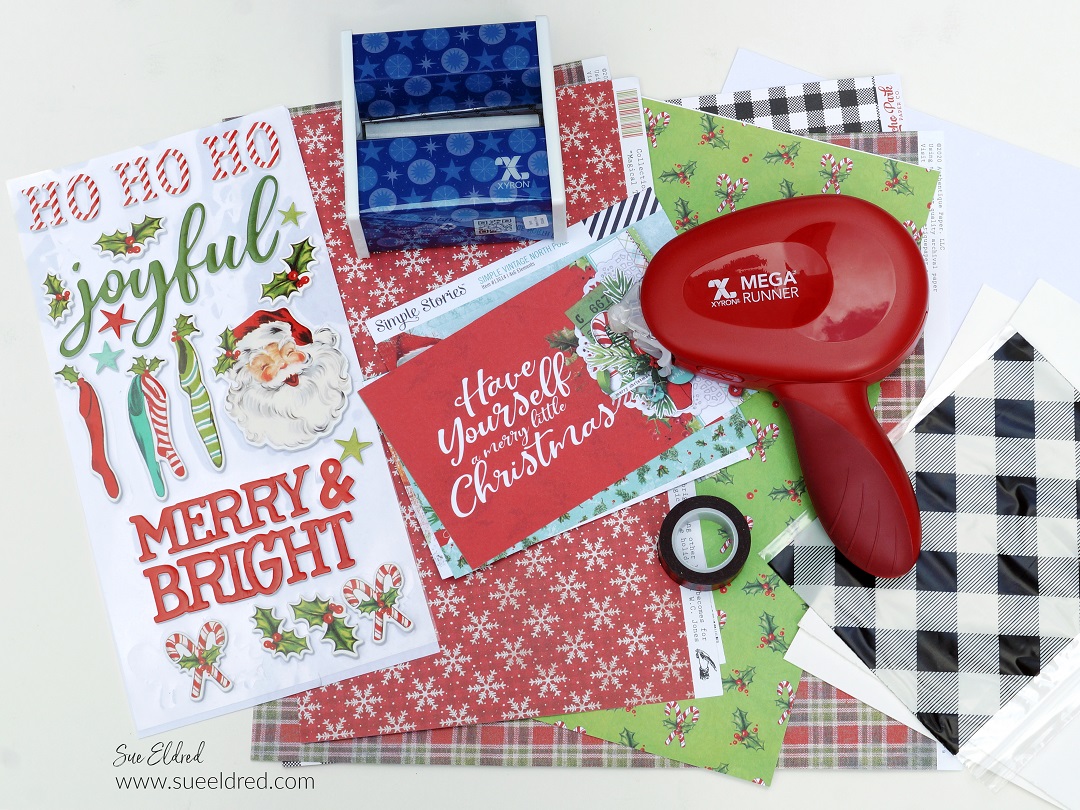
I decided to “Scrap my Stash” instead. In the end, I used paper from 3-4 different collections.

(I’m so proud of my self-control.)

My Holiday Planner measures 6″ x 8″. 

It is big enough to write in but small enough to grab and go.
Xyron® is your official site for all your crafting needs
“This post is sponsored for Xyron.  I have been provided product and compensation in exchange for my creative ideas.  The views and opinions are my own.
Creating a Holiday Planner

Materials Used:

*Disclosure:  This blog uses ads and affiliate links.  If you choose to make a purchase using one of the links, I receive a small commission (at no additional cost to you) that helps offset the costs of maintaining this blog.  Thanks for your support!
Xyron Creative Station

DIY Planner Details:

  • Cut two 6″ x 8″ pieces of decorative paper for the front cover and two 6″ x 8″ pieces for the inside front and back covers.
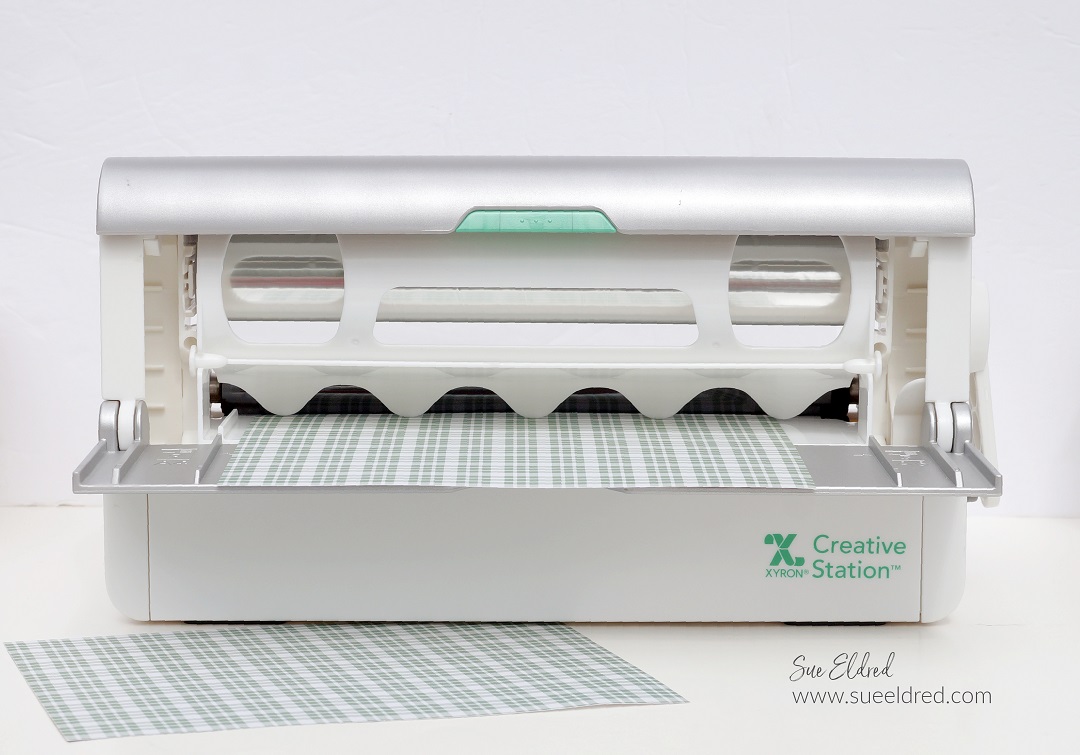
  • Lay the paper into the Xyron 9″ Creative Station* design side up. Crank the handle of the Creative Station* to run it through the machine. As it goes through the machine it adds a complete layer of adhesive to the back of the paper. No electricity needed, easy to use.
  • Peel the decorative paper from the protective liner and place it onto a 6″ x 8″ piece of chipboard. Cover the front and back sides of the chipboard.
  • I love using the Xyron 9″ Creative Station* when I make albums.  I get complete coverage and everything lays smooth, no wrinkles.
  • I like to use a craft mat and craft knife to trim away any excess paper.
  • A sanding block is great for smoothing out the edges of the covered chipboard.

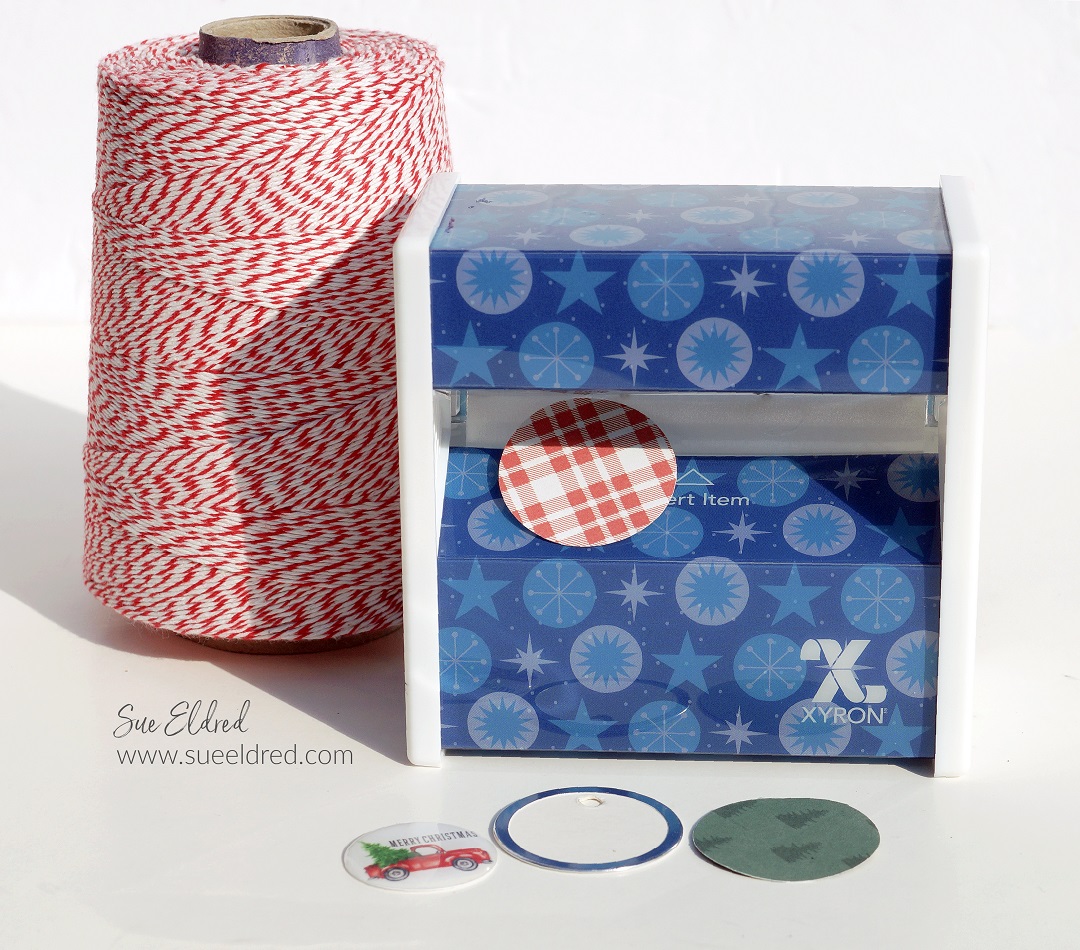
Xyron Disposable Sticker Maker

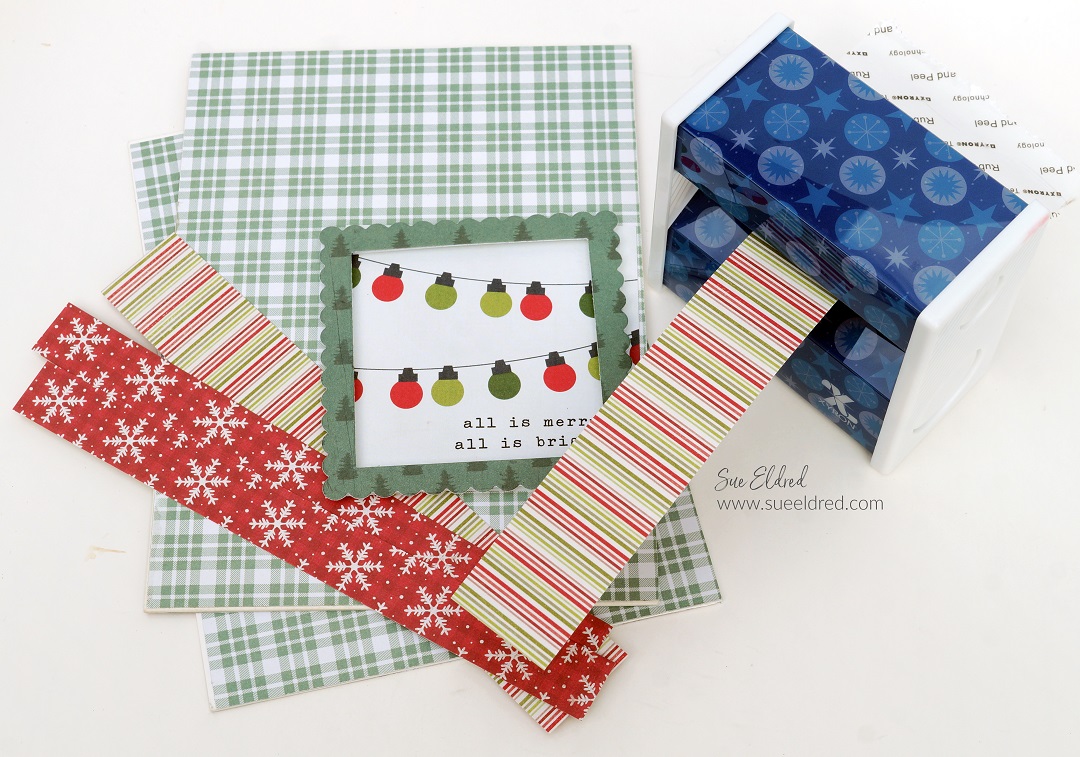
  • Cut decorative strips to add the front and back of the planner.  If you’ve never made a planner/album like this, you’ll want to give particular thought to the placement of the strips on the back cover to make sure they line up with the front of the planner.
  • I used coordinating decorative scrapbook paper to create a frame for the front of my planner using the frame die from The Maker’s Movement.

DIY Holiday Planner-Xyron Disposable Sticker Maker-Sue's Creative Workshop www.sueeldred.com 1081DIY Holiday Planner-Xyron Disposable Sticker Maker-Sue's Creative Workshop www.sueeldred.com 1101

DIY Holiday Planner Pages

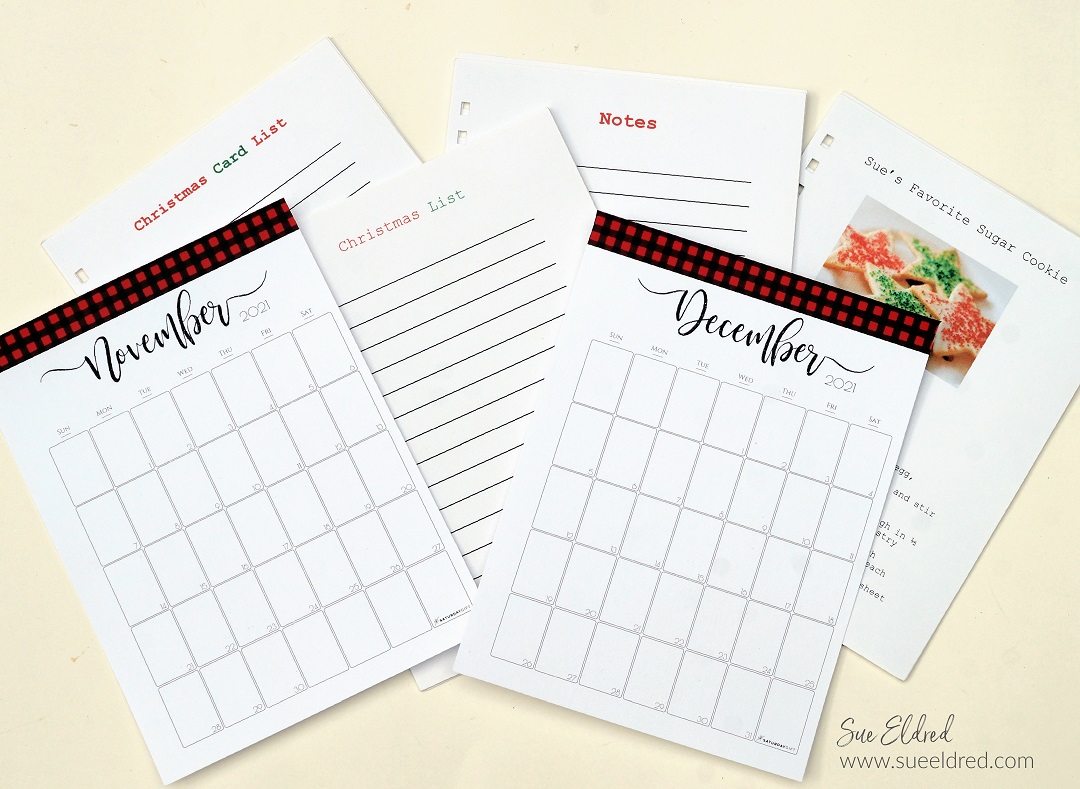
  • I created several different types of pages using a word program for the inside of the planner.
  • As you can see, it doesn’t have to be anything fancy.
  • Once you get your cover finished and your inside pages created, you’ll want to bind it all together using a binding machine.  I used an old Bind it All Machine.  You can also use The Cinch Book Binding Machine*.

Holiday Planner-Calendar Pages

November and December are the crucial days when planning the Holidays. 

I printed out two calendar pages from SaturdayGift.com and sized them to fit in my planner.

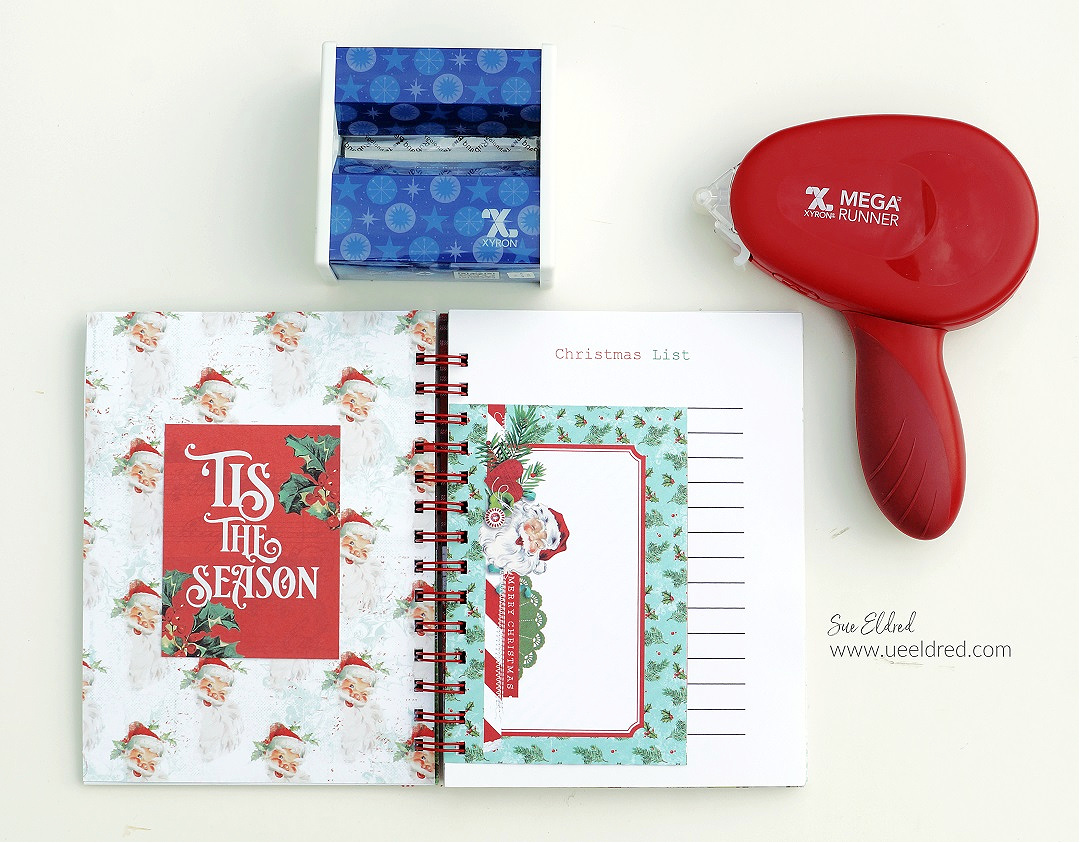
On the inside of the front cover, I created a pocket for lists and coupons.

DIY Holiday Planner

Christmas Gift List

I am that person.  I write down everything I buy for Christmas.

If you want to know what I bought you five years ago for Christmas, ask me.

DIY Holiday Planner

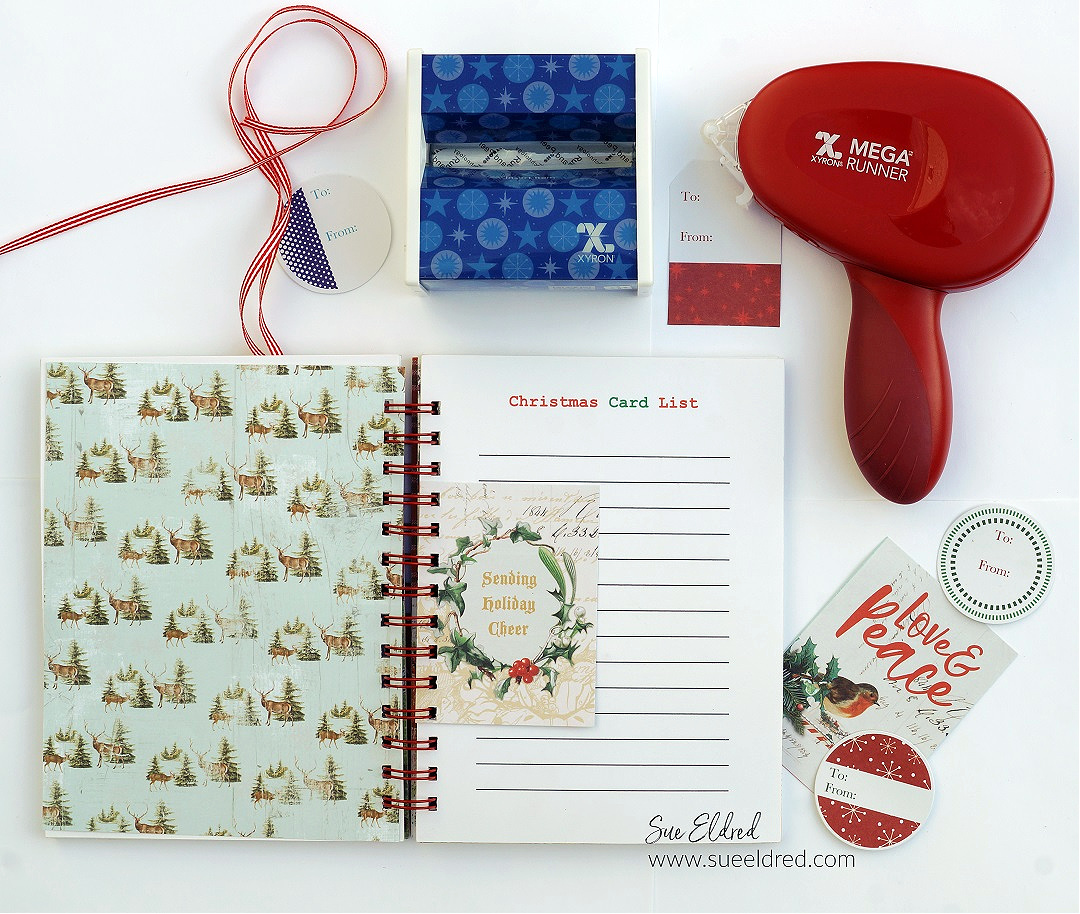
Christmas Card List

Do you still send Christmas Cards?

I love getting and sending Christmas Cards over the Holidays.  (sometimes I even make them)

I don’t get as many or send as many as I used to, but I love hanging them on display.

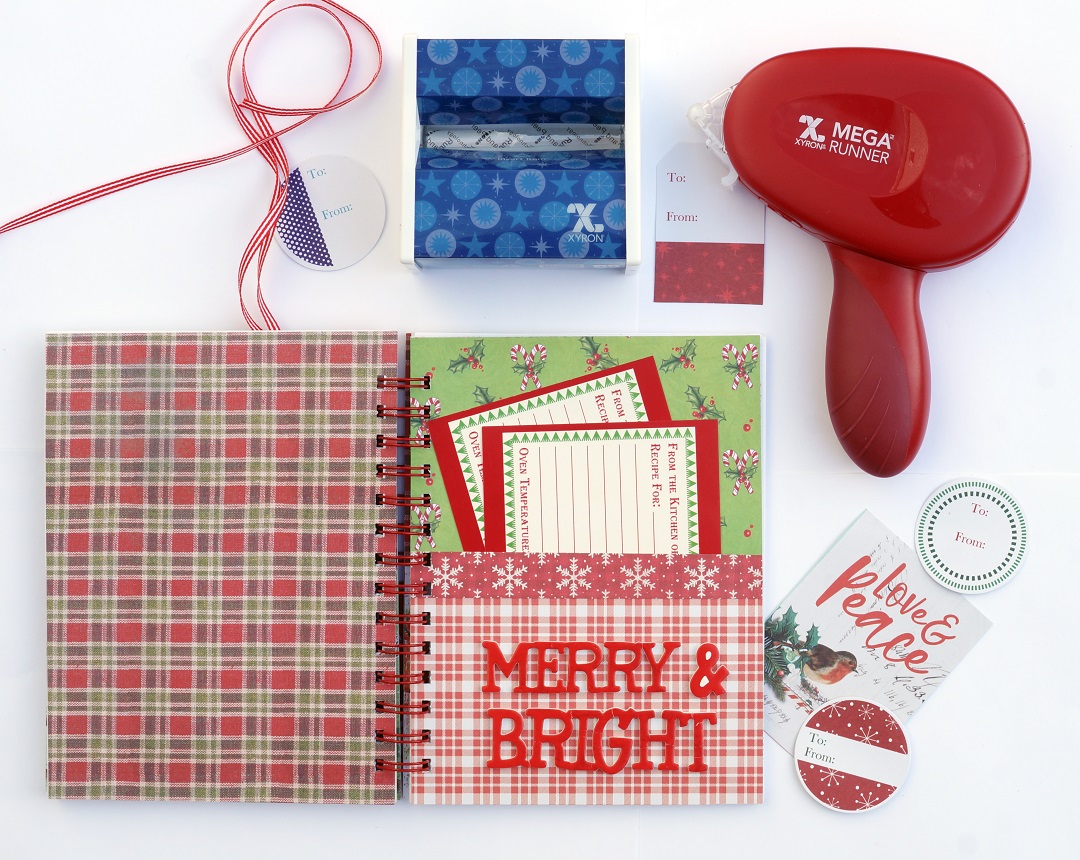
DIY Holiday Planner-Merry & Bright-Sue's Creative Workshop www.sueeldred.com 1515-2

A great way to be prepared for the Holiday Cookie Exchange. 

Creating pockets are a great way to keep organized and the perfect place for

blank Holiday recipe cards.

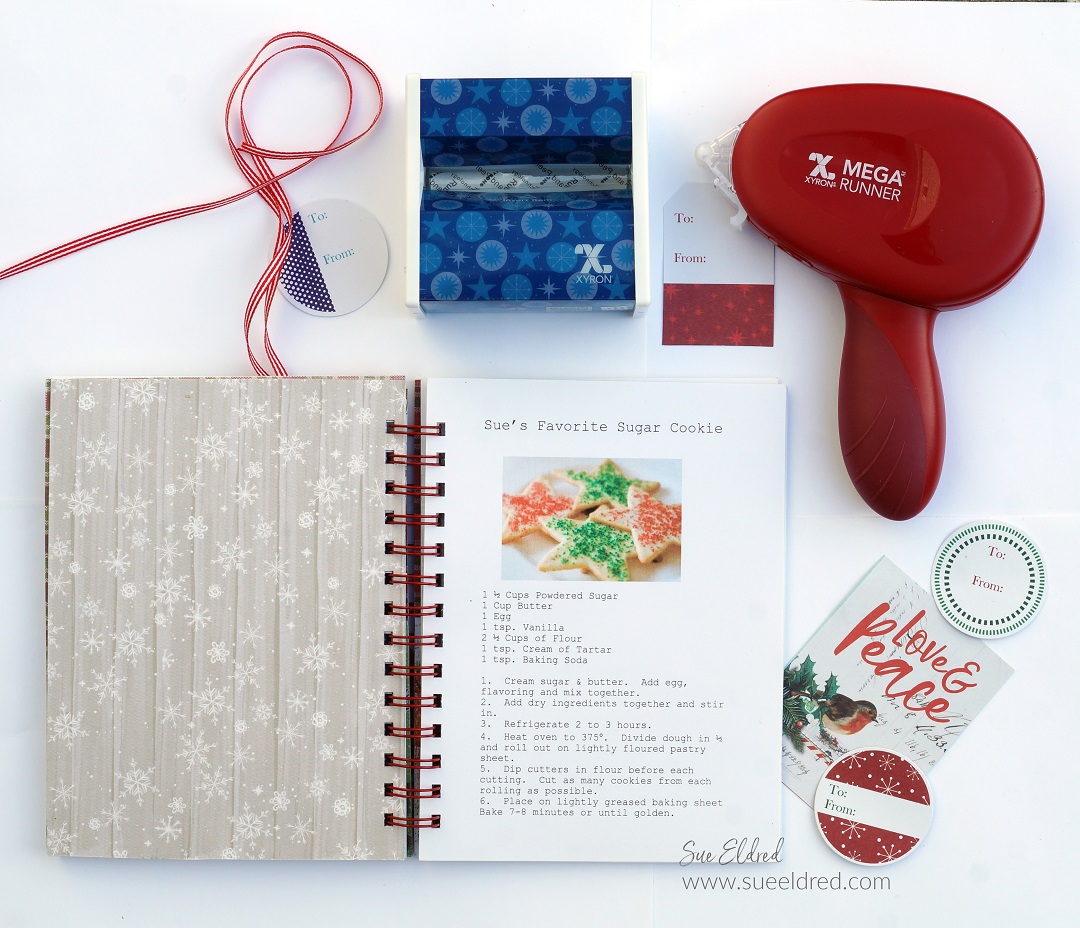
DIY Holiday Planner

Favorite Family Recipes…

I have several family favorite recipes that I make every year.

Several years ago, I typed them all up and saved them on my computer.

It was easy to reprint them and add them to this year’s Holiday Planner.

DIY Holiday Planner-Notes & Receipt Holder-Sue's Creative Workshop www.sueeldred.com 1549

Notes and Stuff…

These pages are for writing down special memories, tips of things that worked that’ll you’ll want

to remember for the next holiday get-together, or the other room mom’s phone number.

There’s so much that we need to remember during the holidays.

And don’t forget to save those receipts for easy returns.

I added a thick buffalo plaid zipper bag in my planner to hold those receipts.

DIY Holiday Planner

Jingle All The Way… 

Create another pocket in the back to tuck in pictures and invitations.

I can never have too many pockets to help keep me organized.

The nice thing about Christmas in July is that by the time the Holidays do arrive,

I’ll be almost ready.

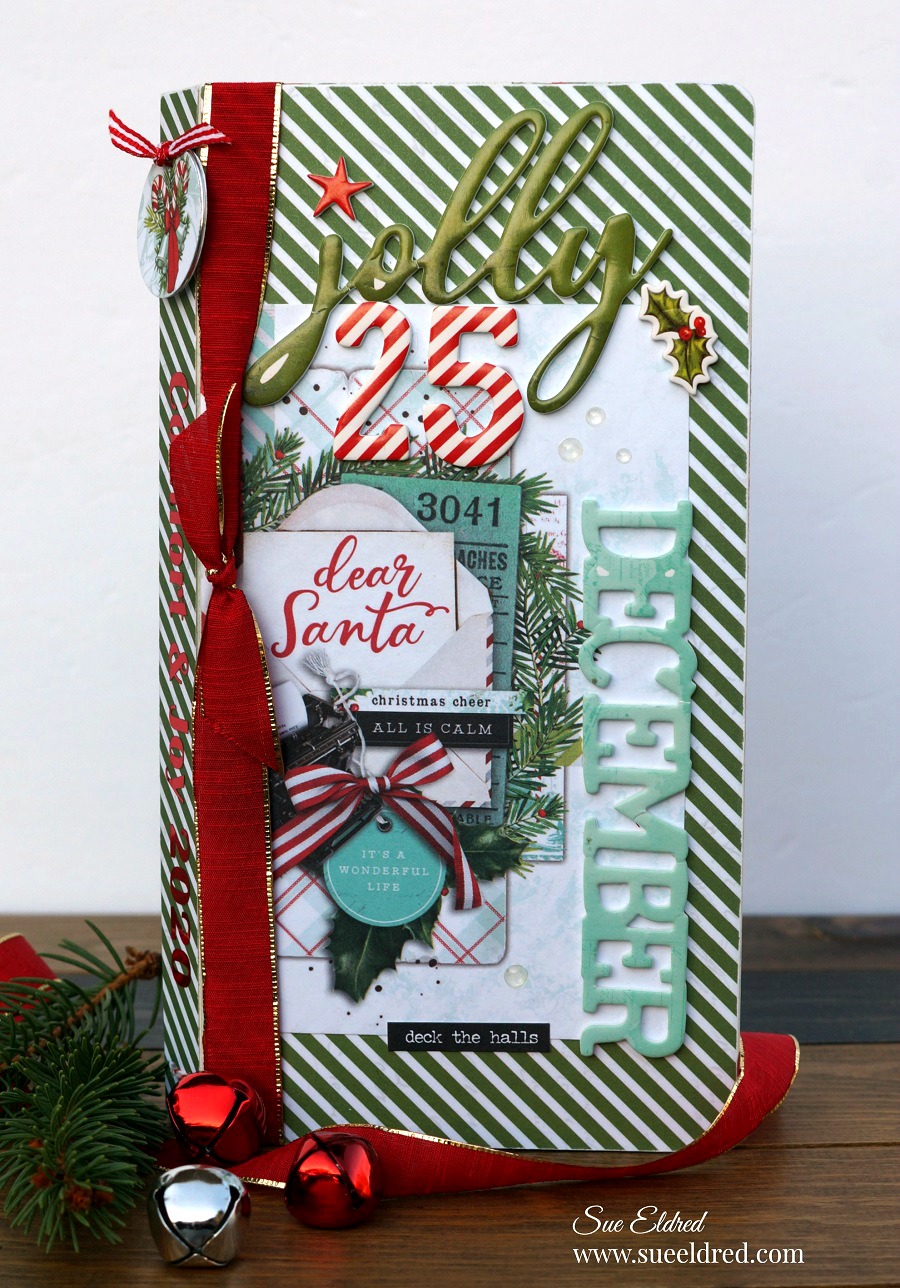
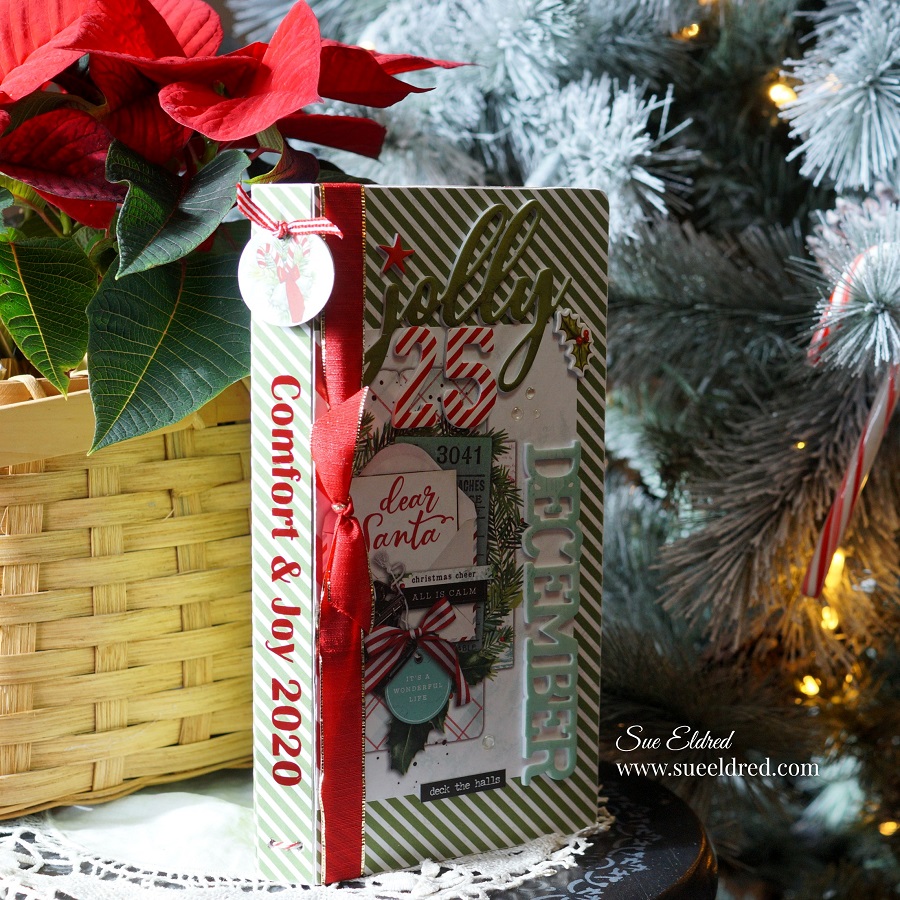
Decking the Halls with Comfort and Joy Christmas Album

Comfort & Joy Christmas Album

Christmas is going to feel a lot different this year.

Instead of large family gatherings, we’ll be keeping it simple.
Sharing a little Holiday Encoragement

This year, the Eileen Hull teams got together and decided to celebrate the Holidays by creating

Comfort and Joy Albums and asked the Eileen Hull Facebook Fan Club to join along.

For my album, I choose the theme Decking the Halls.

You can find the Eileen Hull Facebook Fan Club Page here.

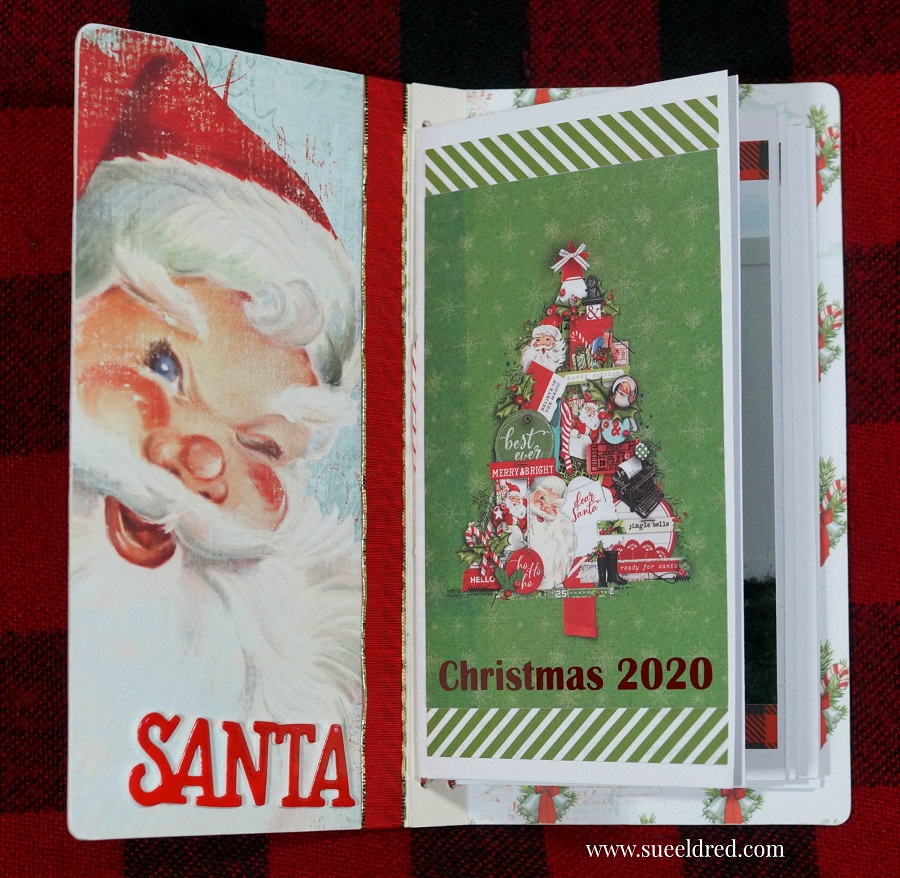
My Comfort and Joy Album uses the Eileen Hull Journal Die* and papers and embellishments

from Simple Stories Simple Vintage North Pole Collection*.

Instead of giving you a tutorial on how I made the album, I’ve decided to explain the inspiration

behind the album and share with you how I decorate my home for Christmas.

Materials Used:                  (*affiliate link)

*Disclosure:  This blog uses affiliate links.  If you choose to make a purchase using one of the links, I receive a small commission (at no additional cost to you) that helps offset the costs of maintaining this blog.  Thanks for your support!

Because my family won’t be together this Christmas, I’ve asked my daughter and daughter in law to send me Christmas pictures for my album.  I will have a family album filled with Christmas Memories.

I also come from a large extended family, which usually gets together for a big Christmas party.  I’ll be honest, the thought of missing all these celebrations makes me a little sad.

While making my album, I got the inspiration to take this weekend and drop off small gifts to my siblings.  I’ll be able to take a few porch pictures of the families and get my much-needed family fix.

Decking the Halls

When it comes to decorating the outside, I like to keep it simple.  We wrap twinkle lights around the large bush by our lamp post and hang icicle lights on the upper balcony.

Sprucing Up with Holiday Greens

I cut pine branches from the large pine tree in the yard and spruce up my pots with Holiday greens.

The Front Door

The front door has a simple wreath and a decorated sled.

The Christmas Tree

A few years ago, I got this frosted tree and absolutely love it.  I keep it simple with a red and white theme.  (I only use a fraction of the ornaments I’ve collected throughout the years)

Bookish Gnomes

While working on the decorations, I moved these gnomes on top of the books because my little pup thought they were dog toys.  I liked the way they looked, so I kept them there.

The Mantle

In my Dining Room, I have a large fireplace, which I decorated the mantle with a few of my Santa’s from my Santa Collection.

My Santa Collection

I’ve got Vintage Santas, Skiing Santas, Golfing Santas, and Toymaking Santas.  I scatter them randomly around the house.

Keeping it Simple

I would love to one day have a fully styled house for the Holidays.  Instead, I keep it simple.

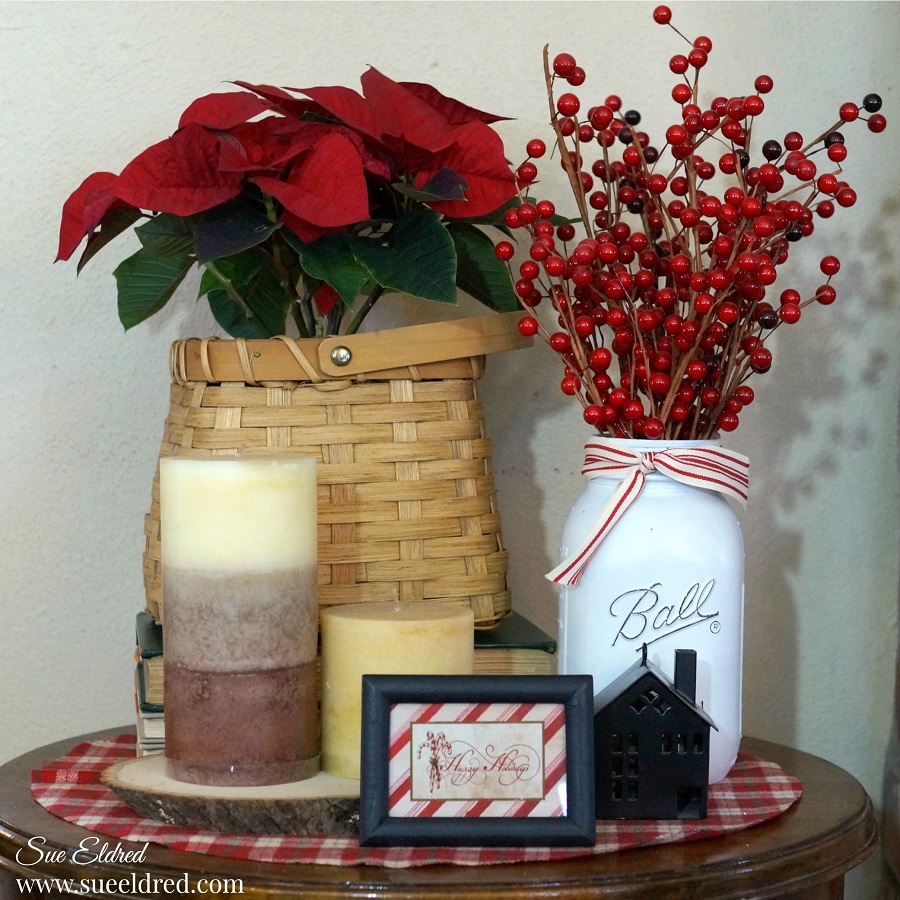
I create small vignettes around the house to make it feel festive and homey.

Dexter

Even my sweet little pup, fresh from the groomers, matches my decorations.

Dexter and I would like to wish you all a Happy Holidays filled with Comfort and Joy.

Amazon FreeTime Unlimited Free Trial 

Holiday DIY with Old Kitchen Hardware

old-jar-of-hardware-sues-creative-workshop-3257

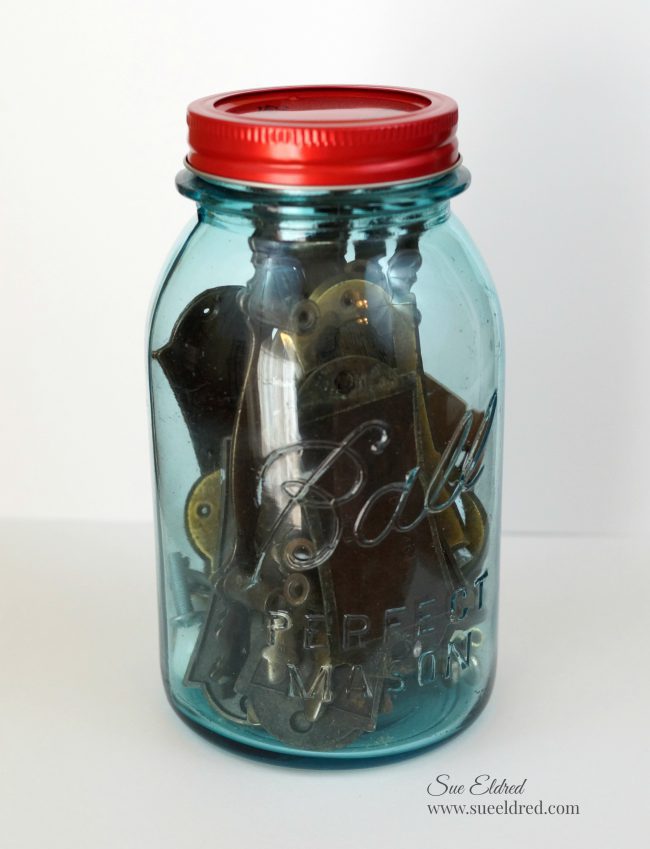
I have this old jar of assorted hardware on my shelf in my workshop.

I keep it just in case.  (Why you ask?)

Because I’m a “you never know” type of crafter.

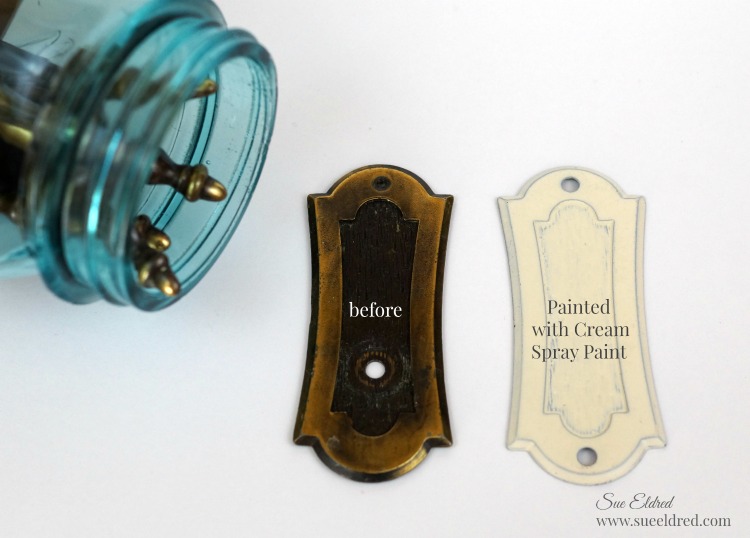
old-hardware-before-sues-creative-workshop-3261

I had picked up a bag of old kitchen hardware at a garage sale a couple years ago

for fifty cents and used it on a few projects and even made a couple of ornaments.

(you can see them here)


While it may be too late for you to make this year…

it’s an idea that you can put away on the shelf, so to speak, for next year.

old-kitchen-hardware-spray-painted-cream-sues-creative-workshop-3263

Here’s how I made my ornament…

After disassembling the hardware, I spray painted the base plate cream.

What a difference spray paint makes.

go-around-edge-of-the-hardware-with-silver-leaf-paint-pen-sues-creative-workshop-3266

I added silver around the edge using a  Chisel Point Calligraphy Paint Marker, Silver*    (*affiliate link)

embellish-the-top-of-the-ornament-with-pine-stem-and-glitter-berry-sues-creative-workshop-3267

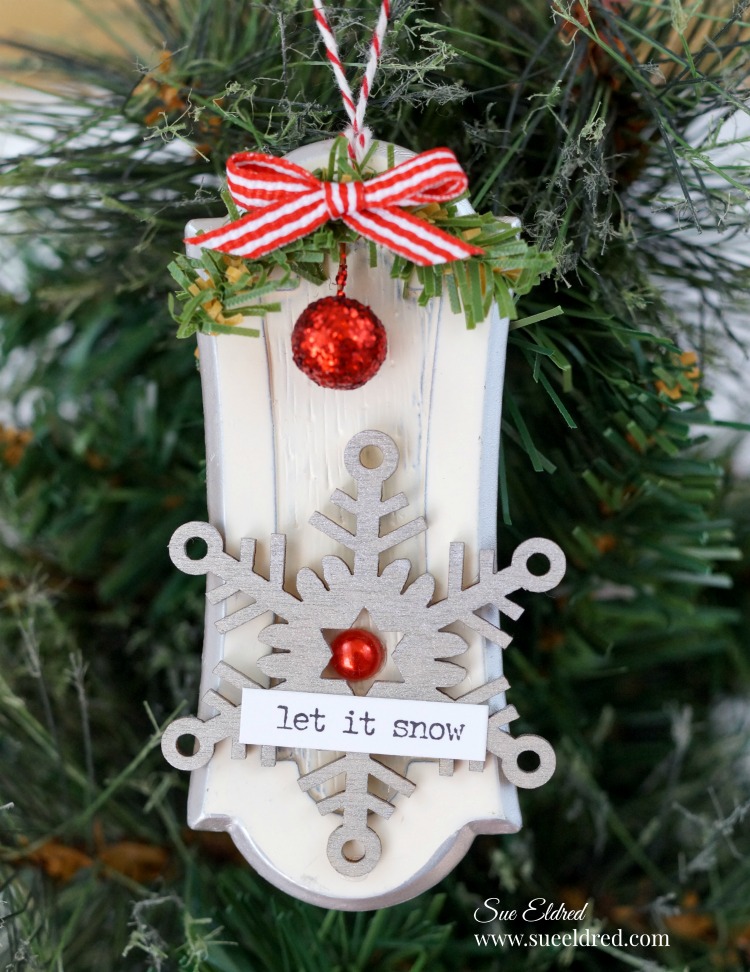
I used the small hole at the top of the hardware plate to string red and white twine.

I embellished it with a glitter berry cut from a glitter berry sprig (see previous picture)

wrapped around a small craft pine stem to form a small swag.

I glued the pine swag and small red and white bow to the hardware with

Beacon Adhesives Zip Dry.*

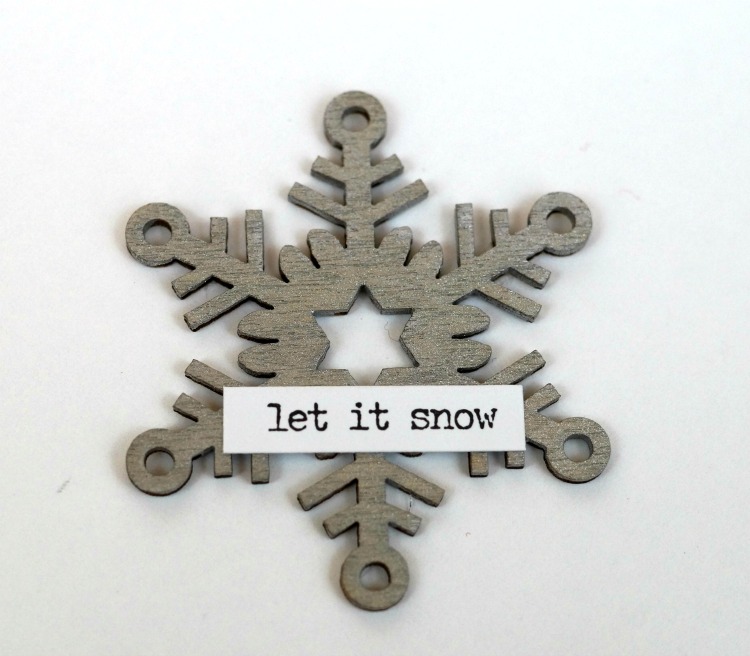
painted-snowflake-sues-creative-workshop-3271   let-it-snow-christmas-ornament-made-from-old-kitchen-hardware-close-up-sues-creative-workshop

I painted a small wood snowflake, found at the craft store, with silver acrylic paint and added

the “let it snow” sticker from Small Talk Stickers by Tim Holtz Idea-ology*.

I added a small red pearl to cover the bottom hole in the hardware and glued the

snowflake on top.

let-it-snow-ornament-made-from-old-kitchen-hardware-sues-creative-workshop-3290

A quick and easy upcycled ornament for the Christmas Tree.

Join Amazon Kindle Unlimited 30-Day Free Trial

Disclaimer:  This blog uses ads and affiliate links.  If you choose to make a purchase using one of the links, I receive a small commission (at no additional cost to you) that helps offset the costs of maintaining this blog.  Thanks for your support!

How to make a Christmas Tree in a Bottle Necklace

mini-tree-in-a-bottle-necklace-sues-creative-workshop-1161

How to make a Christmas Tree in a Bottle Necklace

I got this idea from a project I’d seen made by Tim Holtz.  Of course, I had to find a cheaper way to make it.  I’ve seen small bottles like these at Hobby Lobby with the jewelry supplies.  (I got mine online.)

Very Important…Make sure the base of the tree is small enough to fit in the top of the bottle.

Materials Used:  (*affiliate link)

 Dollar Tree-Everything always $1 – Shop Now*

*Disclaimer:  This post uses ads and affiliate links.  If you choose to make a purchase using one of the links, I receive a small commission (at no additional cost to you) that helps offset the costs of maintaining this blog.  Thanks for your support!

Directions:

  1. Squirt several drops of peeled paint ink* into the mini mister* and dilute it with water.
  2. Place a bleached bottle brush tree onto a protective surface.  Generously spray the tree with the diluted ink.  (You may want to wear rubber gloves.  I took 3 days until the ink came entirely off my fingers.)
  3. After the tree is dry, rub glitter glue* onto the tree.  Allow glitter glue to fully dry before continuing.
  4. Apply a small bit of all-purpose adhesive* onto the end of the Q-tip.  Insert the Q-tip into the bottle and add the glue to the bottom center of the bottle.
  5. Using the reverse grip tweezers, insert the tree into the bottle, and stick onto the glue.
  6. Pour glitter or micro beads into the bottle.
  7. Add a thin layer of adhesive around the side of the cork and place it back into the bottle.
  8. Screw a loop screw onto the top of the cork and add a necklace.

If you’re feeling a little funky…how about making your tree pink or purple? 

If you liked the Christmas Tree in a Bottle here’s another project you might like.

Click here for the Mini Ketchup Bottle Snow Globe Instructions. ↓