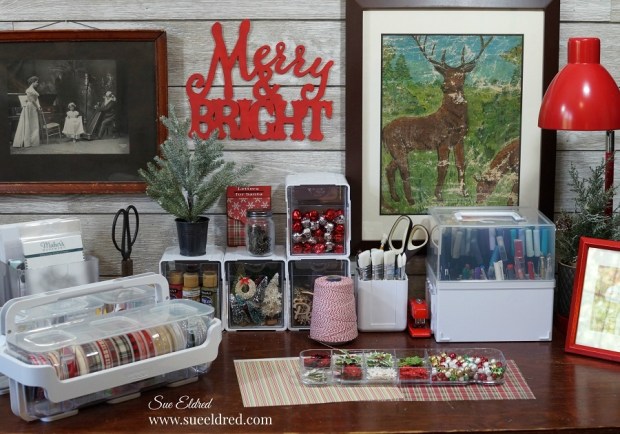
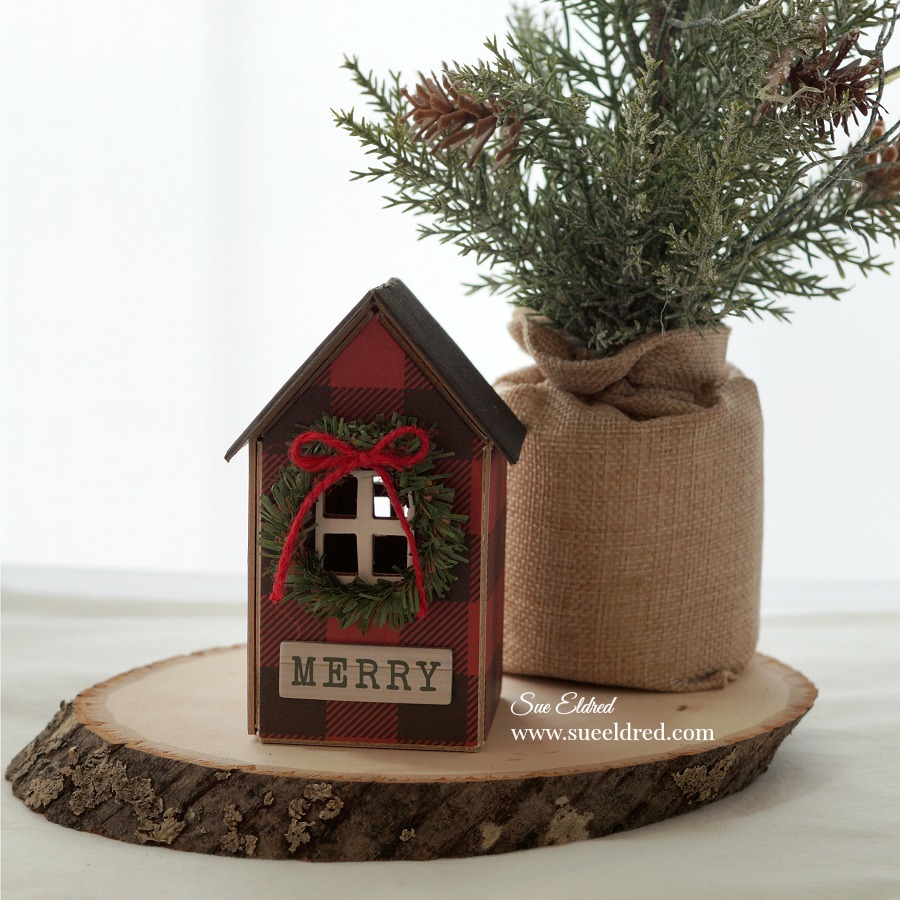
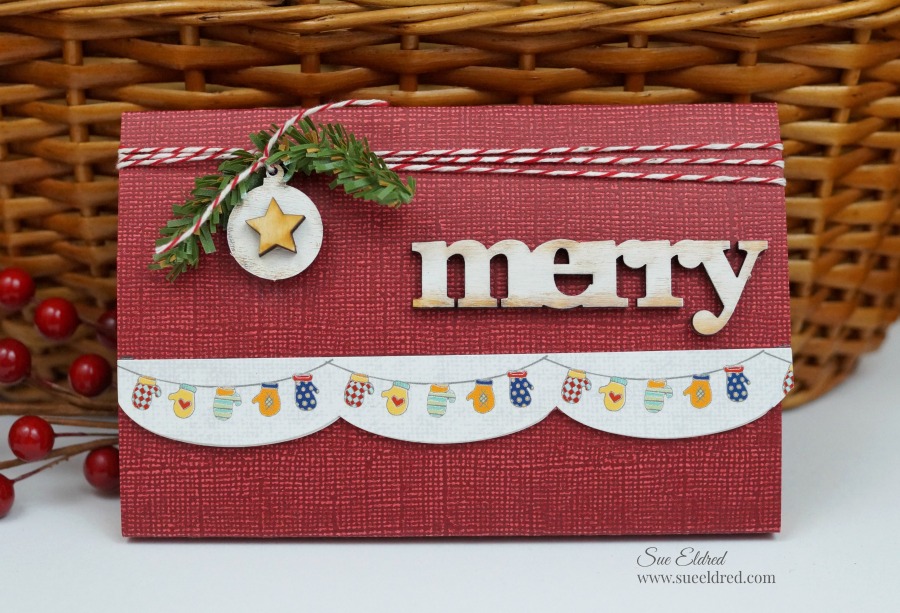
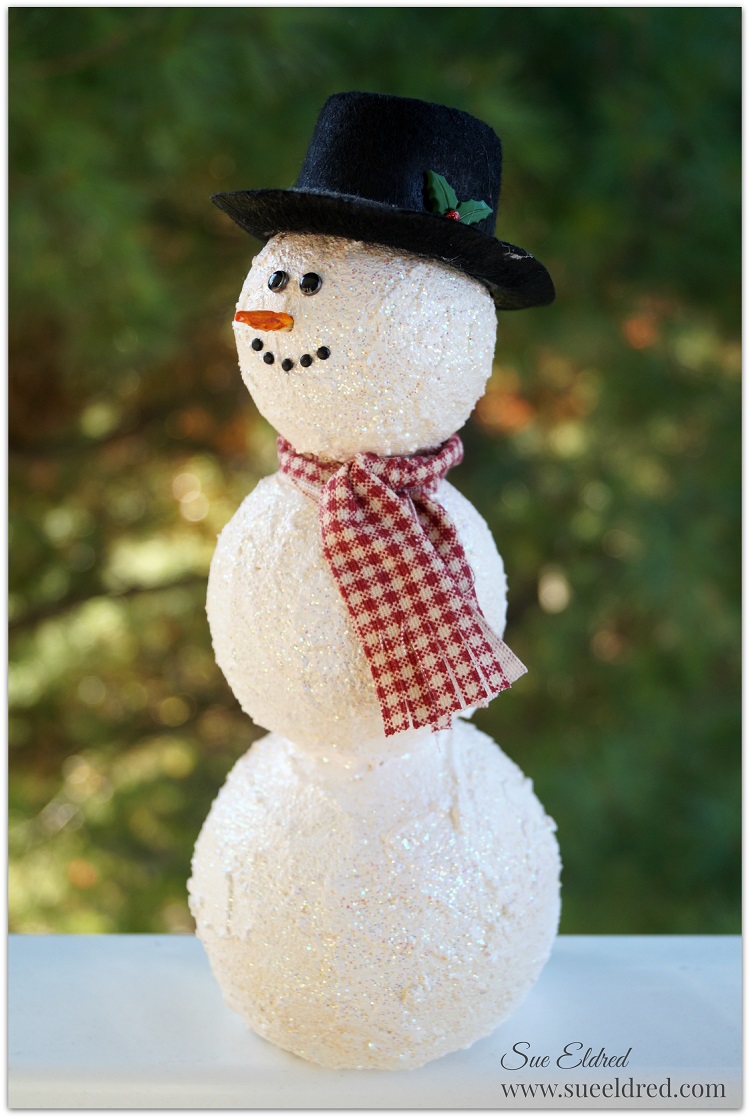
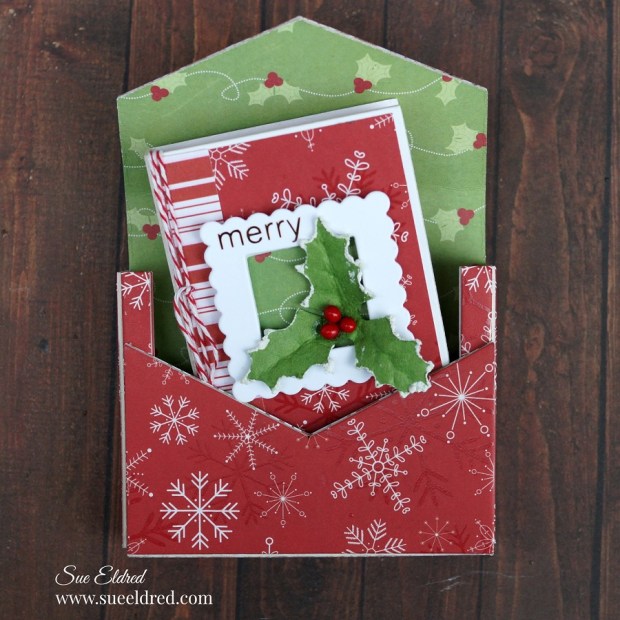
A Merry Little Christmas Tiny Book and Book Case
A perfect little album for adding small Holiday photos and writing special memories on the
pages. The set would make a nice little gift or to use as an ornament to hang from your tree.

Materials Used to make the Merry Little Tiny Book and Book Case: (*affiliate links)
- Sizzix Tiny Book Die by Eileen Hull*
- Sizzix Tiny Book Case Die by Eileen Hull*
- Sizzix, White Mat Board 656492*
- Big Shot Die-Cut Machine*
- Scrapbook Paper
- Xyron Creative Station*
- Holly and Wood Snowflake Embellishment (Hobby Lobby)
- Red and White Twine*
- Gold Craft Vinyl
- Vinyl Transfer Paper*
- Silhouette Cameo Electronic Die Cutting Machine*
- Double Sided Adhesive Craft Foam
- Nested Scalloped Square Frames
- Cardstock: Red and White
- Scoreboard and Scoring Tool*
- Miniature Drawer Handle*
(painted white)
- 1/4″ x 8″ piece of White Elastic
- Rapid Fuse Glue*
- Adhesive Pearl

*Disclosure: This blog uses ads and affiliate links. If you choose to make a purchase using one of the links, I receive a small commission (at no additional cost to you) that helps offset the costs of maintaining this blog. Thanks for your support!

Directions:
- Place a piece of white mat board over the Tiny Book Die and place between the two cutting plates on the Big Shot Die-Cut Machine*
. Crank the handle to run the die through the rollers of the machine to cut out the tiny book.
- With the book base flat, adhere the scrapbook layers onto the front and back of the book.
- Cut the words “merry” and “Christmas time” out of gold adhesive craft vinyl and the Silhouette Cameo Electronic Die Cutting Machine*. You could also use small Christmas Word Stickers.
- Cut a Small Scallop Square out of white cardstock and the Nested Scalloped Frame Die.
- Apply the vinyl word “merry” using a small piece of transfer paper onto the top left corner of the scallop frame.
- Apply the words “Christmas time” on the spine of the tiny book.
- Adhere adhesive craft foam under the small scalloped square. This creates a small shadow box frame for the front of the tiny book.
- Cut a small 1 1/4″ piece of coordinating scrapbook paper and place under the craft foam on the small frame and adhere to the front of the tiny book.
- Glue the holly embellishment inside the frame.
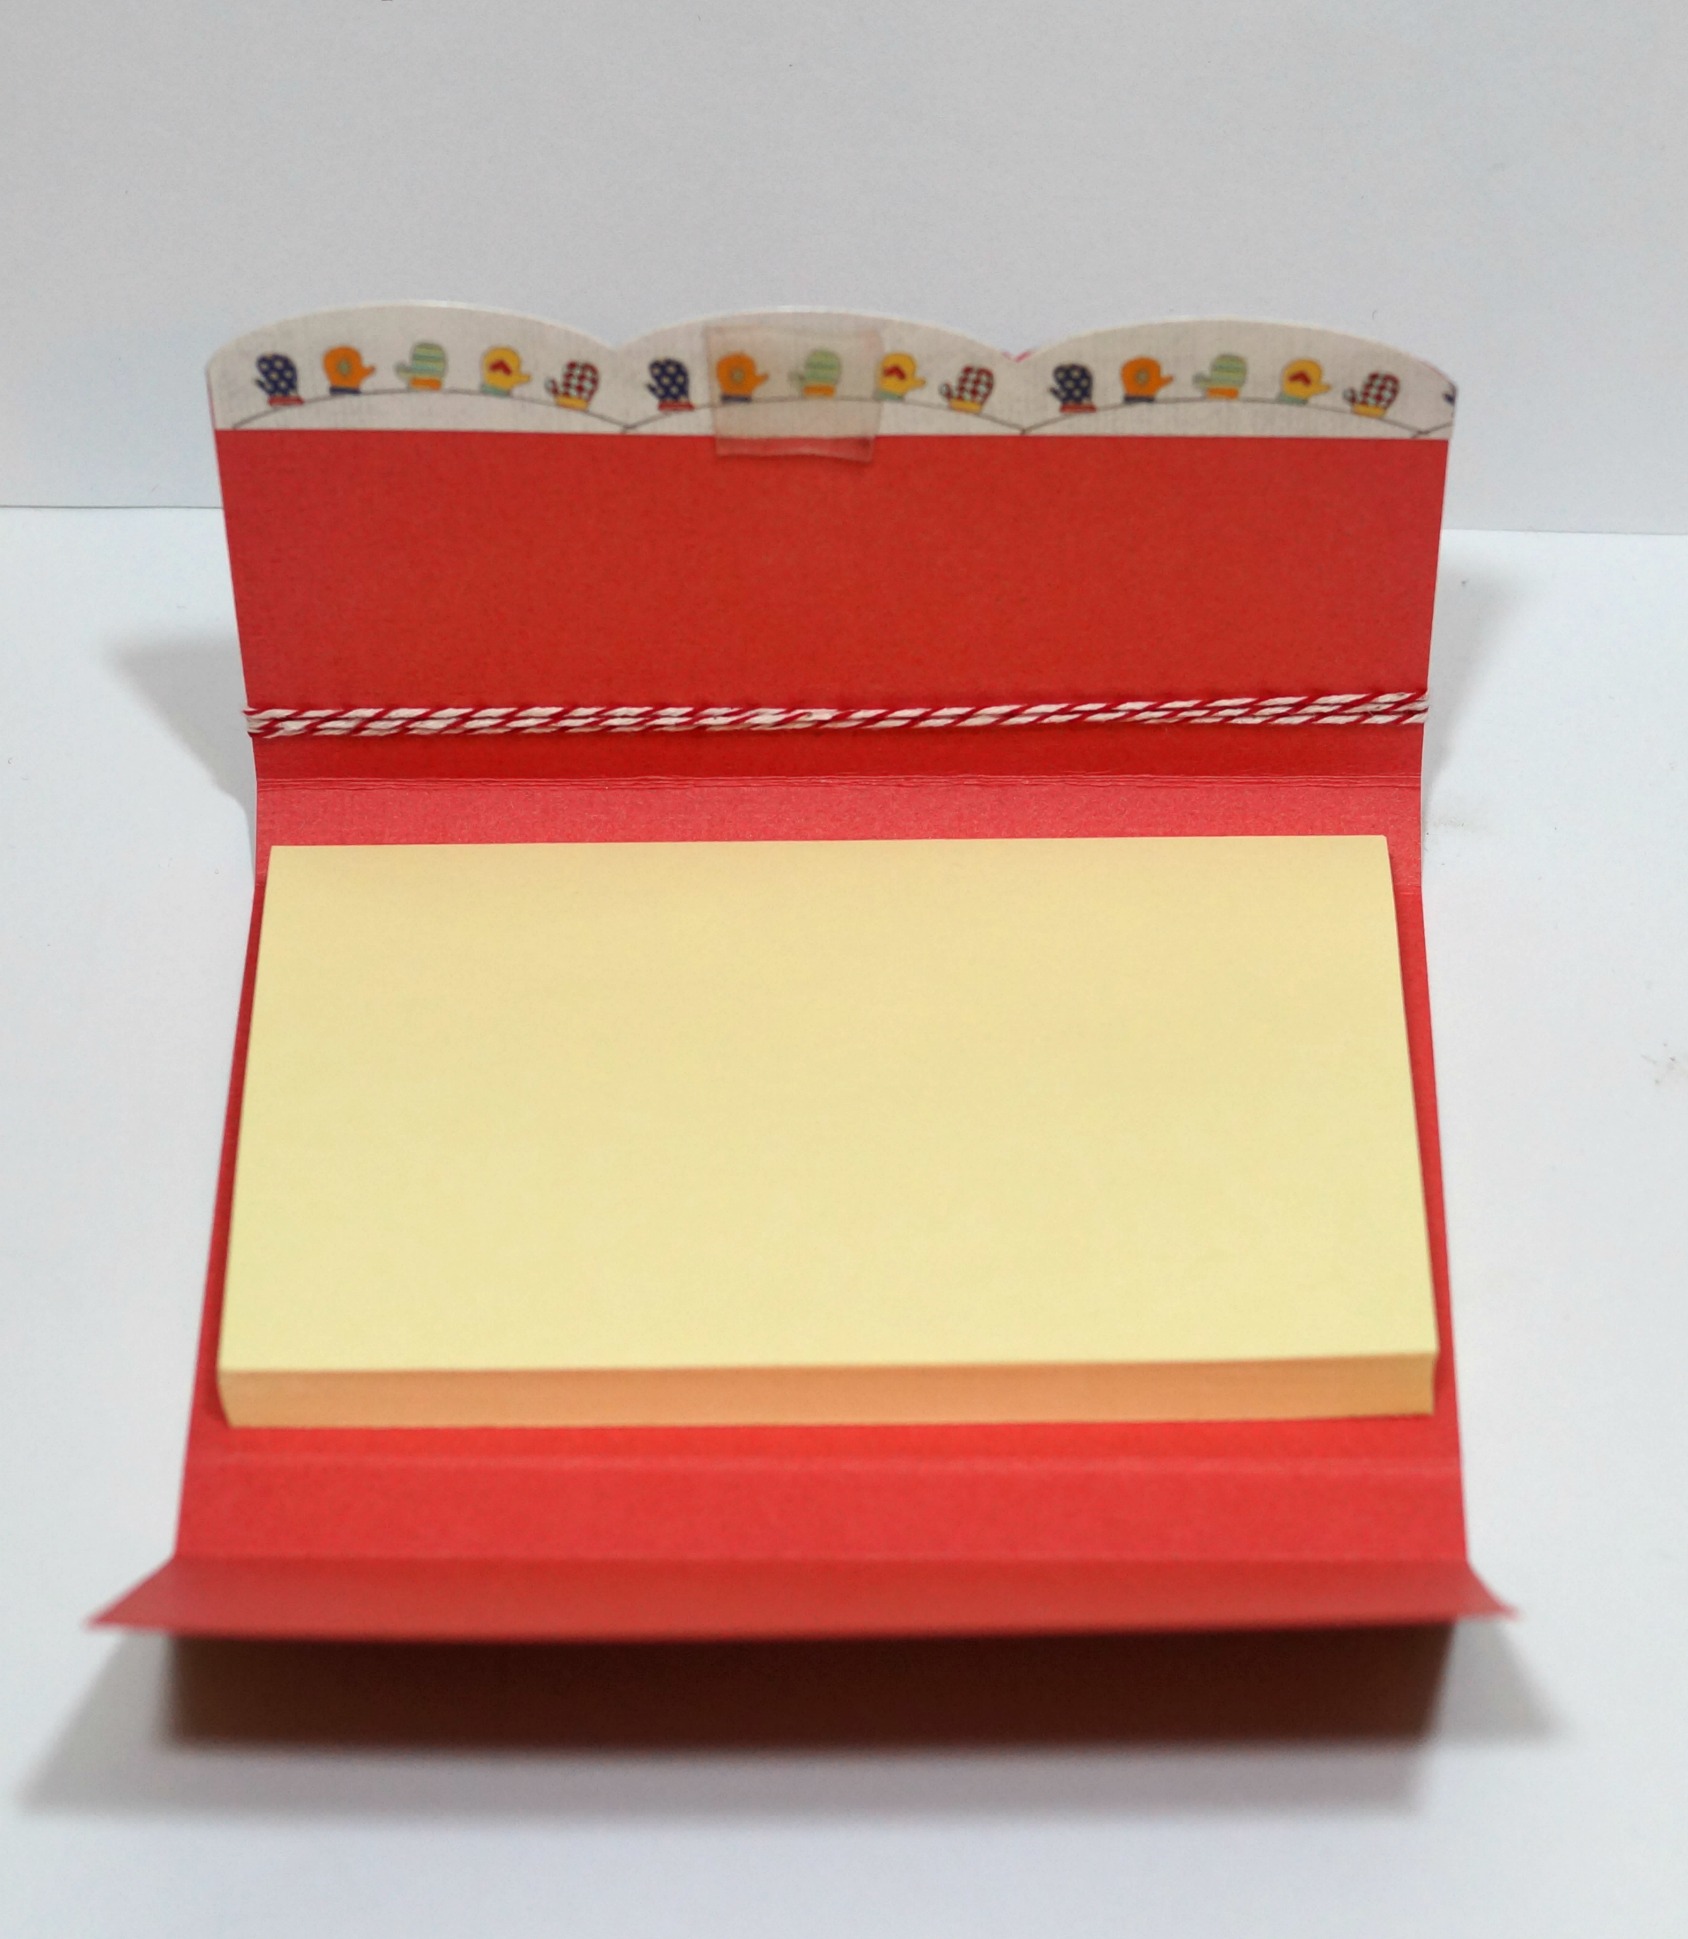
- Gently fold book along score lines.
- Wrap twine several times around the front cover.
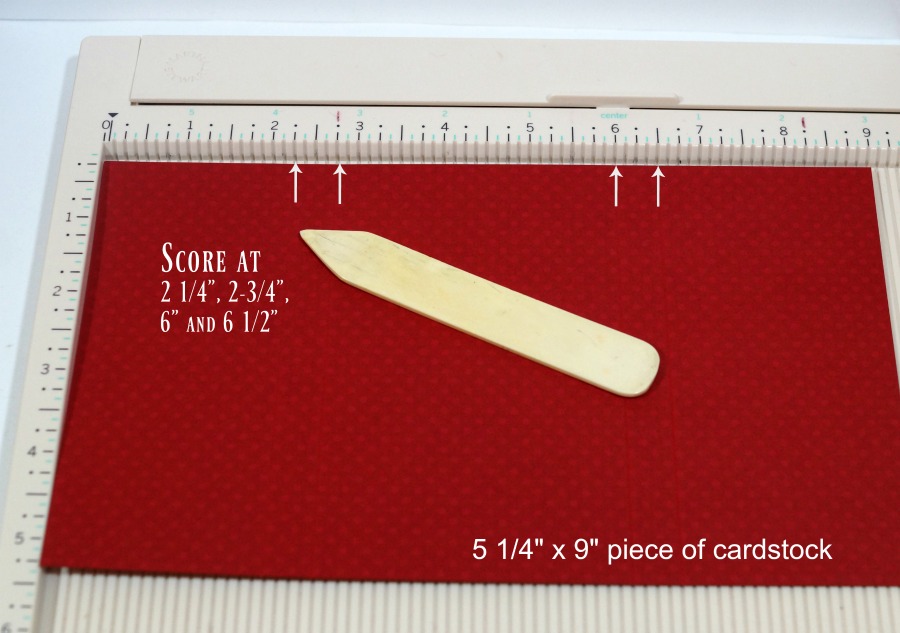
- Cut two pieces of cardstock 2 3/4″ x 11″. Score both pieces of cardstock every 2 1/8″ to create a long accordion piece. You will end up with a small tab at the end of both strips. Use the first tab to connect the strips. Cut the second tab off. Refold to make a long accordion strip.
- Adhere both ends of the cardstock into the front and back cover.
Tiny Book Case Directions:
- Cut two pieces of coordinating scrapbook paper 6″ x 8 1/2″.
- Place the scrapbook paper design side up through the Xyron Creative Station*
. Crank the handle to run the paper through the machine. The machine adds a complete layer of adhesive onto the entire piece of scrapbook paper. Repeat with the second piece of scrapbook paper.

- Cut a piece of mat board 6″ x 8 1/2″. Adhere a piece of the scrapbook paper onto both sides of the matboard.
- Place the covered mat board, outside pattern down, onto the Tiny Book Case Die sandwiched between two cutting plates onto the Big Shot Die-Cut Machine*
- Gently fold the Tiny Book Case along score lines. Glue both sides of the bottom section of the case closed using Rapid Fuse Glue*.
- Paint the Miniature Drawer Handle*
- Die-cut a small white handle (from the book case die).
- Wrap elastic around the slots of the handle and glue onto the underneath side of the elastic.
- Glue the wood snowflake embellishment onto the front of the handle and add an adhesive pearl to the center.

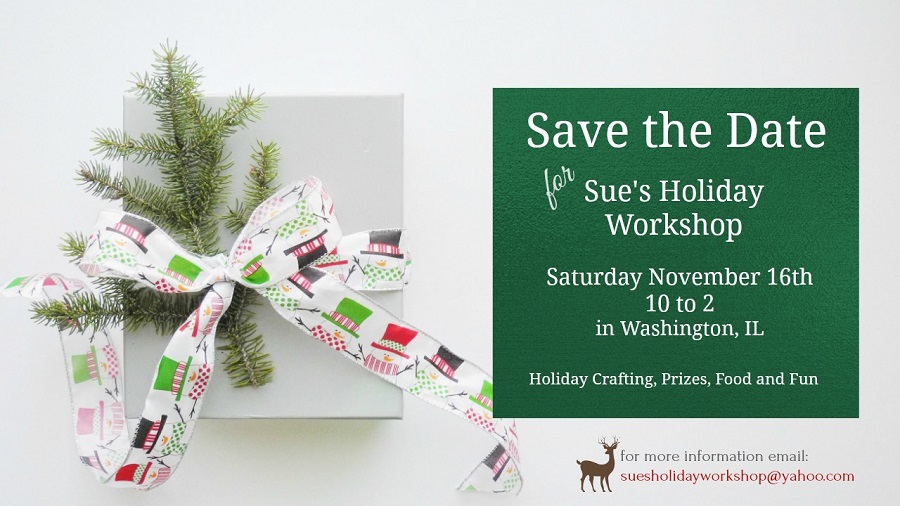
The Merry Little Christmas Time Book and Book case is one of the projects made in
Sue’s 2020 Virtual Holiday Workshop. (There are still a few kits available.)
The cost of the kits are $25 plus shipping. For more information or to order a kit click here.