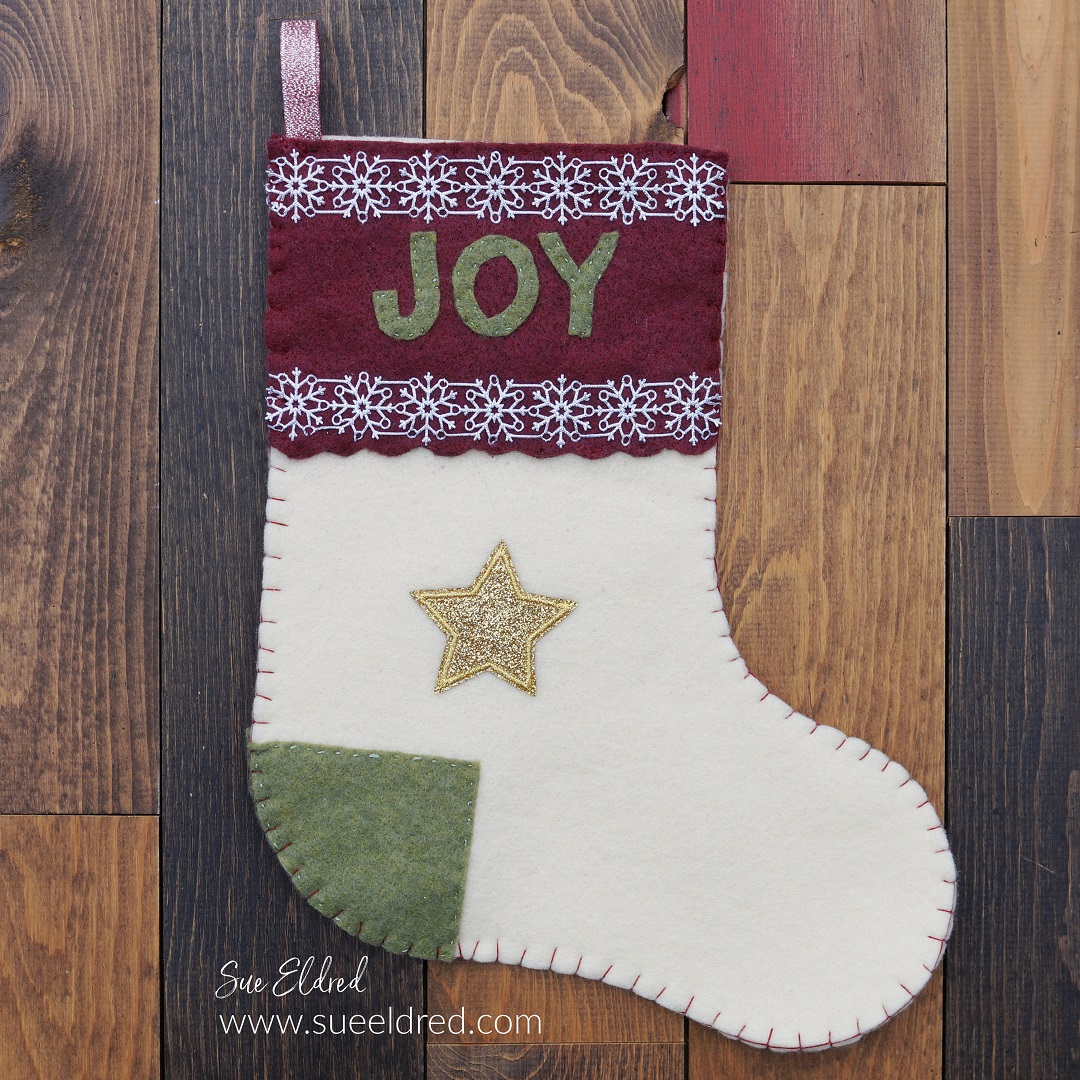
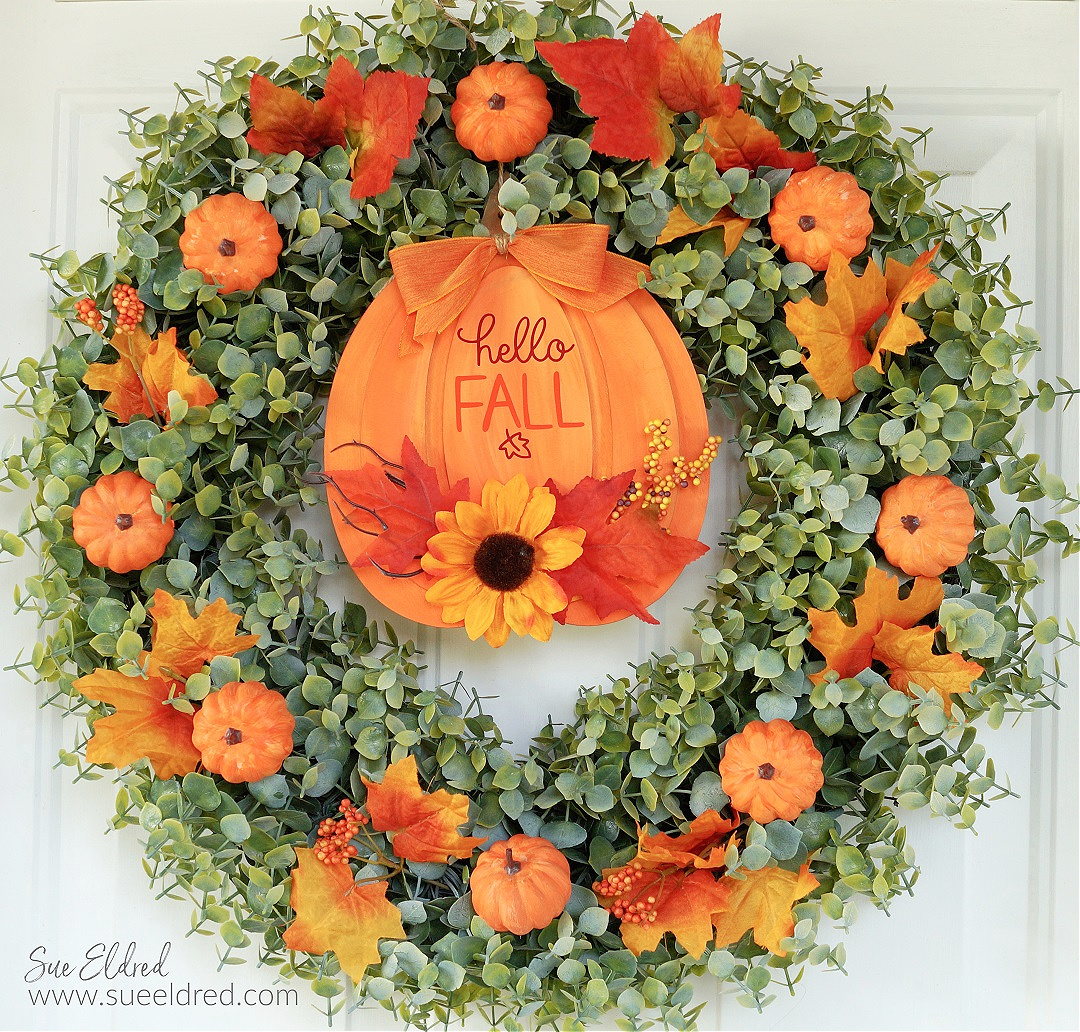
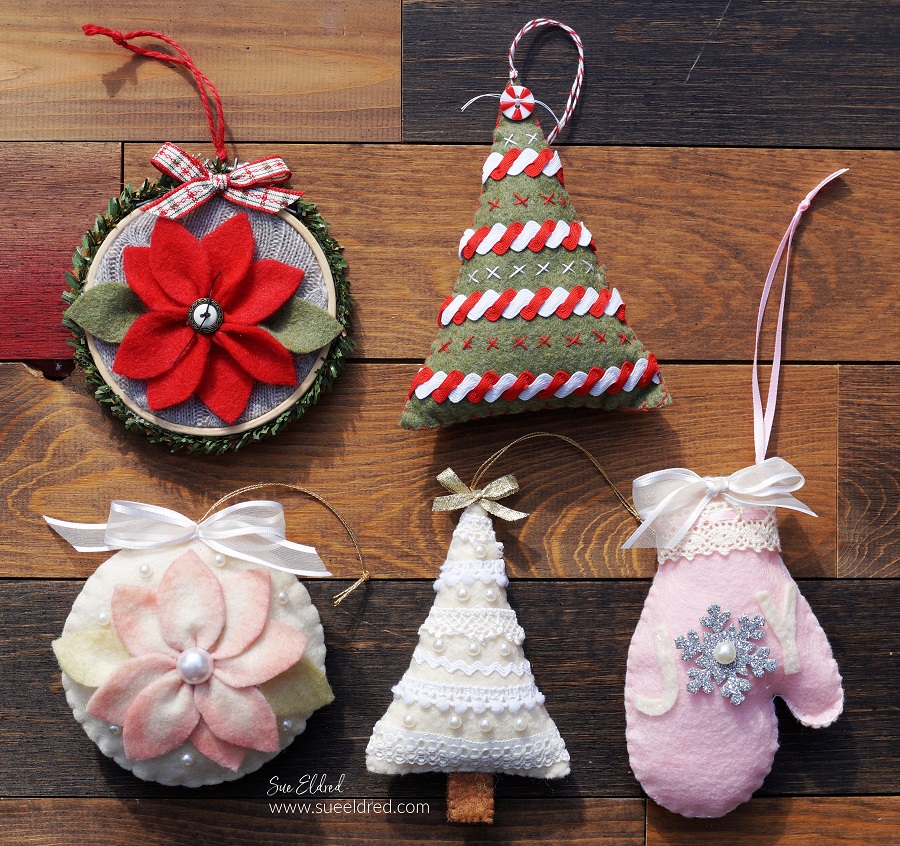
How to make Felt Christmas Ornaments…
I’ve found, I’m beginning to love creating handmade stitched ornaments.
It may take a little longer than gluing or sewing, but I find it relaxing.
And… Kunin Felt is the perfect material to use.
A big Thank You to Kunin Felt for sponsoring this month’s Designer Craft Connection Blog Hop.
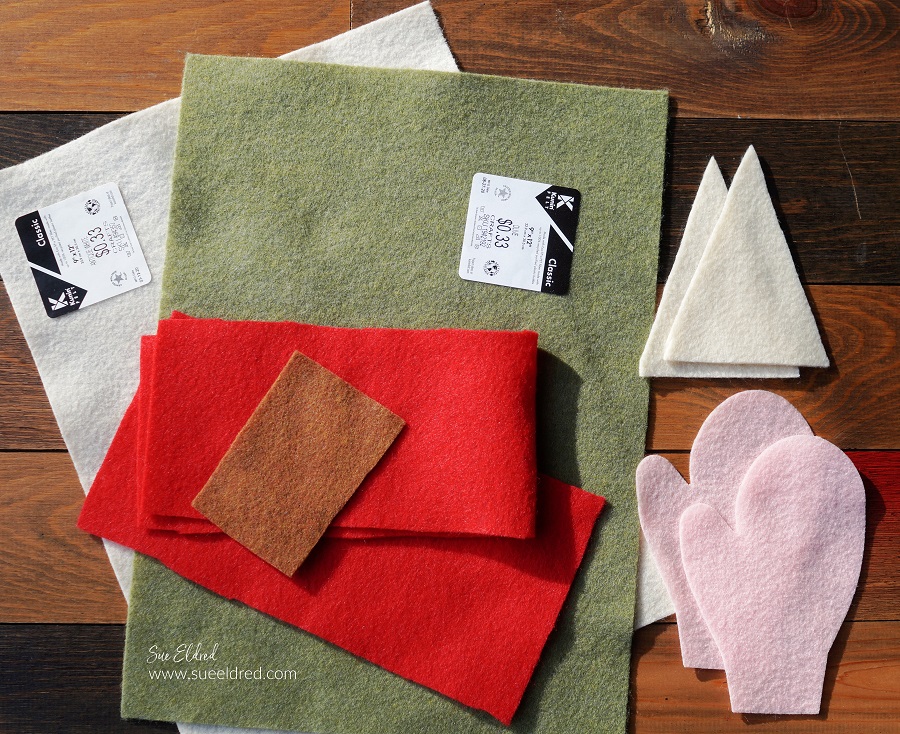
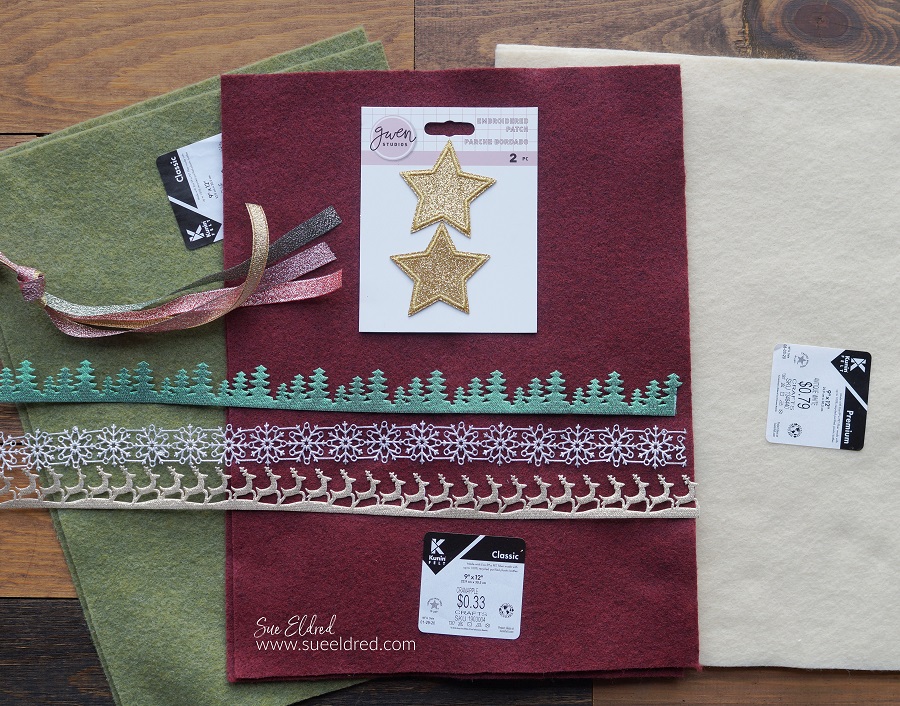
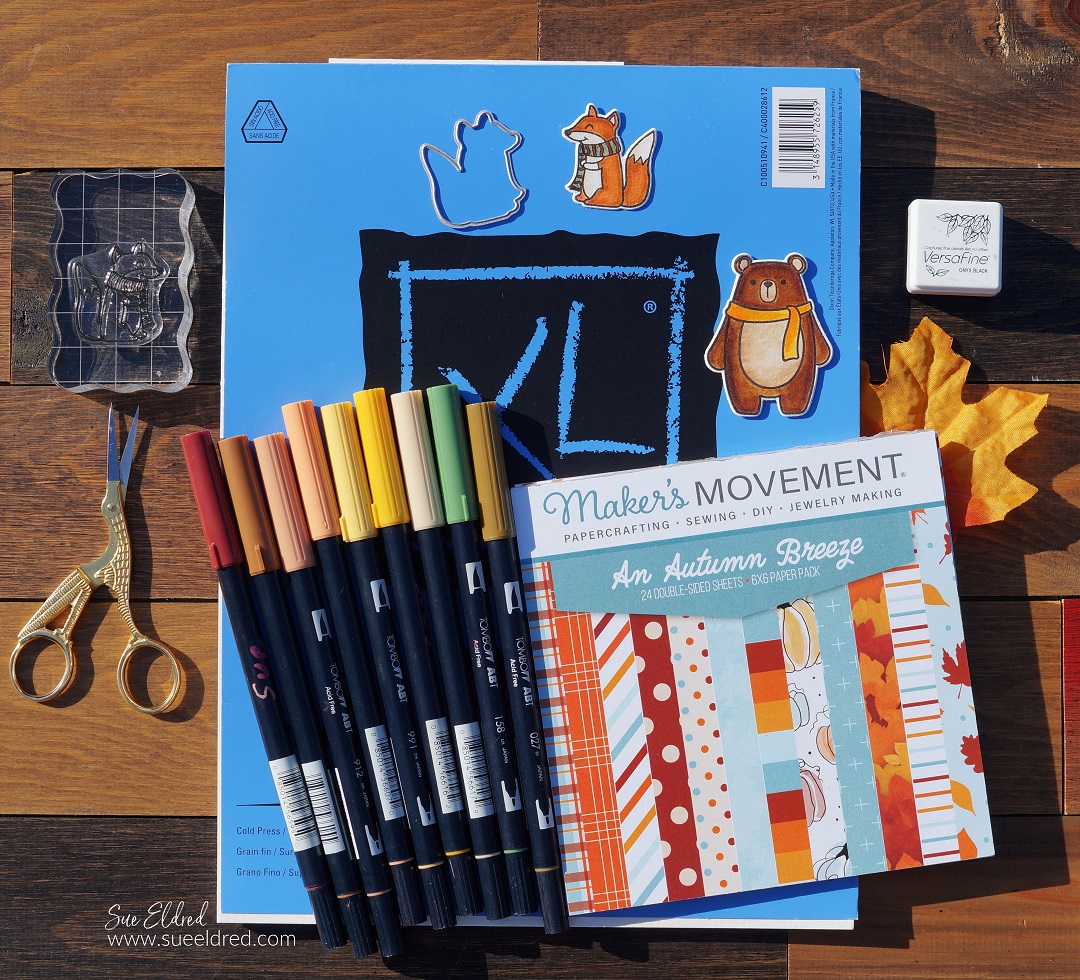
Materials Used:
- Kunin Premium Felt: Antique White
- Kunin Classic Felt: Red*,
- Kunin Classic Felt Olive*
- Kunin Classic Felt Baby Pink*
- Kunin Classic Felt Copper Canyon*
- Ribbon, Lace and Trims
- Needle and Thread
- 3″ Embroidery Hoop*
- Fiber Poly Fil*
- Craft Pine Stems*
- Xyron Multi-Stick Glue Gun*
- Adhesive Pearls
- Cardstock
- Optional: Shape Dies
*Disclosure: This blog uses ads and affiliate links. If you choose to make a purchase using one of the links, I receive a small commission (at no additional cost to you) that helps offset the costs of maintaining this blog. Thanks for your support!
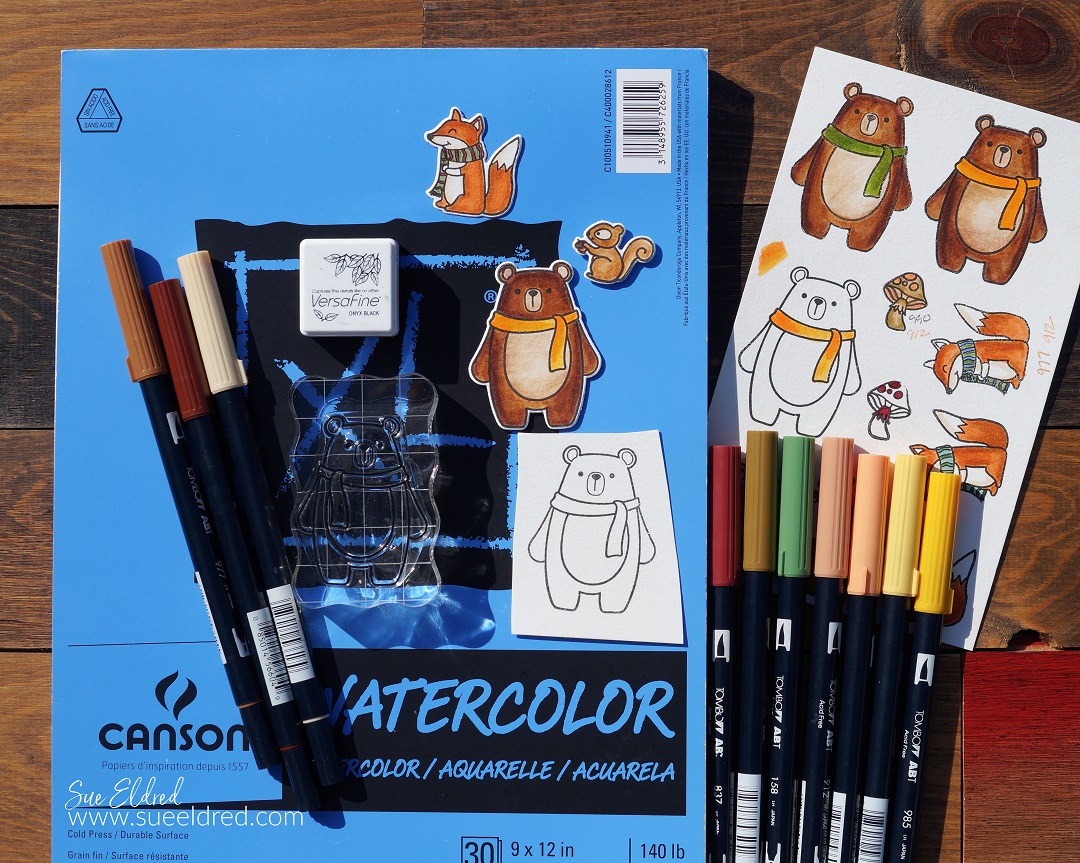
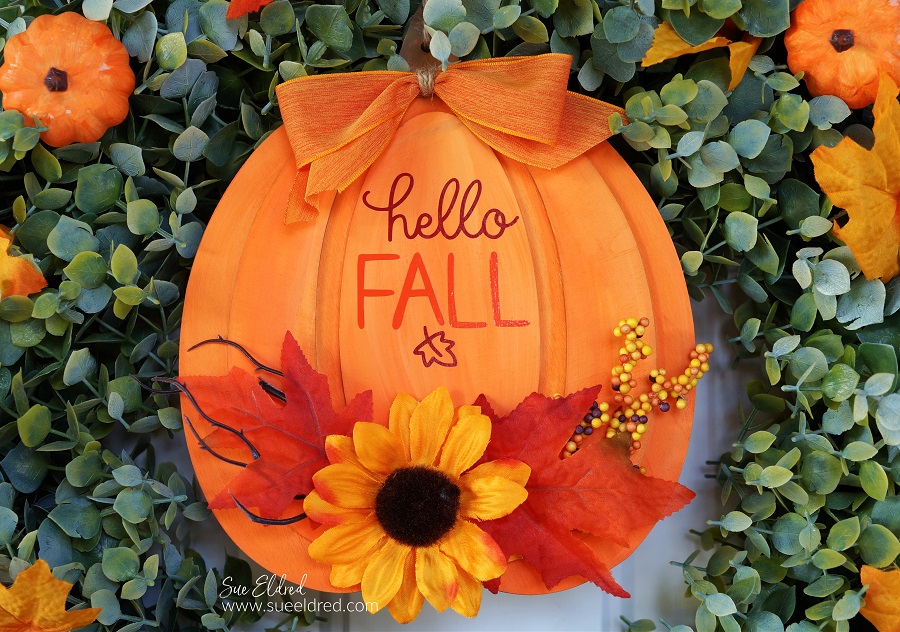
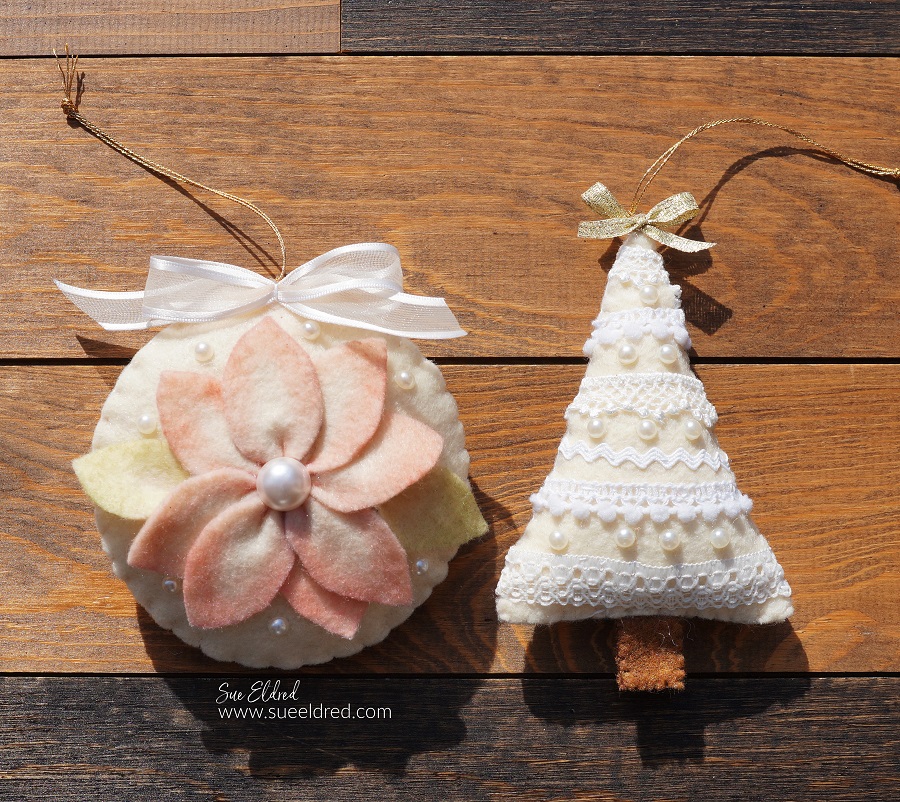
How to make a Felt Poinsettia Ornament:
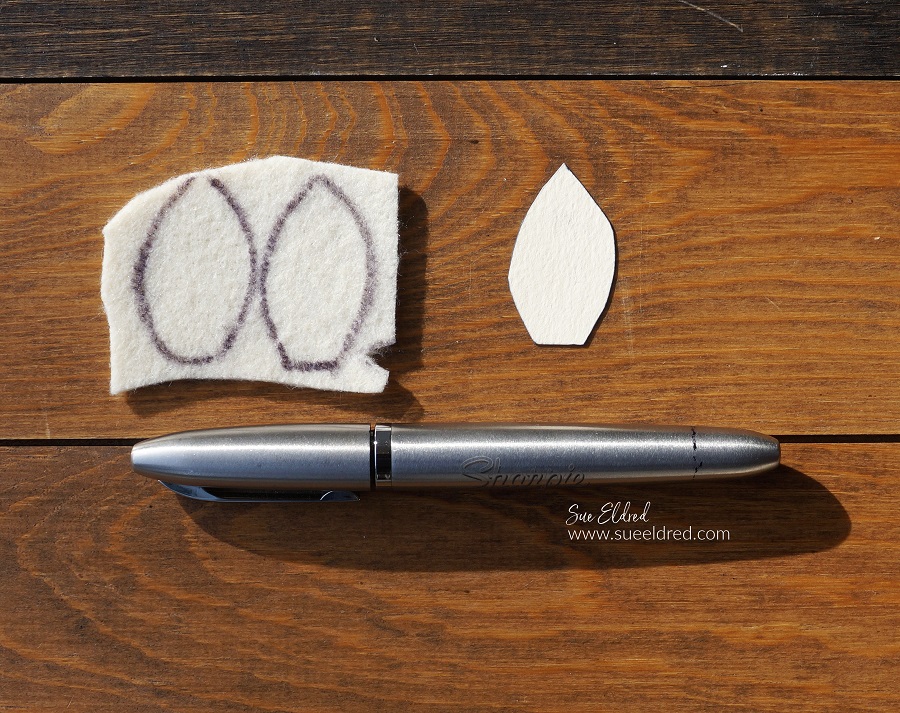
- Making a felt flower is simple, and you won’t need any fancy tools. (I learned how to make petal flowers many years ago from Martha Stewart.com.)
- Draw a simple petal shape onto a piece of cardstock for a pattern.
- Trace the petal shape directly onto the felt. (Cut inside the lines when cutting out your petals so that the line doesn’t show.) You will need 10 petals, eight for the flower and two for the leaves.
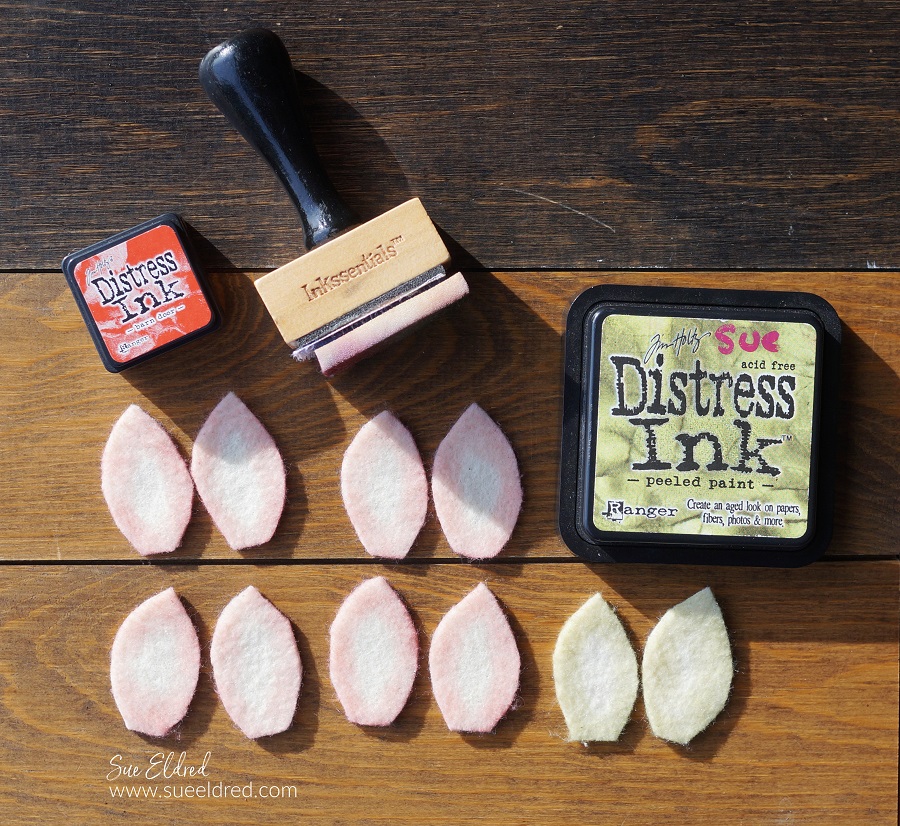
- To create a soft delicate-looking poinsettia, I inked the flower petals with red ink and the leaf petals with green ink.
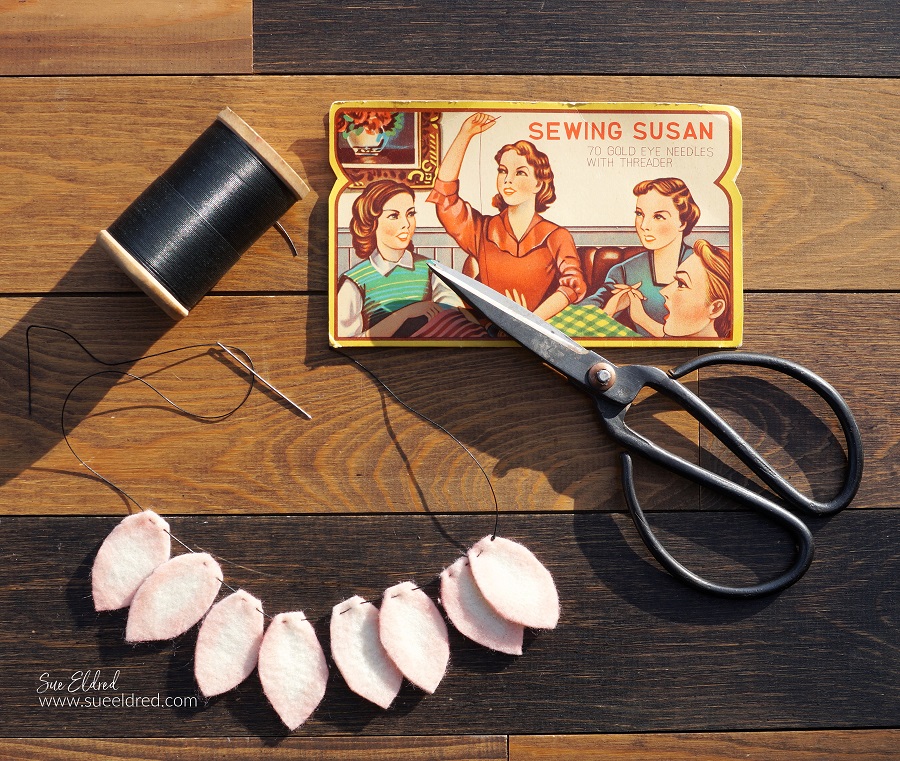
- Thread the needle and thread, leave a long tail after the knot. Using a simple running stitch, thread the petals for the flower. (I used the black thread for easier viewing.)
- Next, remove the needle and gather the ends of the thread and cinch the petals together. Tie a knot.
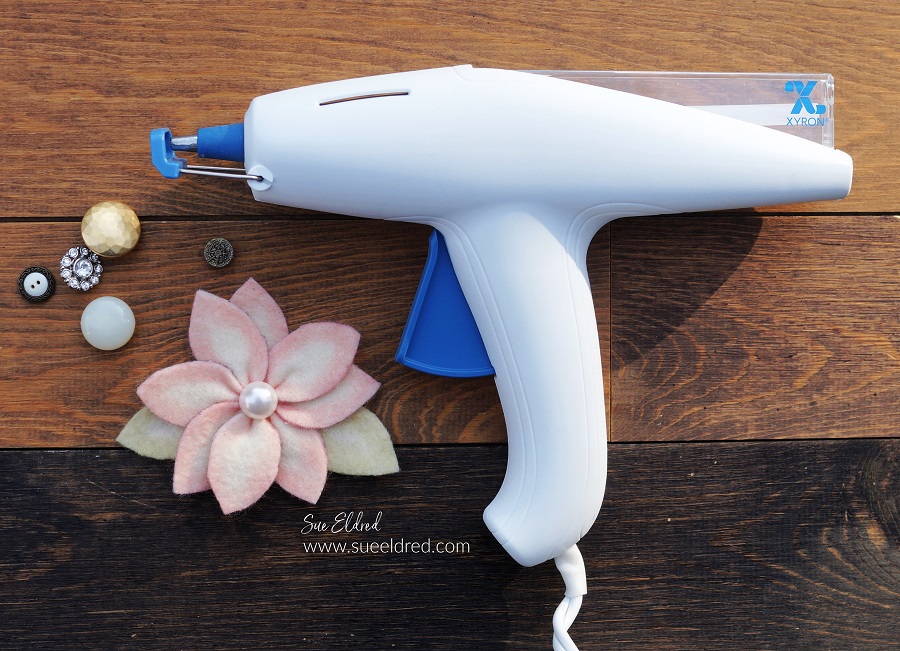
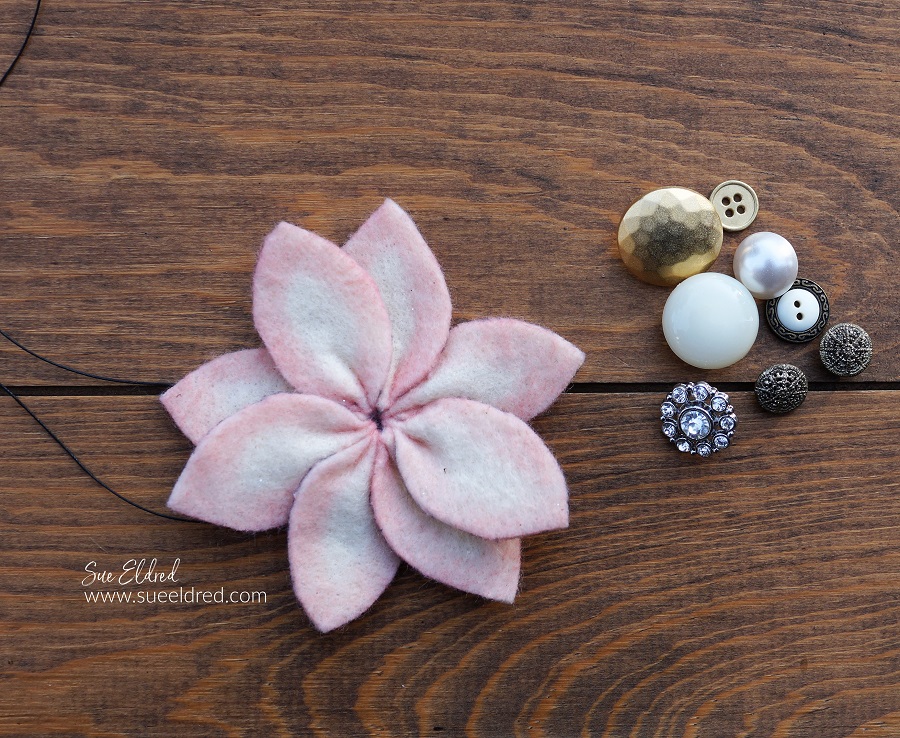
- Glue a “fancy” button into the center of the petals.
- Glue the leaves under each side of the flower.
- Cut two circles out of the cream felt. (jar lids make great patterns to trace)
- Stitch around the circles using a blanket stitch. Before you sew it closed, insert a small amount of polyfill and stitch it closed. Glue the flower onto the front of the circle.
- Using a darning needle, add a gold thread to the top of the ornament for hanging.
- Tie a ribbon bow and glue it onto the top of the ornament.
Another simple (well kind of simple) ornament to make is the Christmas Tree ornament.
How to make a Lacy Cream Christmas Tree Ornament:
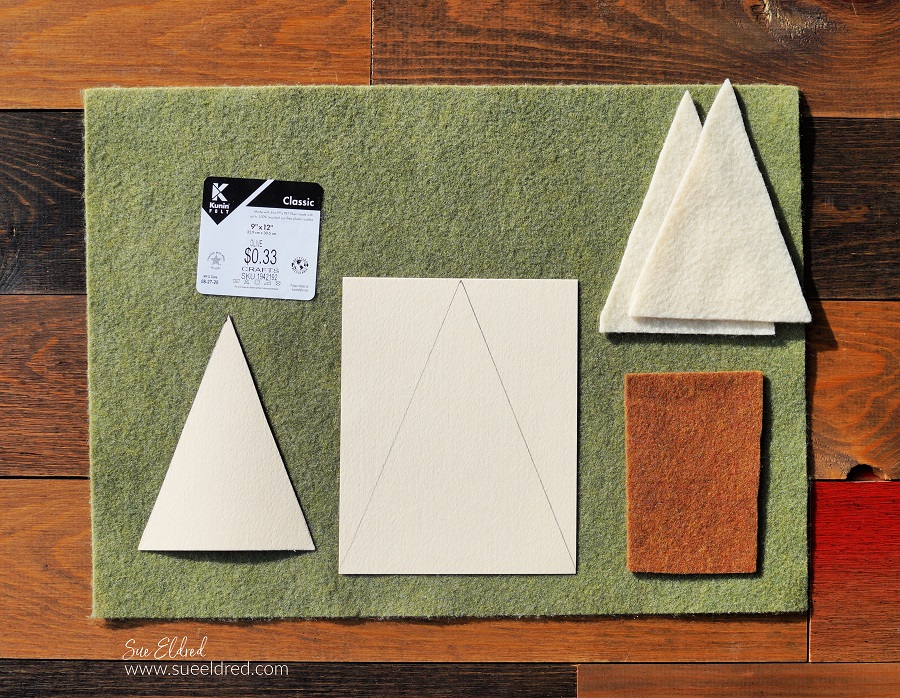
- Create a simple tree pattern using cardstock.
- Cut a rectangle, draw lines from the top center of the rectangle to the bottom two corners.
- Cut the pattern out and trace it onto the felt.
- Optional: Cut a small rectangle to use as a tree trunk.
- Using a variety of laces and trim, stitch it on the front of the “tree” with need and thread. (Stitch the ends inside of the felt.)
- Align the felt pieces and stitch together using a blanket stitch. Before you sew it closed, insert a small amount of polyfill.
- Add adhesive pearls onto the front of the Christmas Tree Ornament between the lace strips.
- Add a piece of gold thread for hanging and a small gold bow.
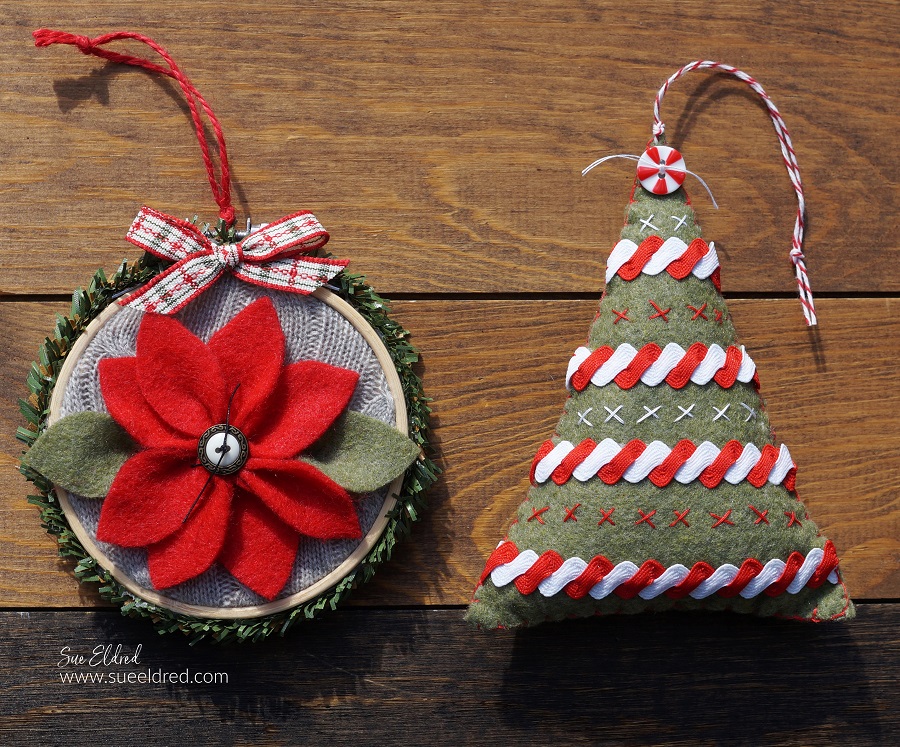
As much as I love the first two ornaments, the red and green ones are my favorite.
I made the green Christmas Tree ornament bigger than the cream one.
- I interwove red and white rick rack to make up the trim. I handstitched the rick rack trim onto the front of the tree shape.
- For fun, I stitched red and white Xs in between the trim.
- The tree is put together like the others, with a small amount of polyfill in the center.
- Red and white twine was used for the hanger, with a red and white button on the top of the tree to finish it off.
How to make the Red Poinsettia Embroidery Hoop Ornament:
- Create a Red Poinsettia using the flower directions above.
- Open the embroidery hoop and place a piece of fabric over the center ring. (I used an old gray cable knit sweater.)
- Place the outside hoop over the sweater and tighten the embroidery hoop. Cut the excess fabric from the back of the embroidery hoop.
- Glue a cardstock circle onto the back of the embroidery hoop.
- Measure and glue the pine craft stem around the outside of the embroidery hoop.
- Glue the red poinsettia to the front of the embroidery hoop.
- Add a piece of twine to the top to hang. Glue a ribbon bow onto the top of the ornament.
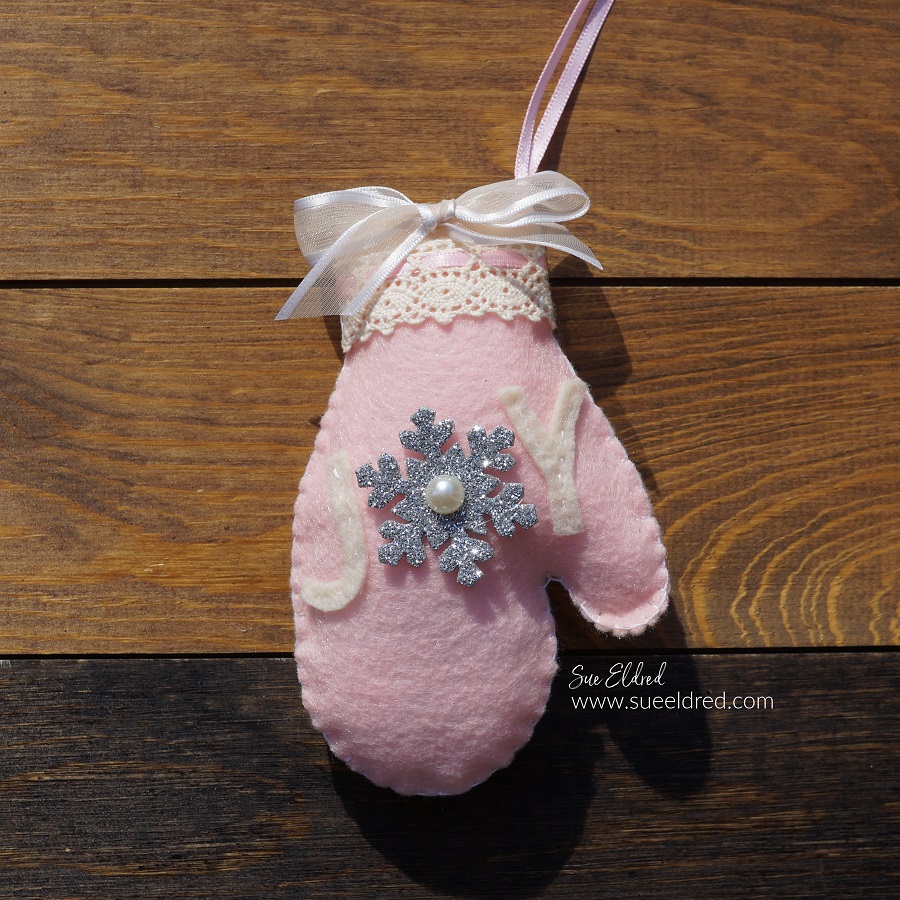
This soft and pretty Mitten Ornament was made similar to the other felt ornaments.
Except I used a mitten die to cut out the felt pieces.
If you don’t have a mitten die, search online for a mitten outline to size and use as a pattern.
Every year, I make a few new ornaments for my Christmas Tree.
I think these will fit in quite nicely. (they’d also make a great handmade gift)

AND… Did you know?
That Kunin Felt is manufactured right here in the US from recycled plastic bottles.
It takes ten bottles to make a pound of fiber. How cool is that!