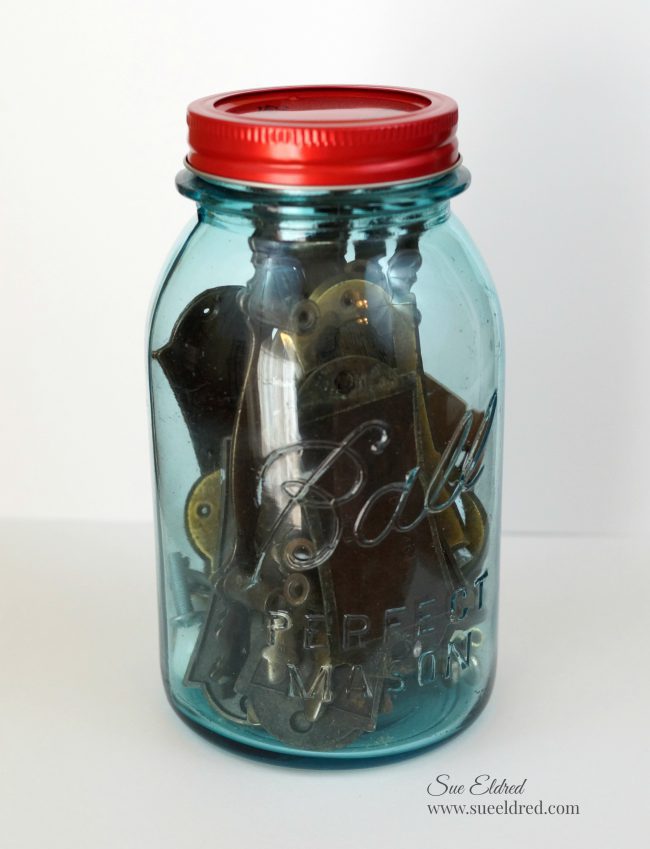
I have this old jar of assorted hardware on my shelf in my workshop.
I keep it just in case. (Why you ask?)
Because I’m a “you never know” type of crafter.

I had picked up a bag of old kitchen hardware at a garage sale a couple years ago
for fifty cents and used it on a few projects and even made a couple of ornaments.
While it may be too late for you to make this year…
it’s an idea that you can put away on the shelf, so to speak, for next year.
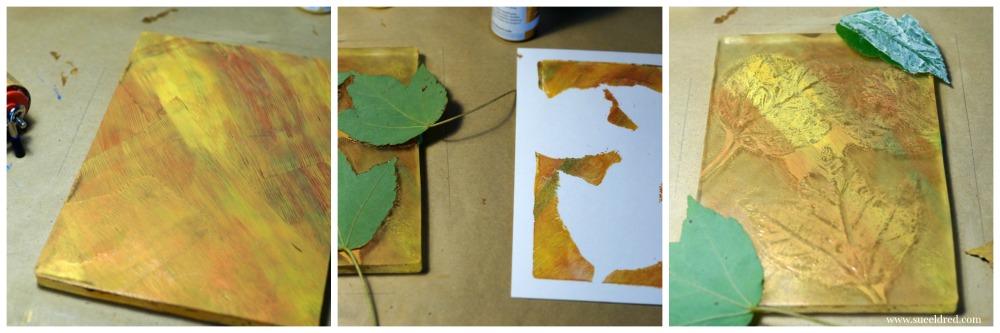
Here’s how I made my ornament…
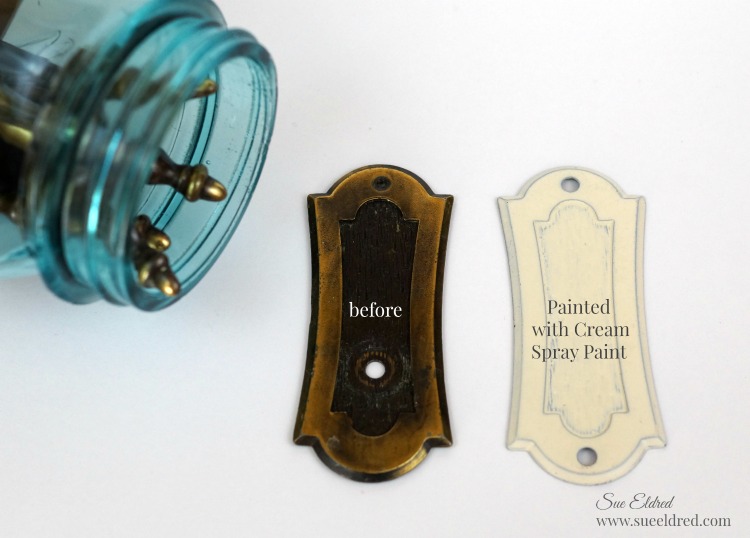
After disassembling the hardware, I spray painted the base plate cream.
What a difference spray paint makes.

I added silver around the edge using a Chisel Point Calligraphy Paint Marker, Silver* (*affiliate link)

I used the small hole at the top of the hardware plate to string red and white twine.
I embellished it with a glitter berry cut from a glitter berry sprig (see previous picture)
wrapped around a small craft pine stem to form a small swag.
I glued the pine swag and small red and white bow to the hardware with
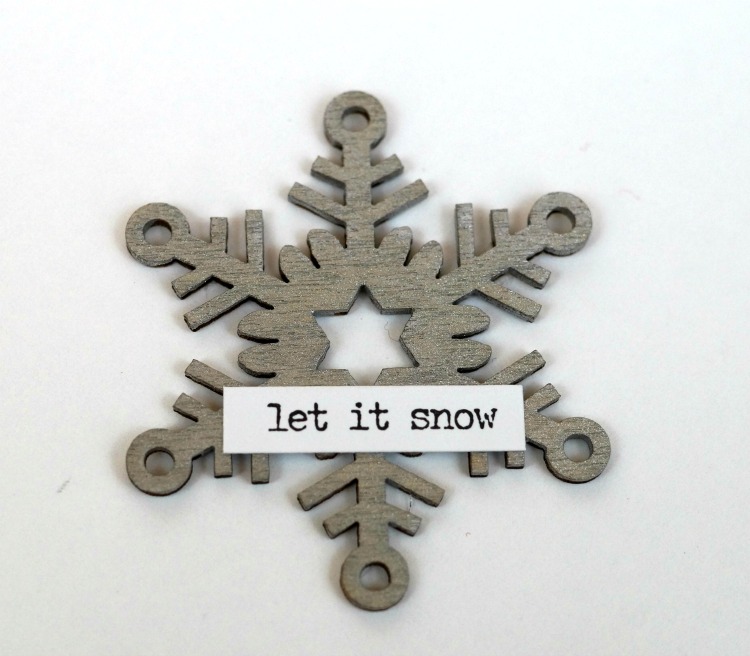

I painted a small wood snowflake, found at the craft store, with silver acrylic paint and added
the “let it snow” sticker from Small Talk Stickers by Tim Holtz Idea-ology*.
I added a small red pearl to cover the bottom hole in the hardware and glued the
snowflake on top.
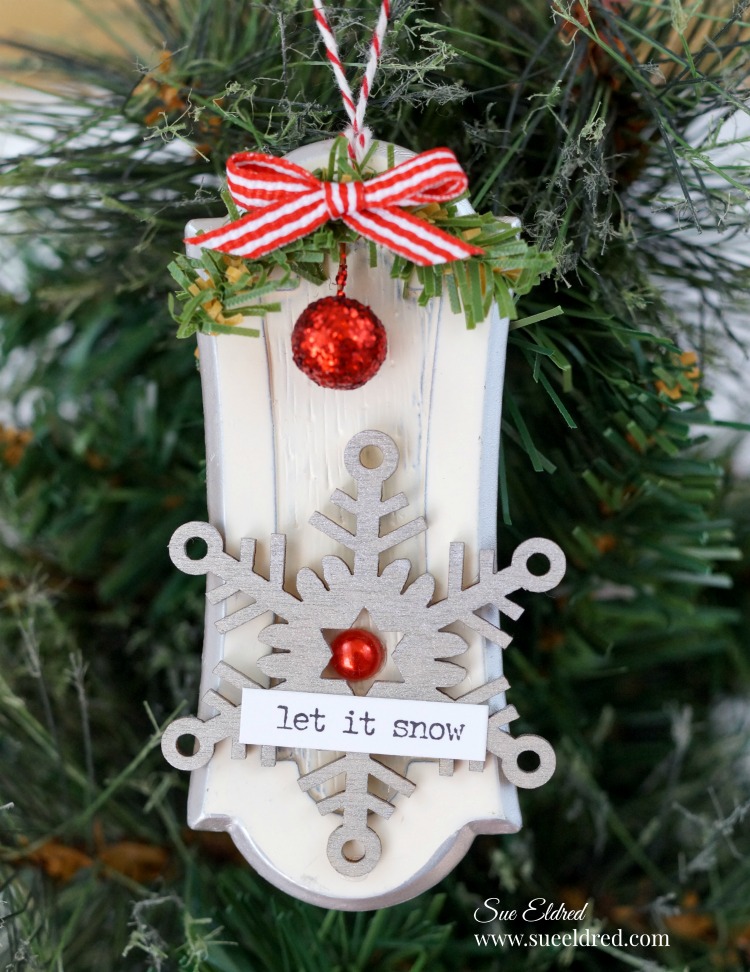
A quick and easy upcycled ornament for the Christmas Tree.

Join Amazon Kindle Unlimited 30-Day Free Trial
Disclaimer: This blog uses ads and affiliate links. If you choose to make a purchase using one of the links, I receive a small commission (at no additional cost to you) that helps offset the costs of maintaining this blog. Thanks for your support!